Re-Coring the Foredeck

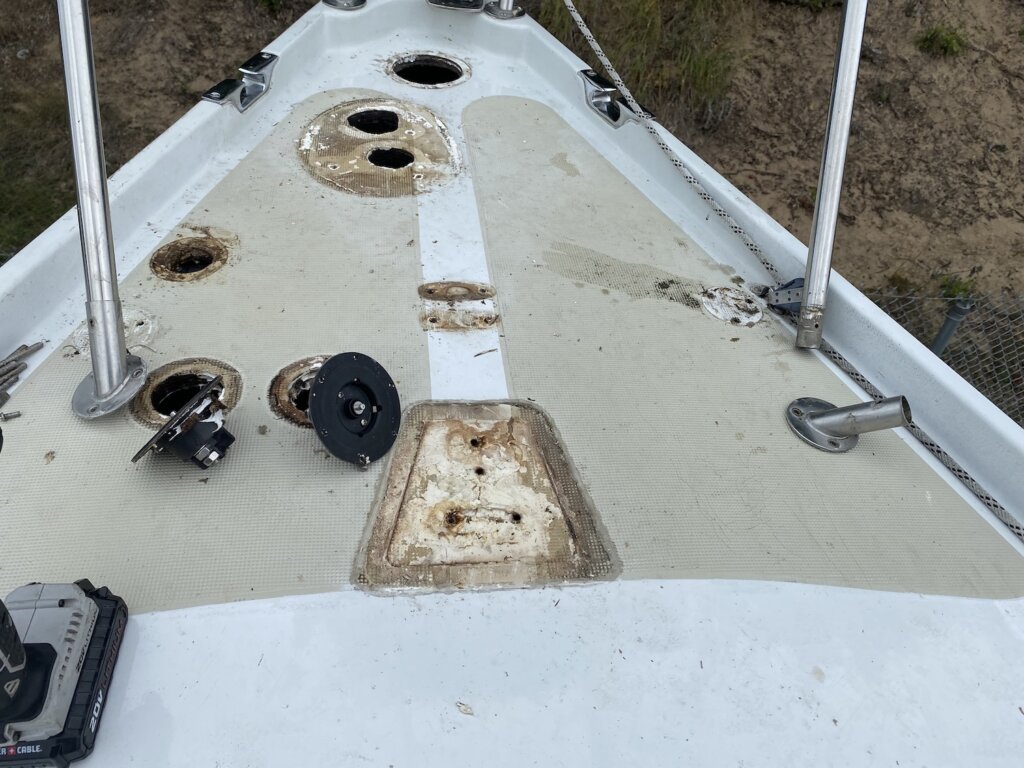
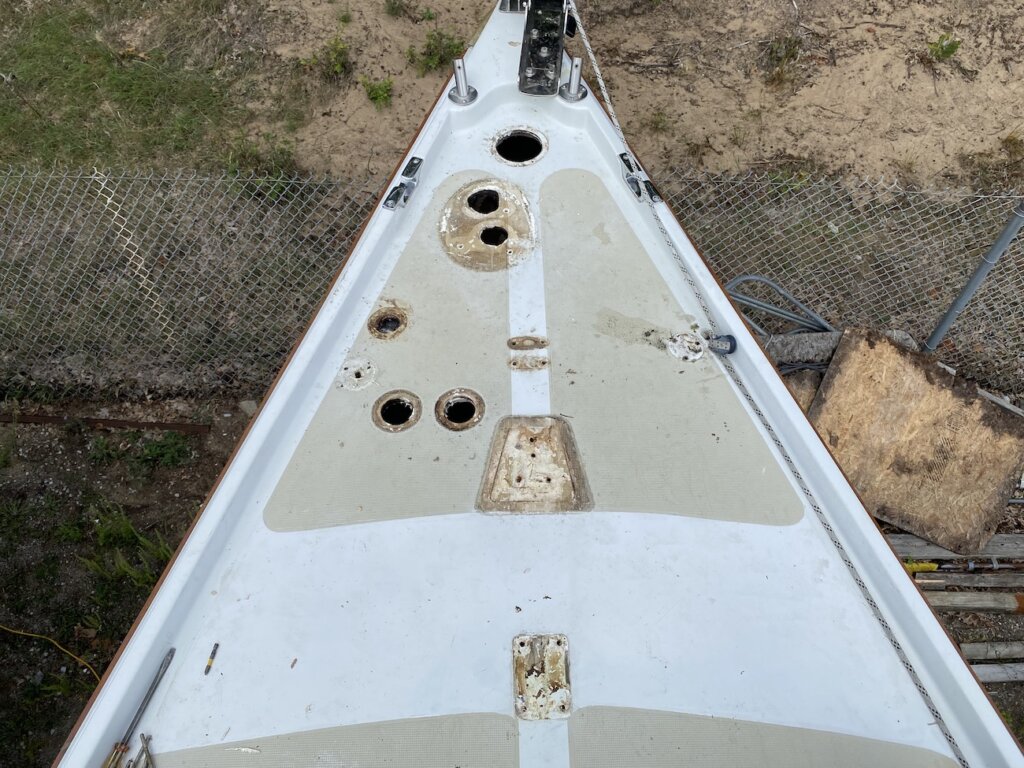
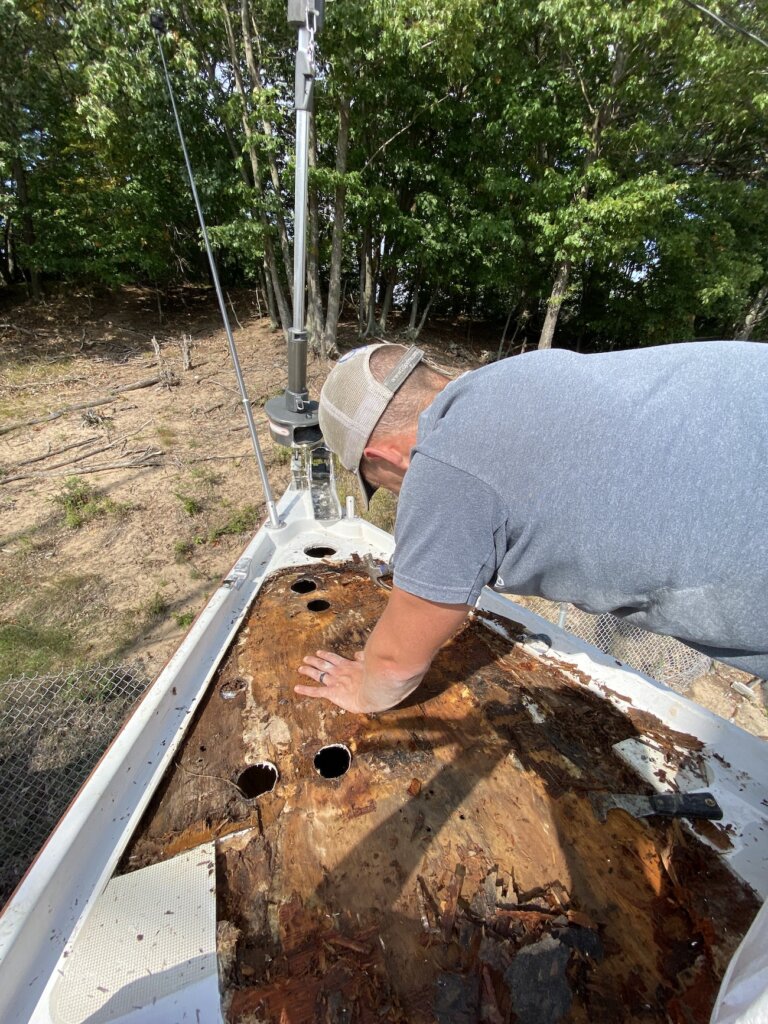
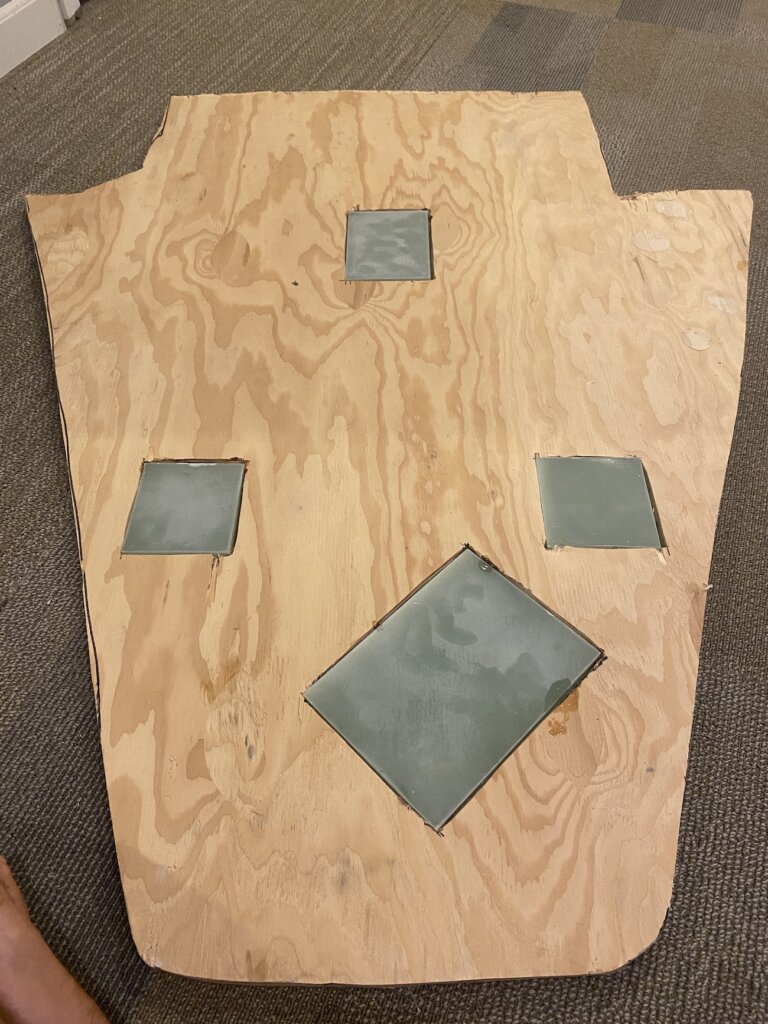
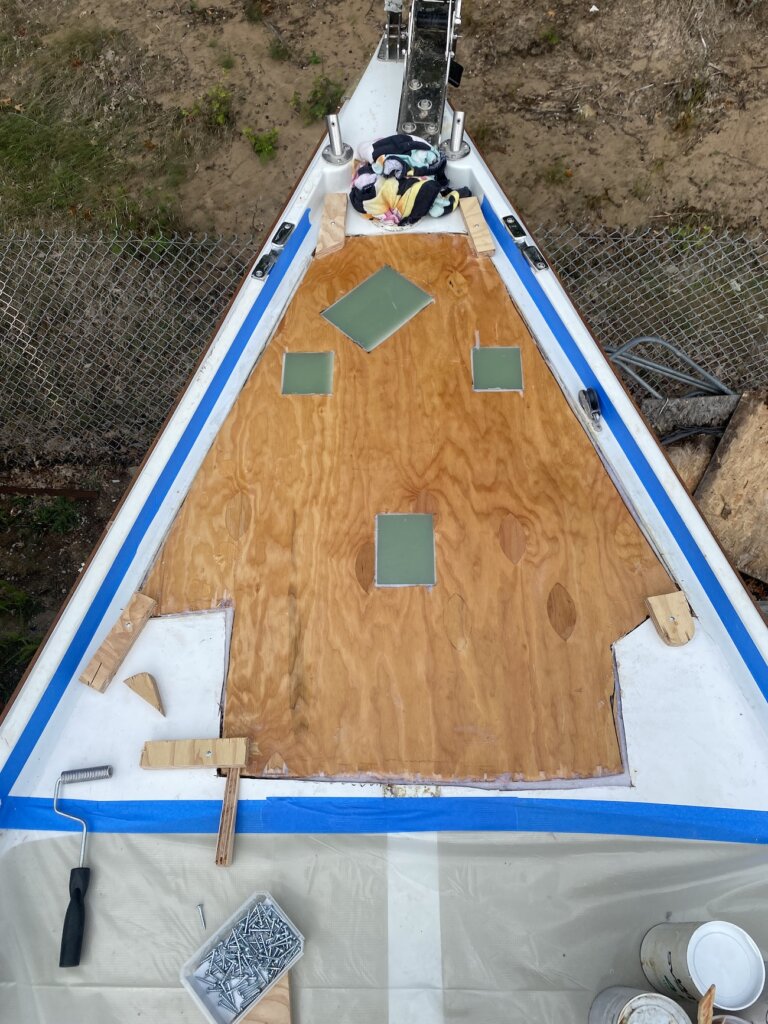
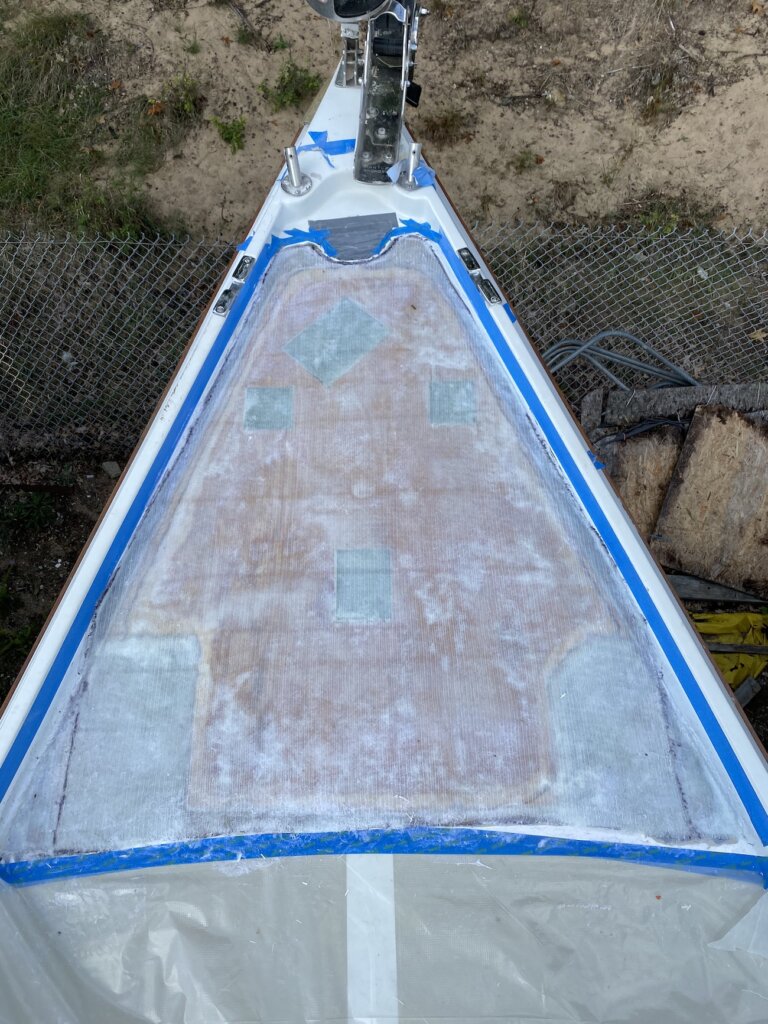
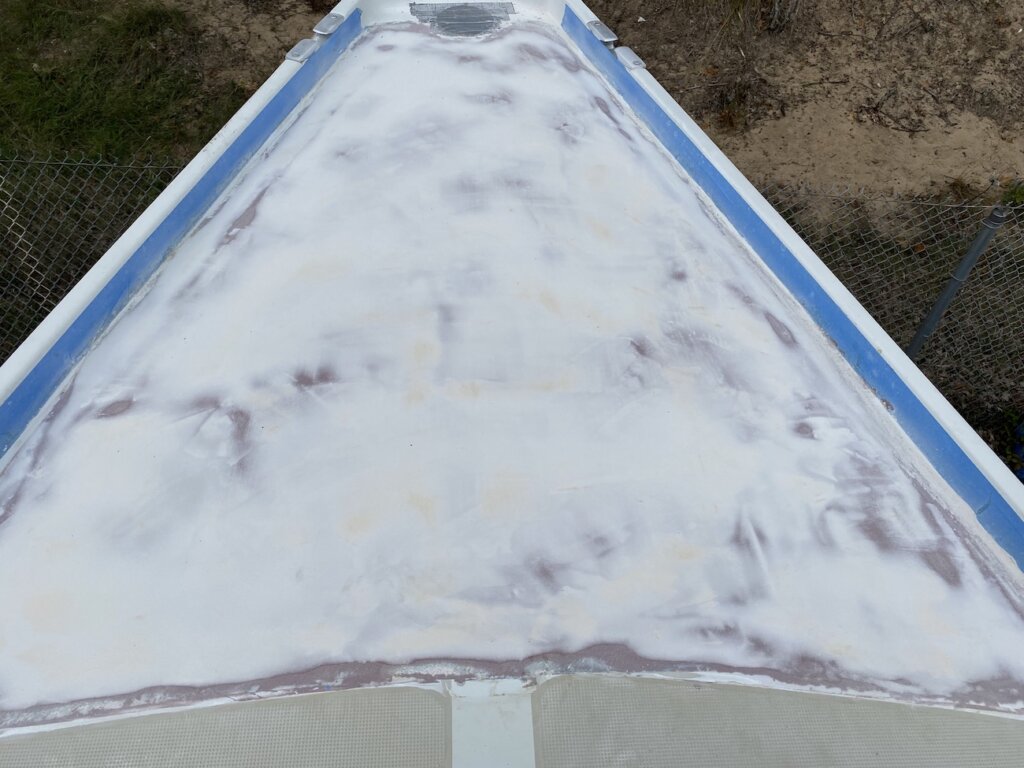
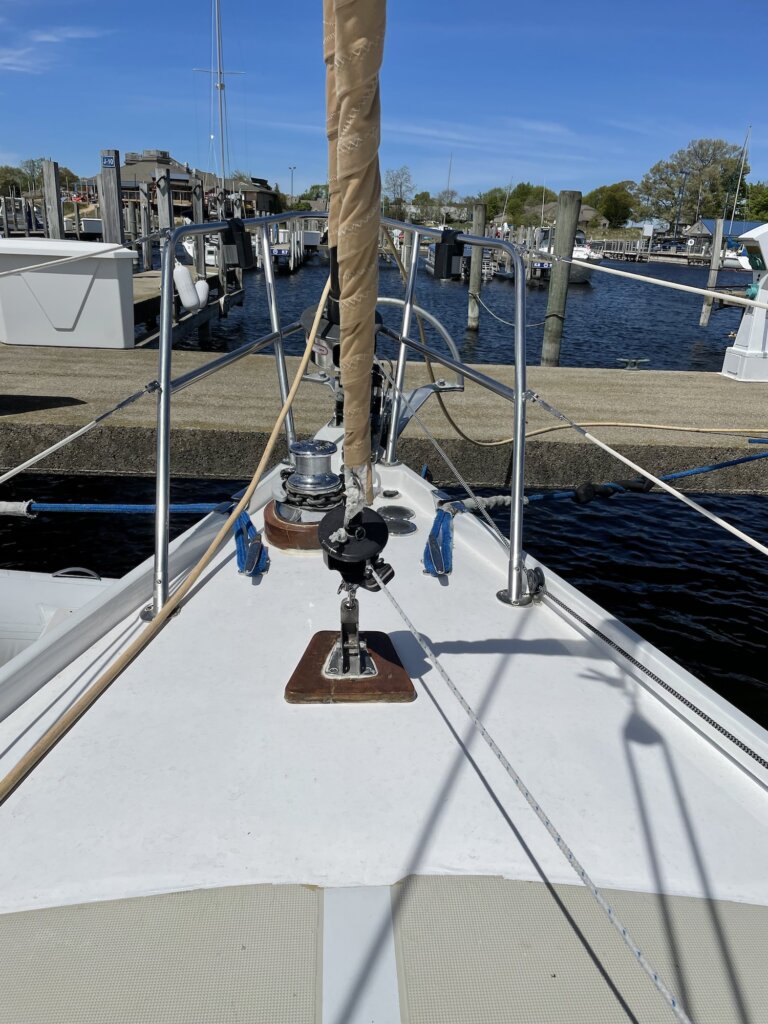
Similar to the cockpit, we knew our foredeck was wet when we purchased Resande. It’s a common issue on old boats where hardware goes through the deck if the owner isn’t keeping up on leaks. We decided to tackle this project in Fall 2021, after hauling out for the season. We’re also not planning to add back our staysail boom. We’ll have a post about how we’re rigging the staysail without a boom in the future. Most of the steps are identical to our Recoring the cockpit post, but we decided to do something a bit different for the high-load areas that have the highest risk of future leaks. As you can see in the pictures, we used 3/4″ plywood just like the cockpit. The difference is we made inserts out of 1/2″ thick G10 fiberglass board and glassed these inserts into the plywood prior to laminating.

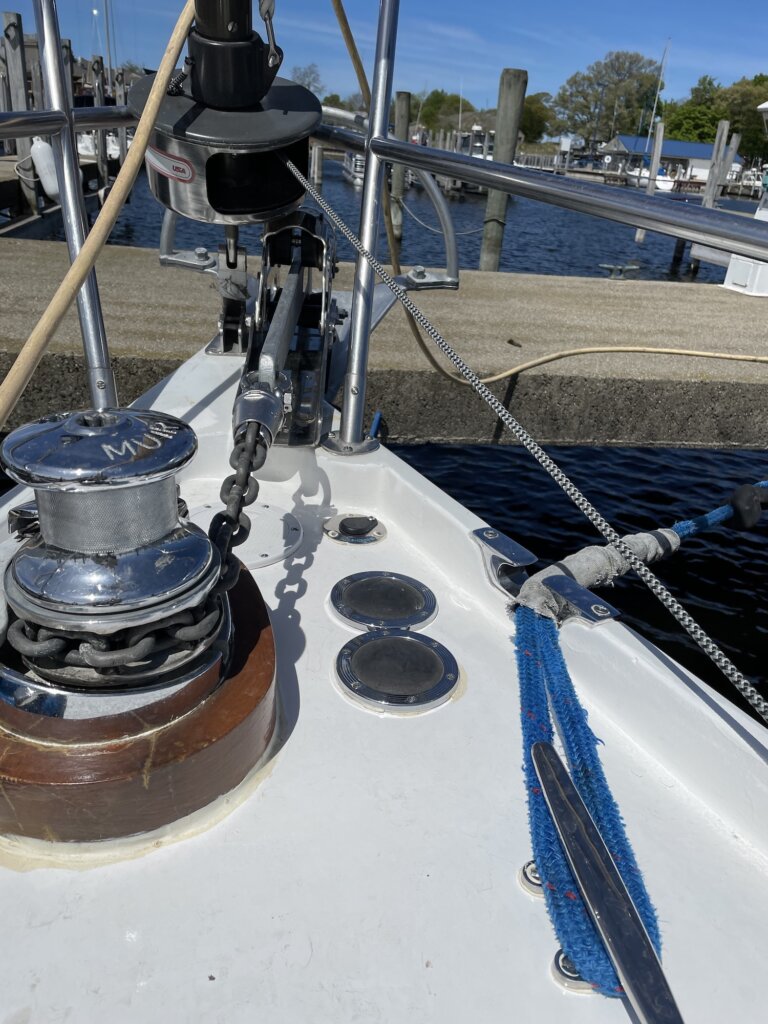
The areas we did this in are the high load areas: windlass bolts, new port & starboard cleats, and the staysail tacking point. These areas will all have thru-bolts and will benefit from the high compressive strength of G10 (plywood or balsa core will deflect under a highly tightened bolt).

Resande’s foredeck has a lot of hardware due to our staysail. We aren’t planning to continue using a staysail boom, but we do plan to add a second foredeck cleat.
All of the hardware now removed, we start to understand the scope of the water intrusion.
After cutting the top shell of the fiberglass off, we scrape out the wet and rotten wood. We used an angle grinder to remove the top shell. Scraping, then sanding down to the lower fiberglass shell to make sure you adhere to something solid when you put the new core in.
This is the new core piece. As mentioned before, we added pieces of G10 where the high load hardware is located. Above in the picture is the layout: Staysail will attach in the top insert; the two small inserts in the middle will be cleats, and the large one at a diagonal is where the windlass will bolt through.
We used multiple layers of 17oz biaxial fiberglass cloth to build up the 1/4″ difference between the 1/2″ G10 and 3/4″ Plywood. this was on purpose, and we beveled out the plywood so we could build the layers up and larger in diameter.
Not shown, but we made relief cuts on the underside to help contour to the shape of the deck. The deck is slightly crowned, so we needed to flex the new core down on the side, we used pieces of wood to help clamp them down as the resin cured
After the core is in place, we ground the edges to a bevel to make a smooth and seamless transition. Our goal is that this new edge is nearly invisible.
As with the cockpit, we did 3 coats of fairing. This step is much like mudding drywall to try to get the seamless transition from the old to the new. We used the West Systems. Fair, sand, repeat until happy.
The final layer of fairing we used micro-balloons, which sand even easier for a nice final finish before gelcoat.

We used Total Boat topside paint instead of gelcoat. We decided to go with white and not try to match the foredeck color to the rest of our non-skid. We are planning to paint total boat non-skid in this area when we get a warm, dry day.

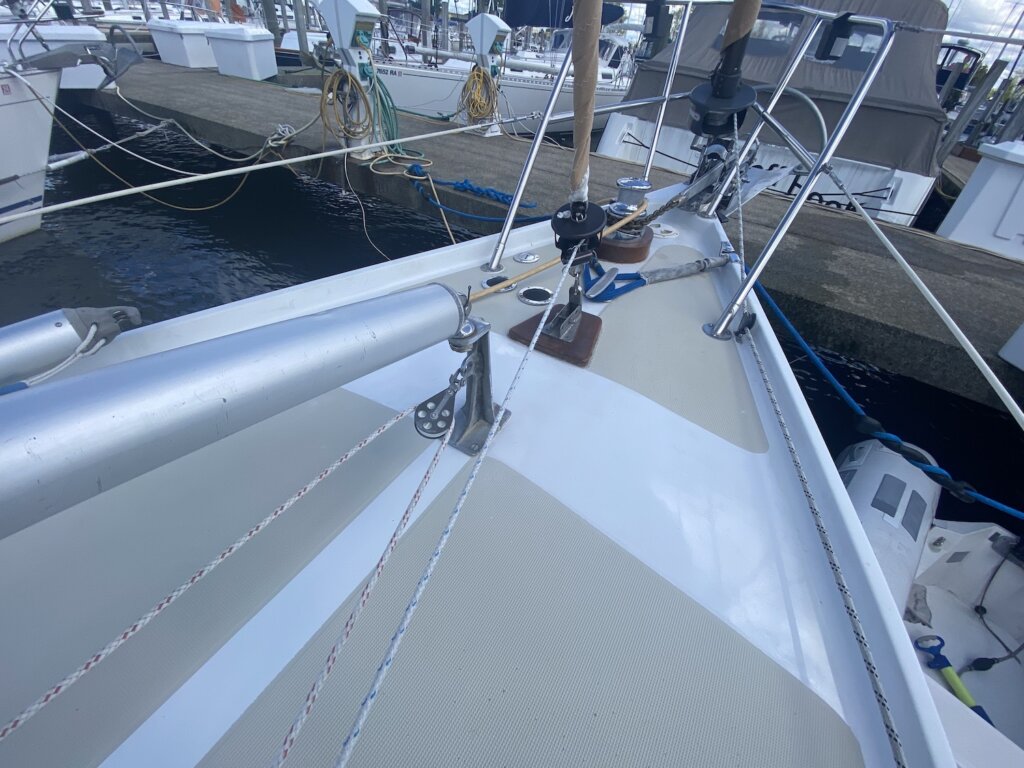
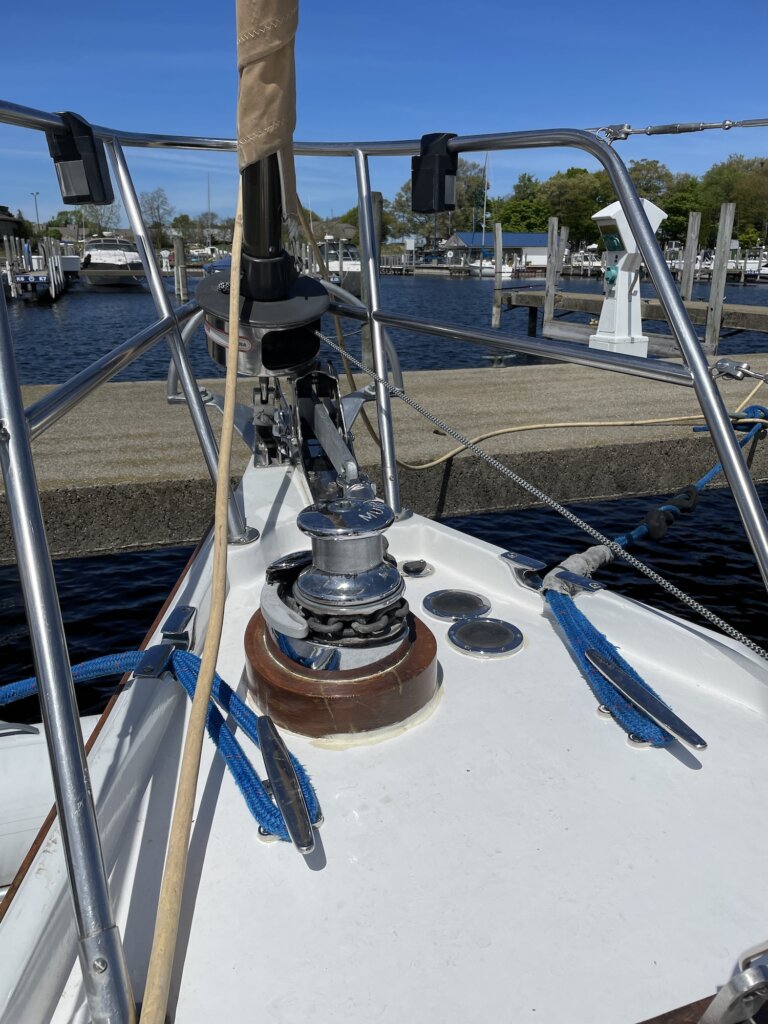
We also decided to go with a cleat on each side and not just replace the one center cleat we had previously.
We moved the placement of our winless buttons and added a wash-down pump on deck.
A final look with everything back in place. Completely done except the non-skid paint.

What do you think? Questions on our process or suggestions for our next project? Leave us a comment below.

Share on facebook
Share on twitter
Share on linkedin
Share on pinterest
Share on email

2 replies on “Re-Coring the Foredeck”

Hey Guys , nice work. I own a Ericson 39b down here in New Zealand. We have just gone through Exactly the same re coring process on ours on the foredeck. Your boat looks in much better condition , albeit we are at the start of a long refit program . Love to exchange a few emails on stuff you have done. regards Kyle