
Our 1976 cabin cushions were quite worn out when we bought SV Resande. The cushion covers looked nice but after a few nights sleeping on them we soon realized we were in need of an upgrade/change if we are to spend any significant amount of time living on the boat.
We are on a cheap/cruising budget so we decided to look for a high quality memory foam mattress we could cut to shape ourselves. Here we go with another DIY project!
Our cushions that came with the boat were at a height of about 5-6 inches. Most mattresses we found were around 10-12 inches high. We measured and determined that a 10 inch mattress would work in our space. We chose a mattress that is 100% memory foam so that it can be cut through without messing up the structure of the mattress. After much consideration, we ultimately chose the Lull . We read another blog post from another cruiser who had used the Lull successfully. That gave us confidence it would work!
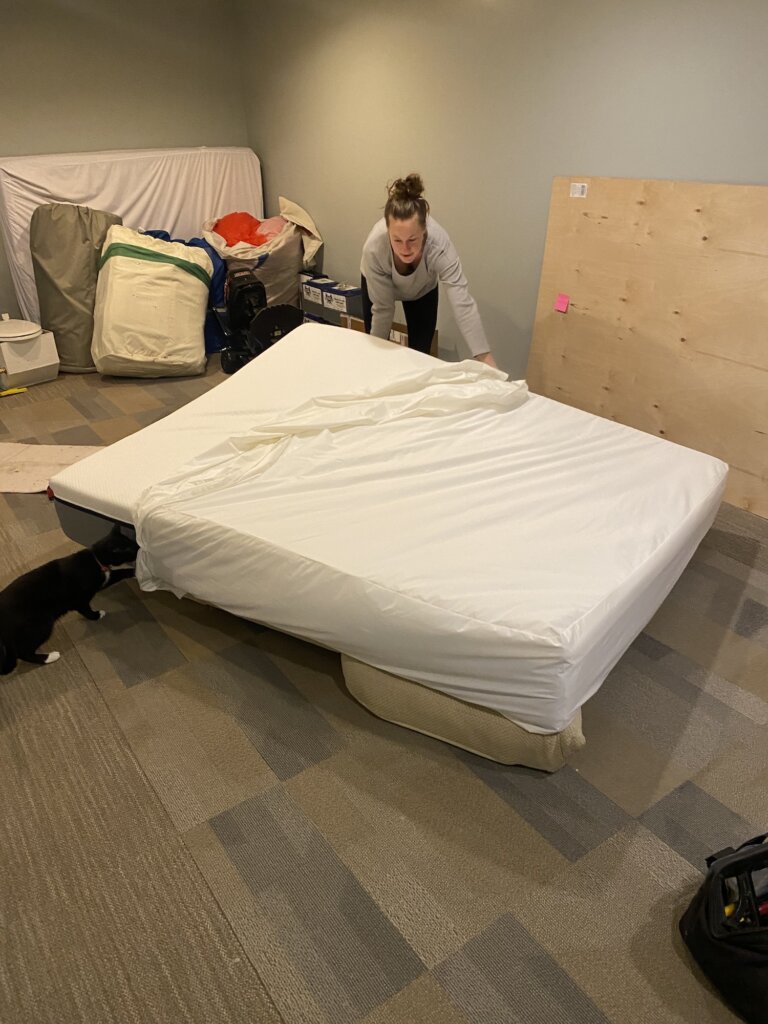
Before you cut anything, try the mattress for a few nights and make sure you like it! You can return it without additional fees for up to 365 nights. It comes in the mail tightly packaged making it easy to order and set up.
Be sure to measure your boat mattress and chose the size you need before you order. Our v-berth is pretty wide so we initially thought we may need a king. With some creative thinking we determined we could use a queen instead by using the scraps for the forward-most triangle piece. This option was much cheaper and we had a lot less left over material than we would have if we used a king.
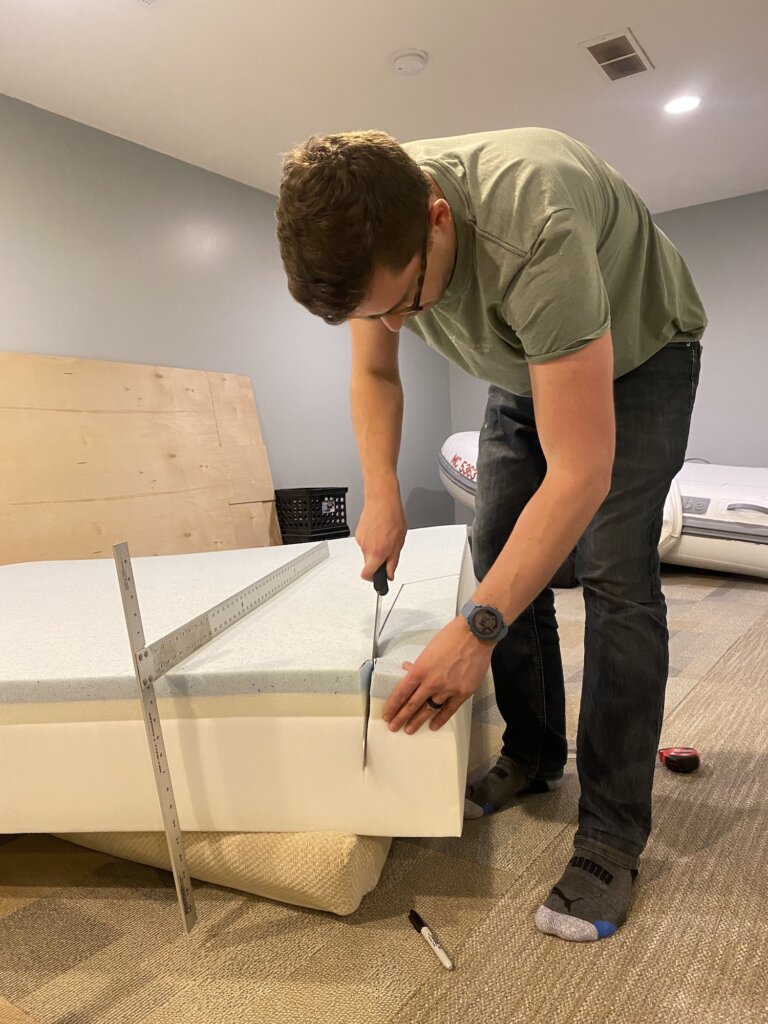
Time to cut!
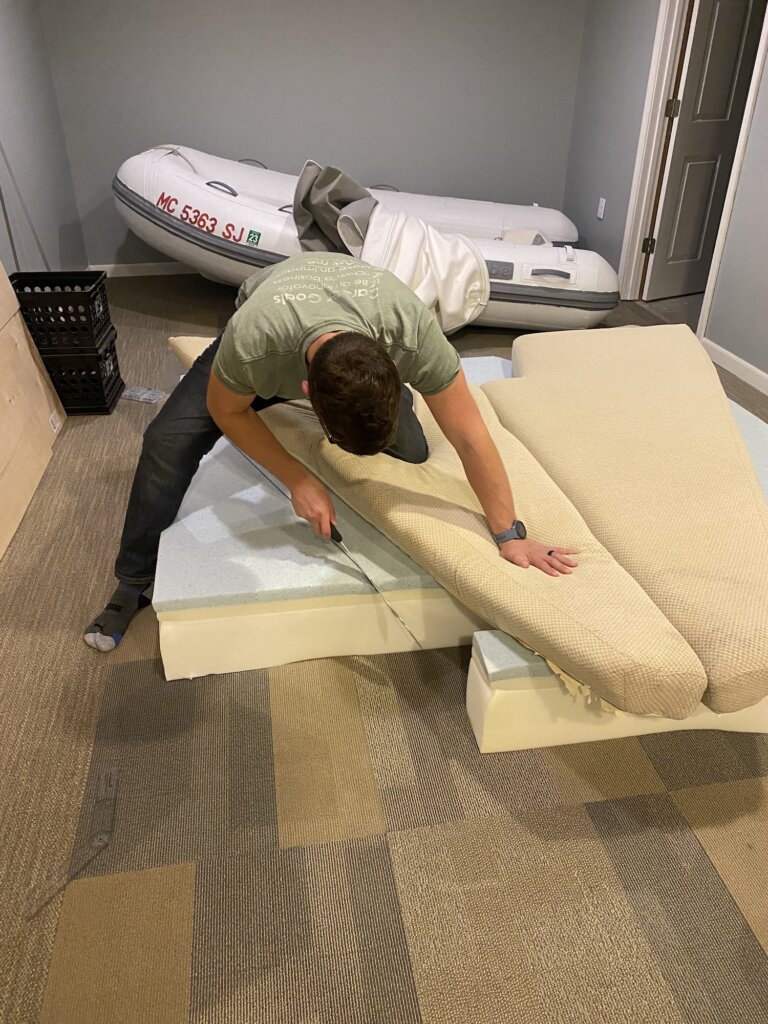
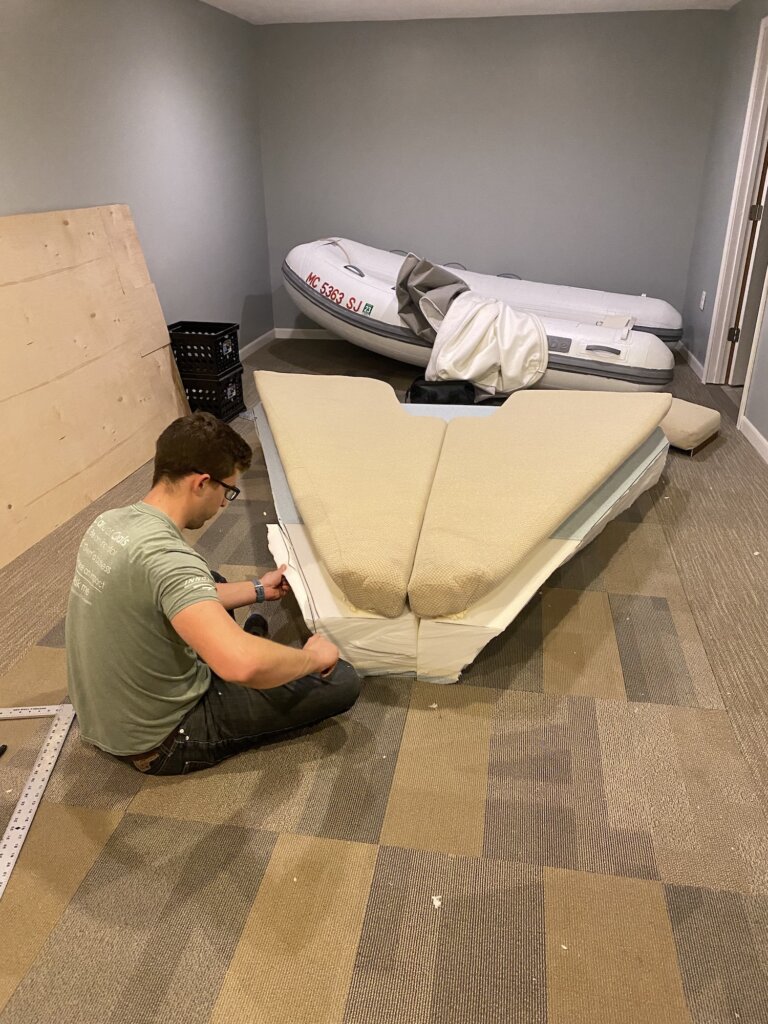
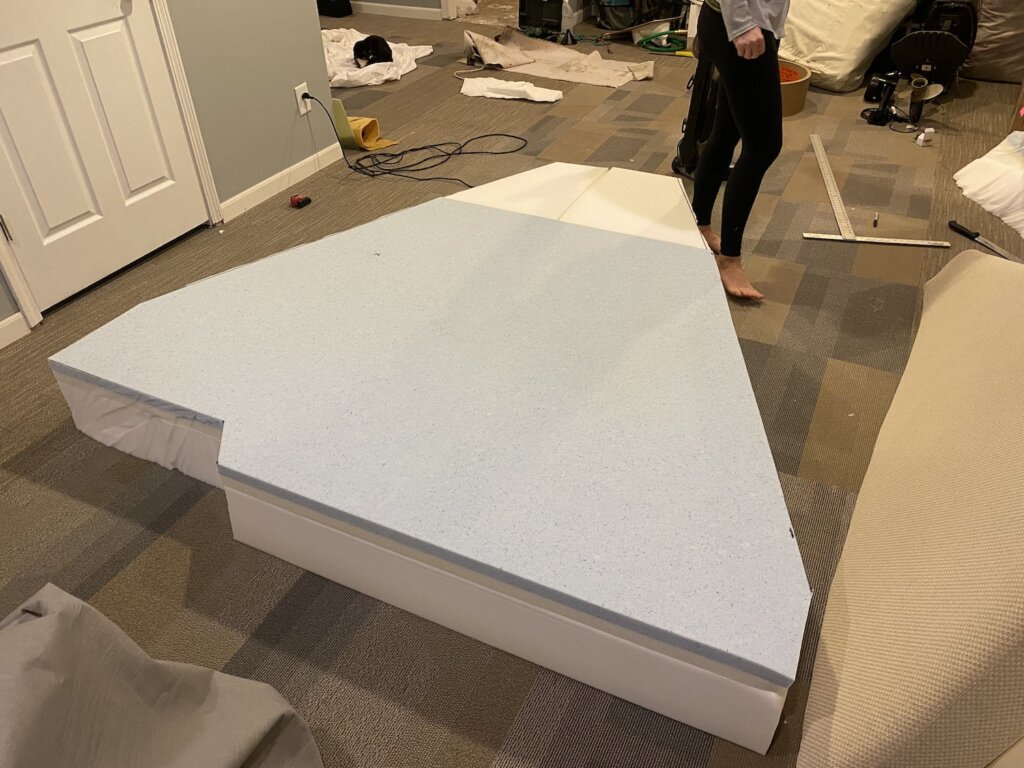
We laid out our boat cushions as a template and carefully measured. We placed the queen mattress laterally along the front/wide edge of our v-berth (the widest part). We then cut along each side to follow the triangular shape back. We used the foam we cut away on each side to fill in the bottom portion of the v-berth which is the skinniest part forming the triangular shape. With this method we had very little waste.
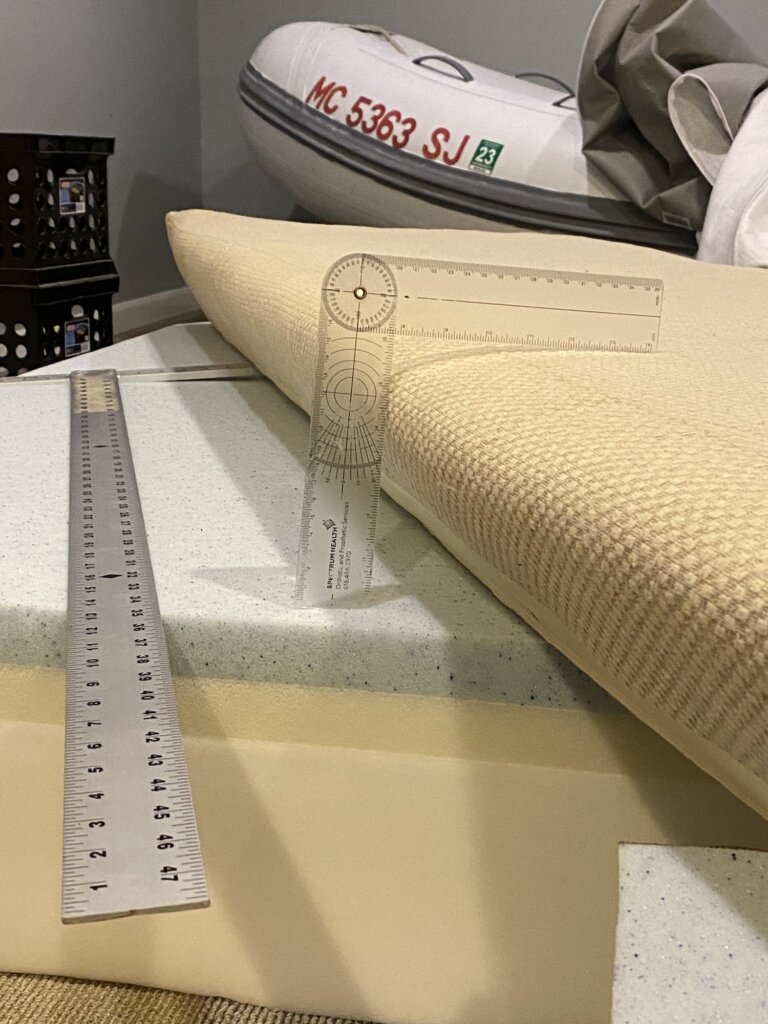
It is important that you note the angles of your cushions as they sit against the hull and take into consideration the difference in height (original cushions compared to mattress). We actually used a goniometer from Erika’s work as an OT to help us get the correct angle. We measured how the cushions were angled at the bottom and cut our mattress along that same angle. We made sure to cut a bit wider initially- you can always trim it more to size but once you cut, you can’t undo it!
Please note – if you’re increasing the thickness of your mattress, the total width of your mattress will be wider than the original.
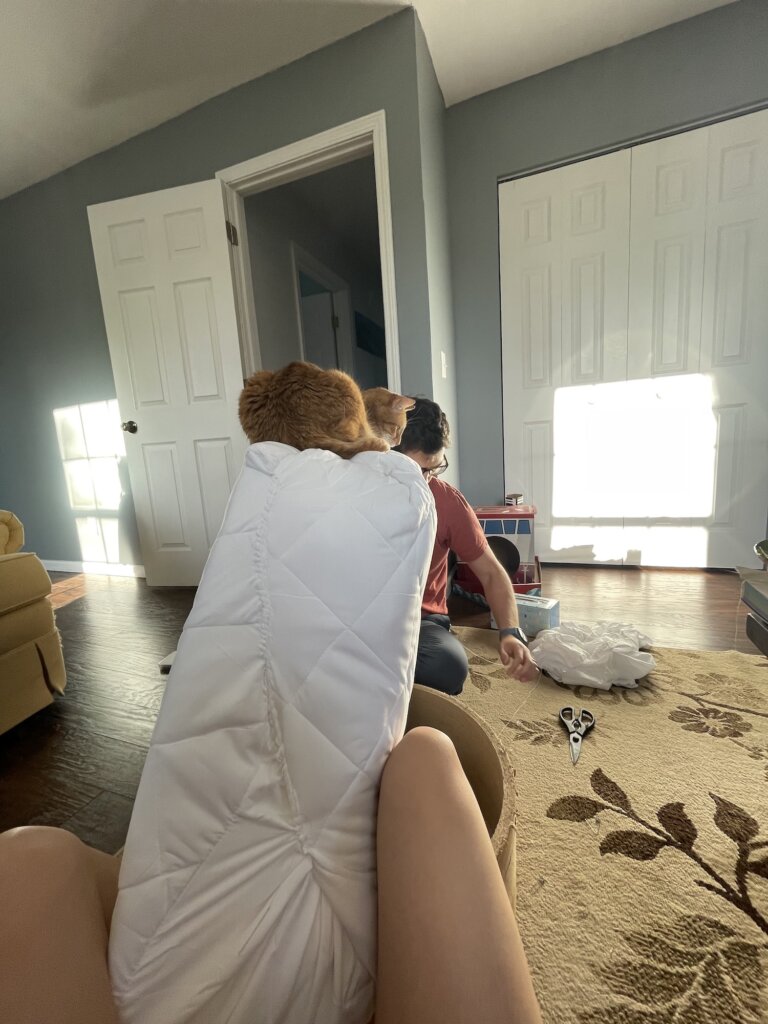
We were left with one large mattress cushion and then the smaller foot mattress cushion. We used the cover that the Lull mattress initially came in for the larger portion. Using safety pins we pinned back the areas we had cut to “shape” the cover around our new cushion. We ordered a twin size mattress cover which we cut and sewed as a cover for the smaller foot cushion portion.
All in- this project cost us $799 for the mattress and $15 for the twin mattress cover and only took a couple hours start to finish. It was not easy to get this back onto the boat! We recommend using a ratchet strap to tighten the mattress down into a smaller shape (fold it like a taco) to get back through the companionway.

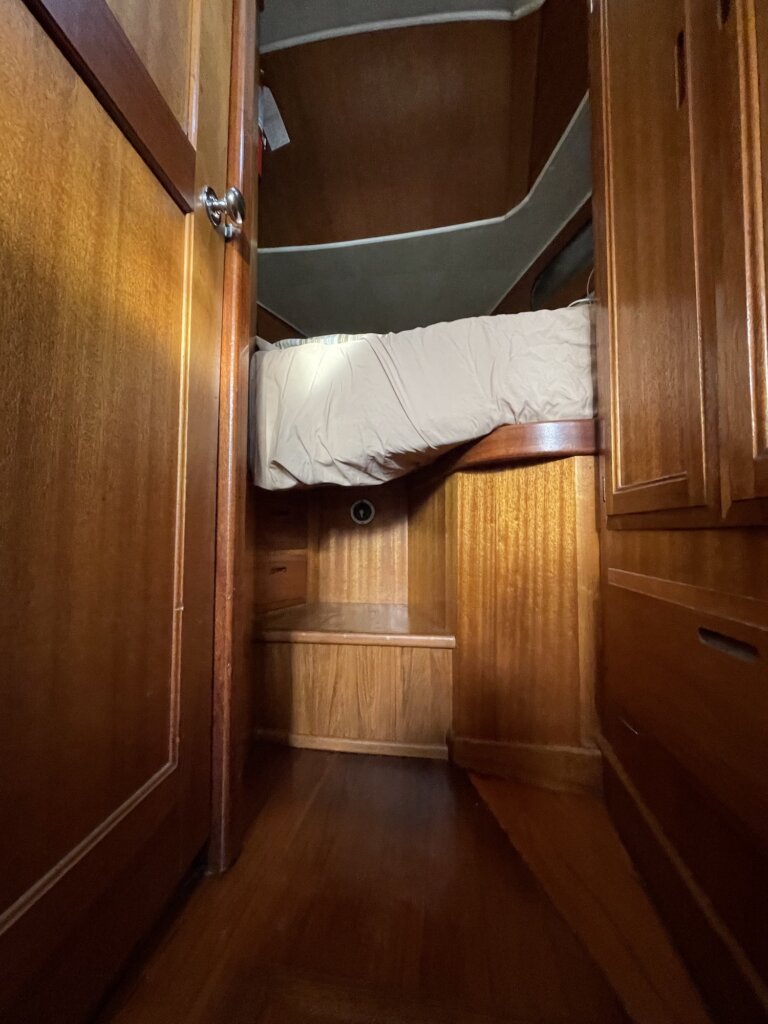
Our last step in this process was to cut down a piece of wood to support the middle of the widest part of the mattress in the front. You can kind of see it in the picture below. Our old cushions angled back on one side with a small cushion piece that fit in to connect either side of the bed. We chose to cut our new mattress on more of a straight edge so we just needed a final support to go where that original small cushion piece went.
Having a comfortable bed definitely goes a long way in making SV Resande fell like home. What do you think, what updates have you made inside your boat to make it feel more comfortable? Leave us a comment below.
