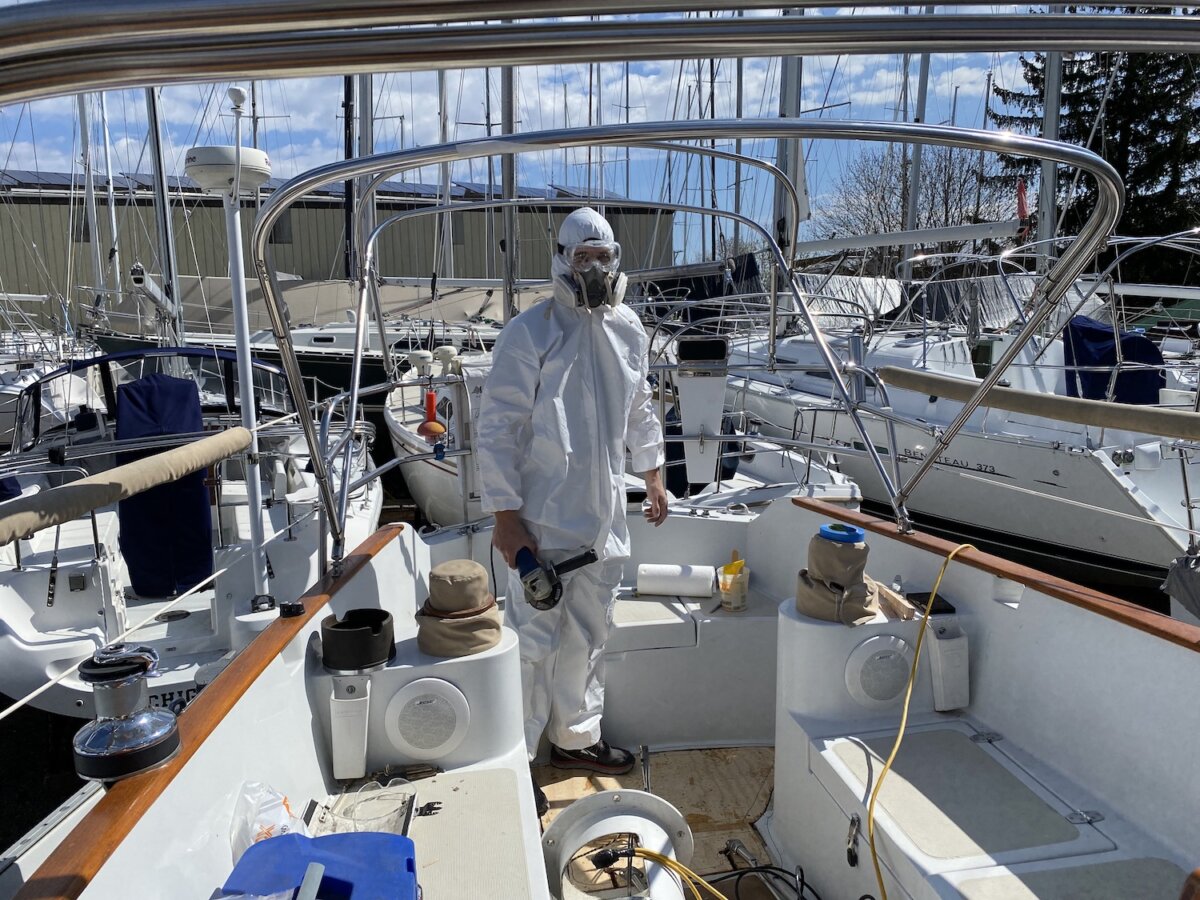
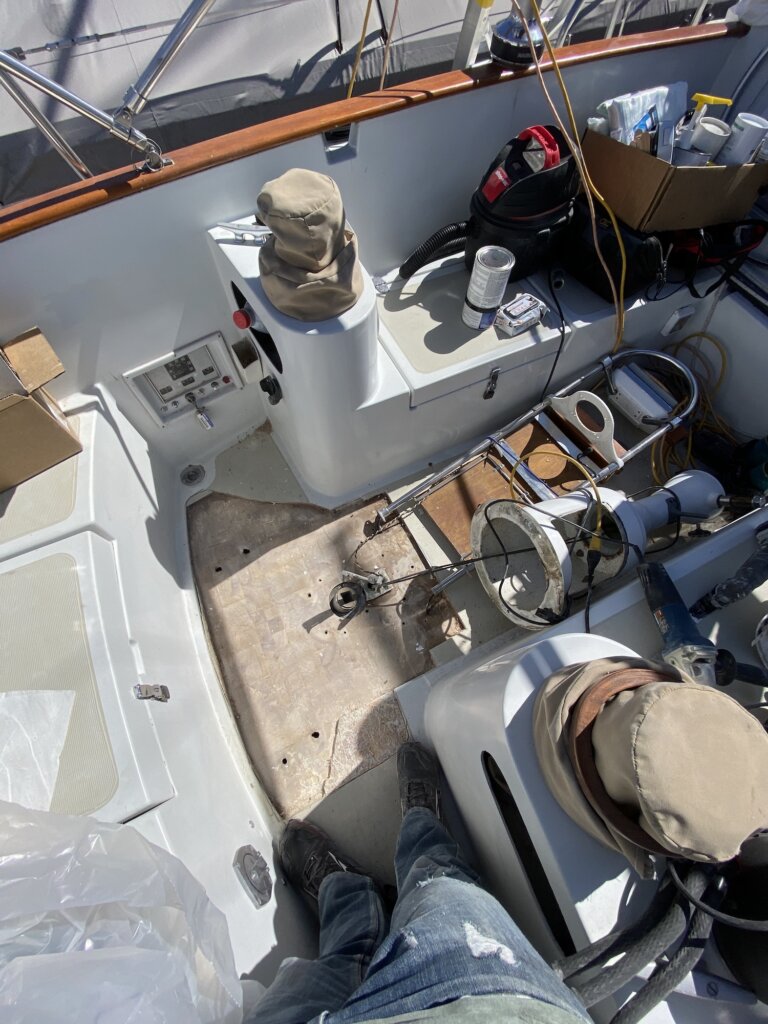
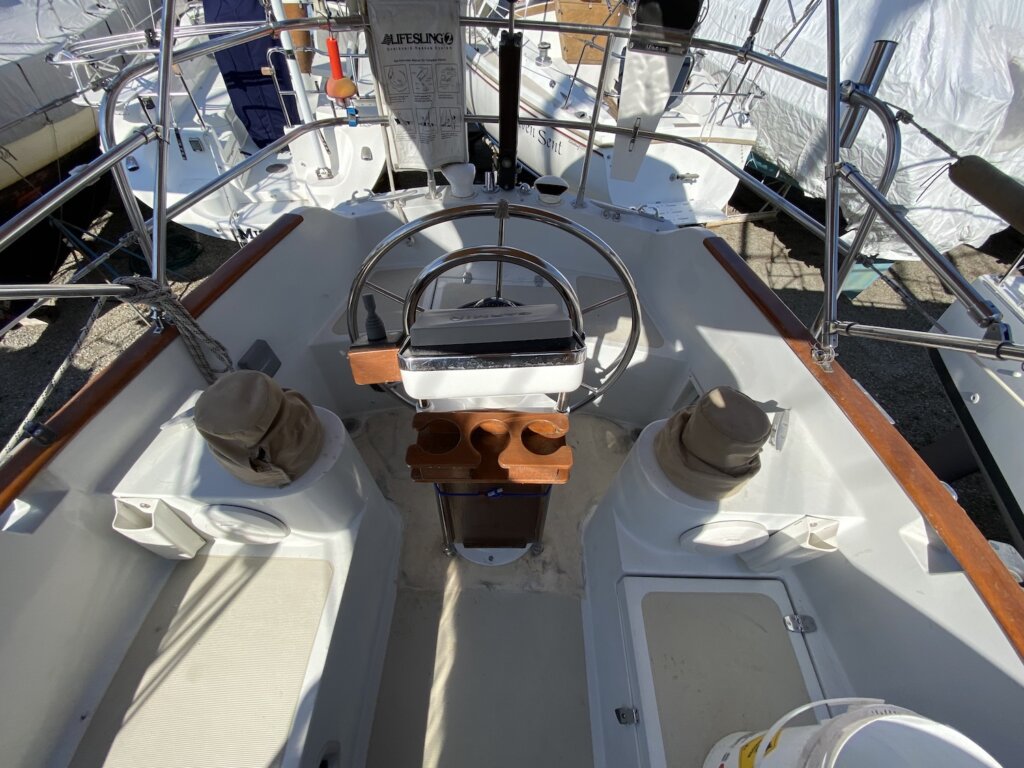
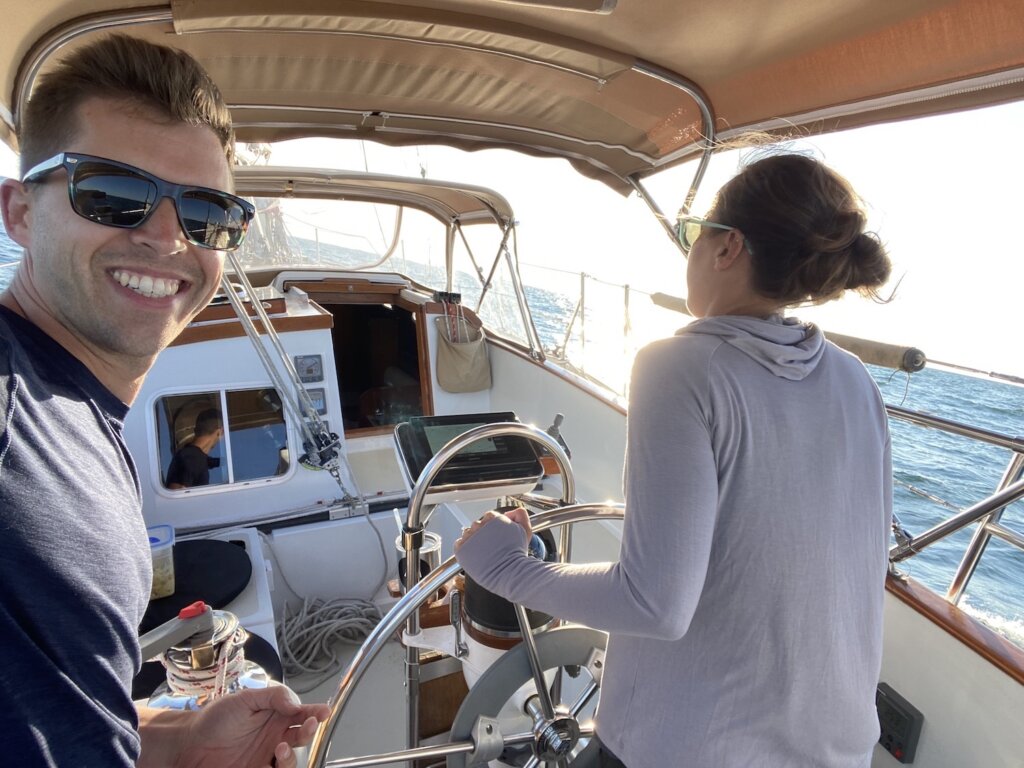
On our sail down to Muskegon from Bowers Harbor, we noticed flexing under the helm when steering hard. We knew moisture was high from the survey, but we didn’t think of the practical concern and thought it would be a ‘someday’ project. After that sail down, we knew it was a critical project for the safety of the boat, so it was the first place we decided to tackle.
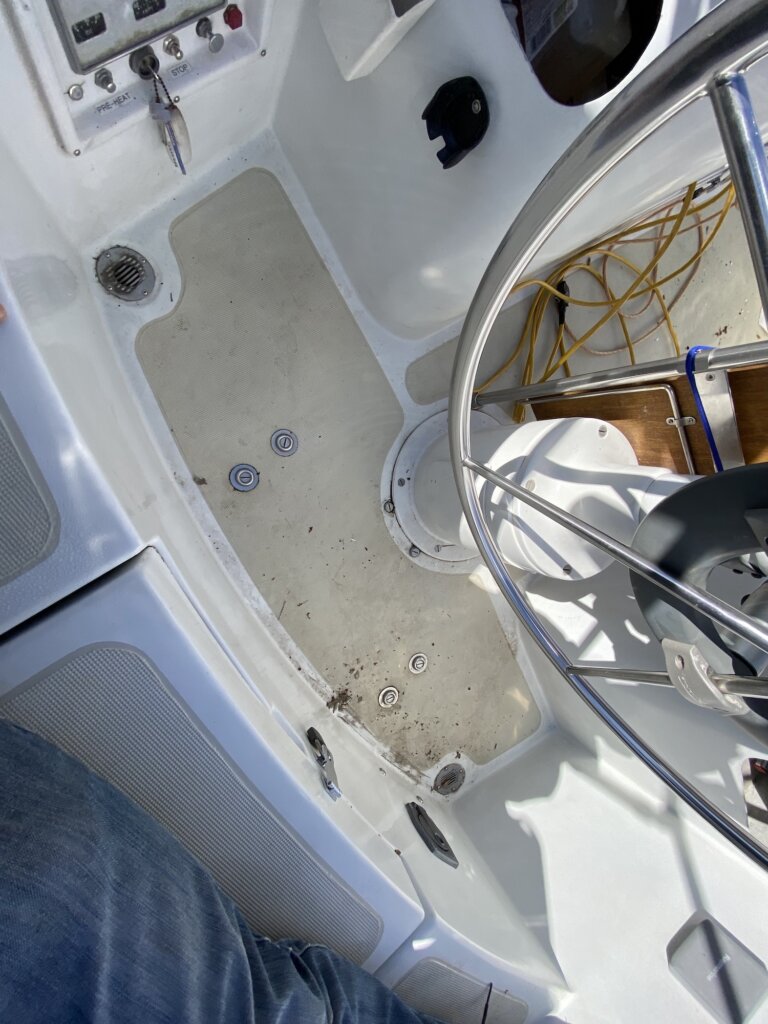
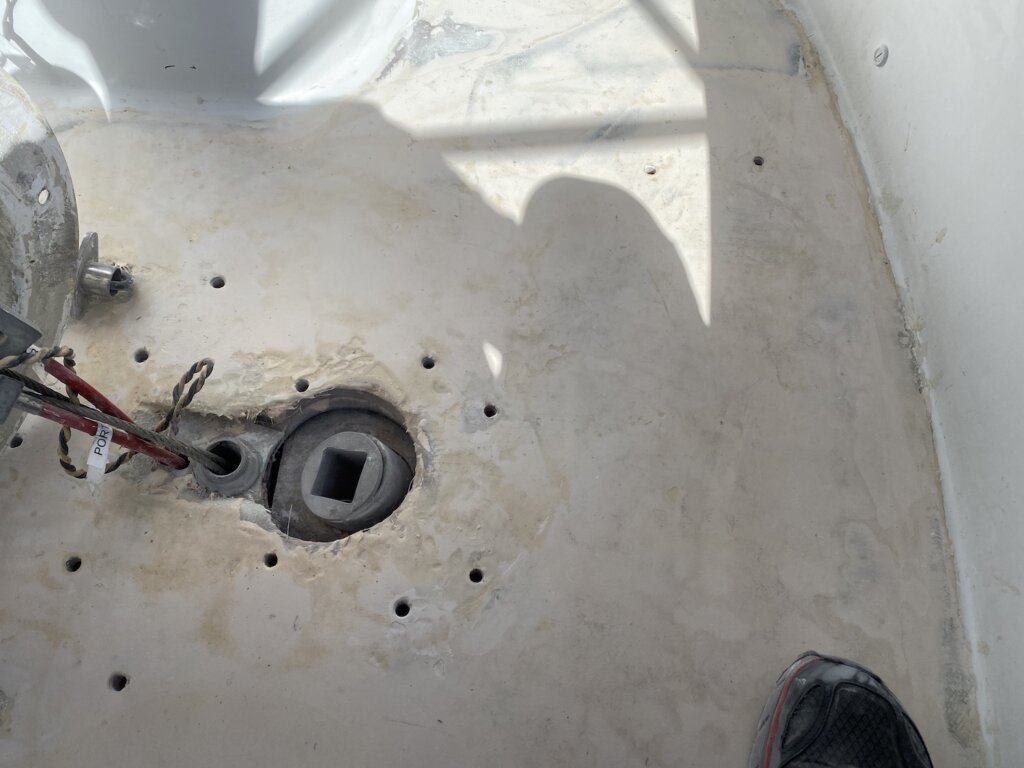
The area that was wet & rotten was the entire helm area, to just forward the steering pedestal (which we had to remove. The 4 bolt heads aft of the pedestal hold the steering brackets on our Ericson. All the steering hardware had to be removed prior to recoring the deck here.
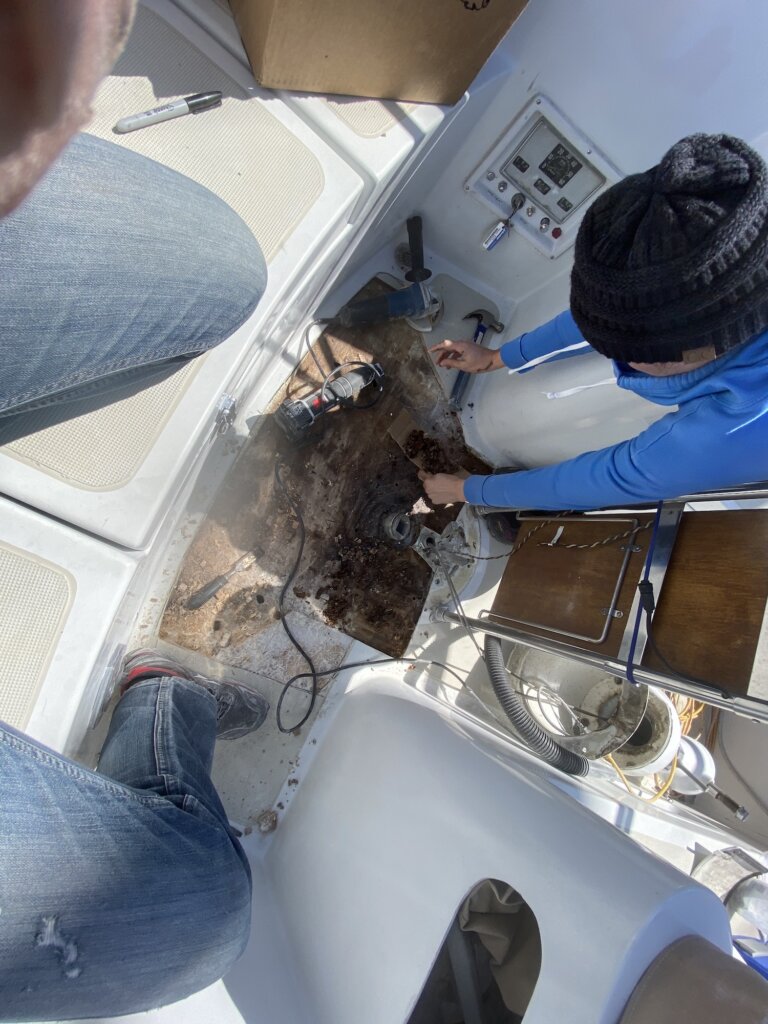
Chiseling out the rotten and wet core. Our cockpit has end-grain balsa core which does a nice job of isolating water intrusion to close to the hardware. We were able to get all the bad stuff out with a chisel, hammer, crow bar, and anything else that can do some damage. We also found a straight bit on a router set to the right depth can help make this process quicker when you hit the high moisture but still bonded areas.
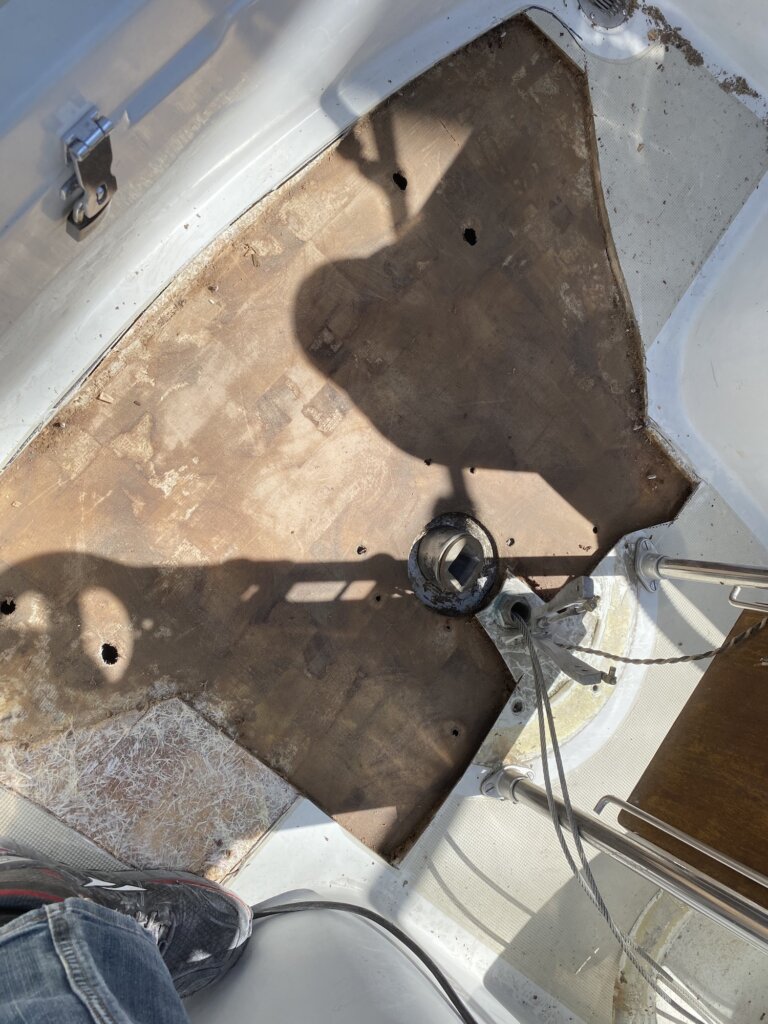
After the core is removed prep the area: Sand, remove any old fibers or wood, and wipe with acetone.
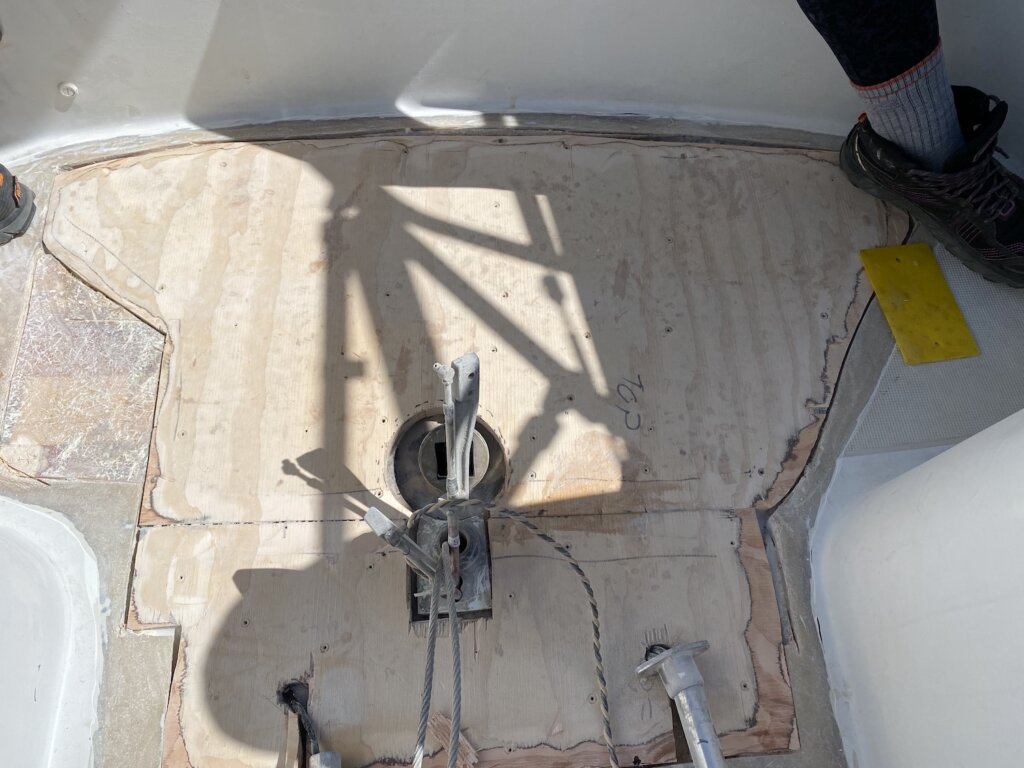
The final product before the new core. We ended up extending it forward more than our original tapping.
We cut the core to shape, ground down the edges with an angle grinder, and used West Systems 403 filler to epoxy the core down to the bottom layer. We tried to grind a groove into outer edge to make sure when we were done with the project, the water still drained well to the corners.
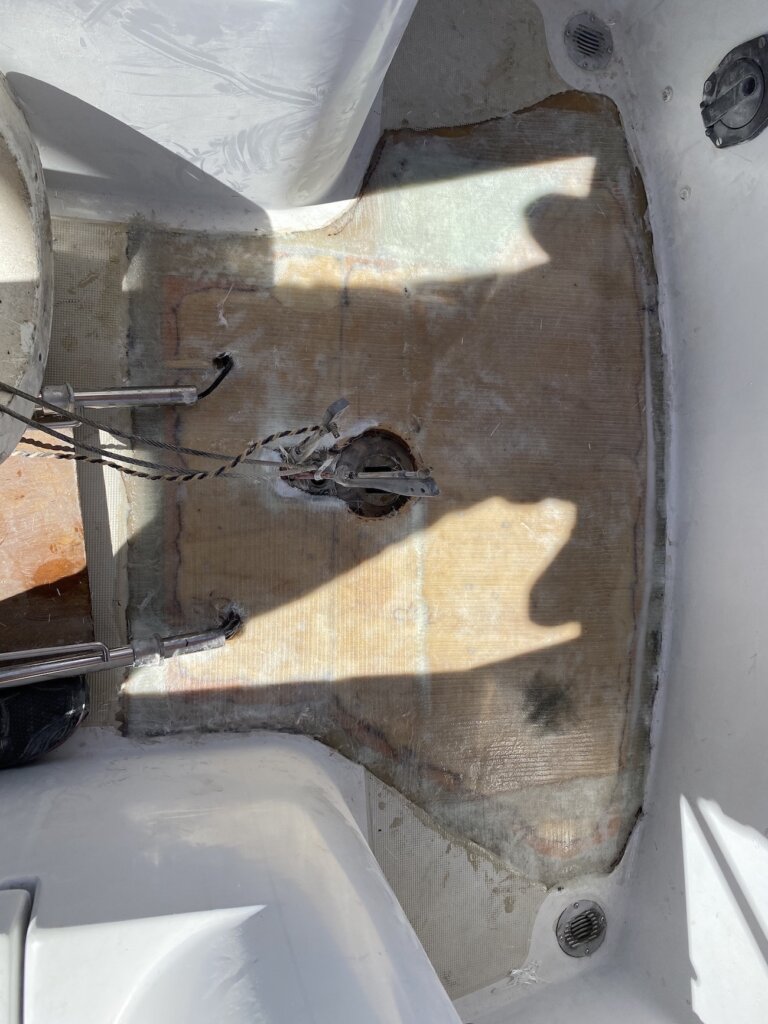
After the core was bonded and ground out, we glassed it in with 1708 Biaxial fiberglass, which is basically a three-in-one fiberglass material for additional strength.
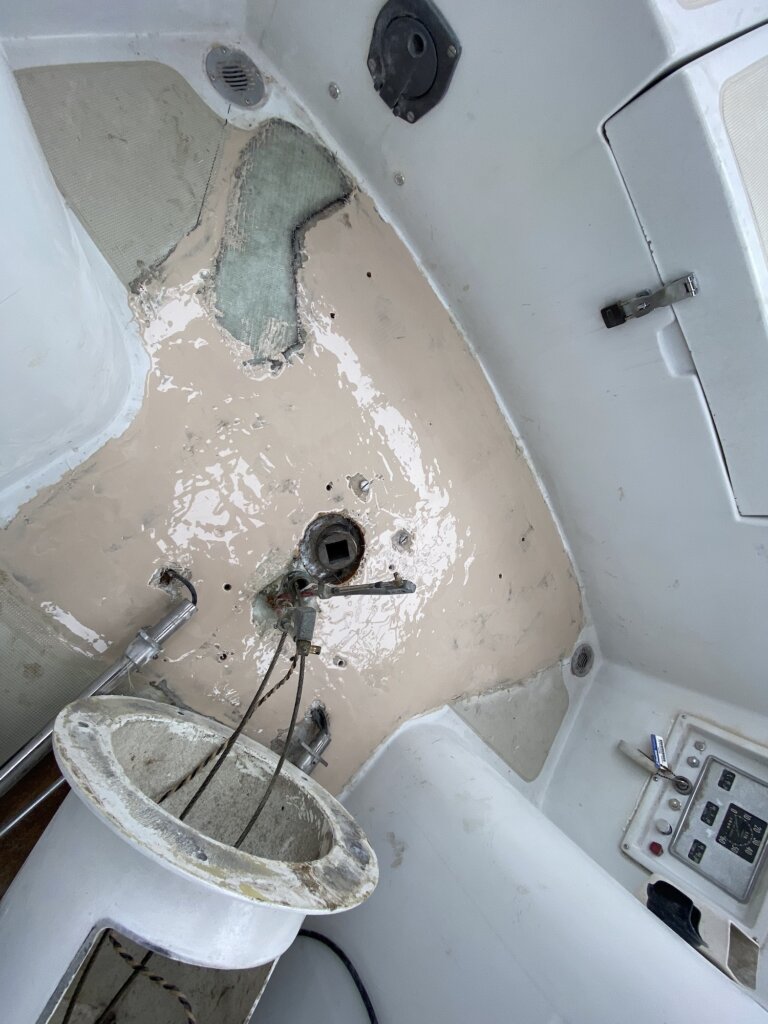
After the first fairing with West System 410 Fairing filler, we had to add an additional layer of fiberglass mat to build up the area to make it level. After each layer of fairing, we sand smooth and find low spots and imperfections. Expect 2-3 fairing layers to get the finish you want.
After the third layer of fairing, we sanded heavily. While it doesn’t look smooth visually, your hand is a much better gauge.
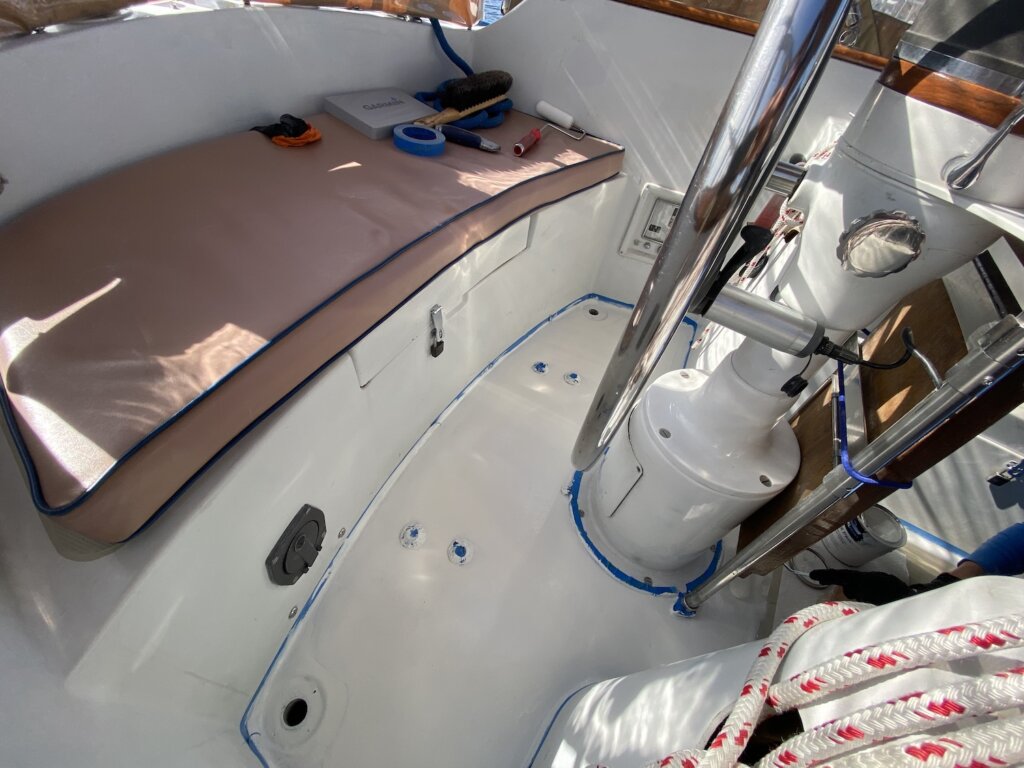
Once happy with the fairing, we reinstalled the steering pedestal to get the boat ready to go in the water.
We primed the repaired area with Total Boat Topside Primer, then finished with Total Boat Wet Edge Topside Paint. We used a foam roller with moderate success (it disintegrated pretty quickly)
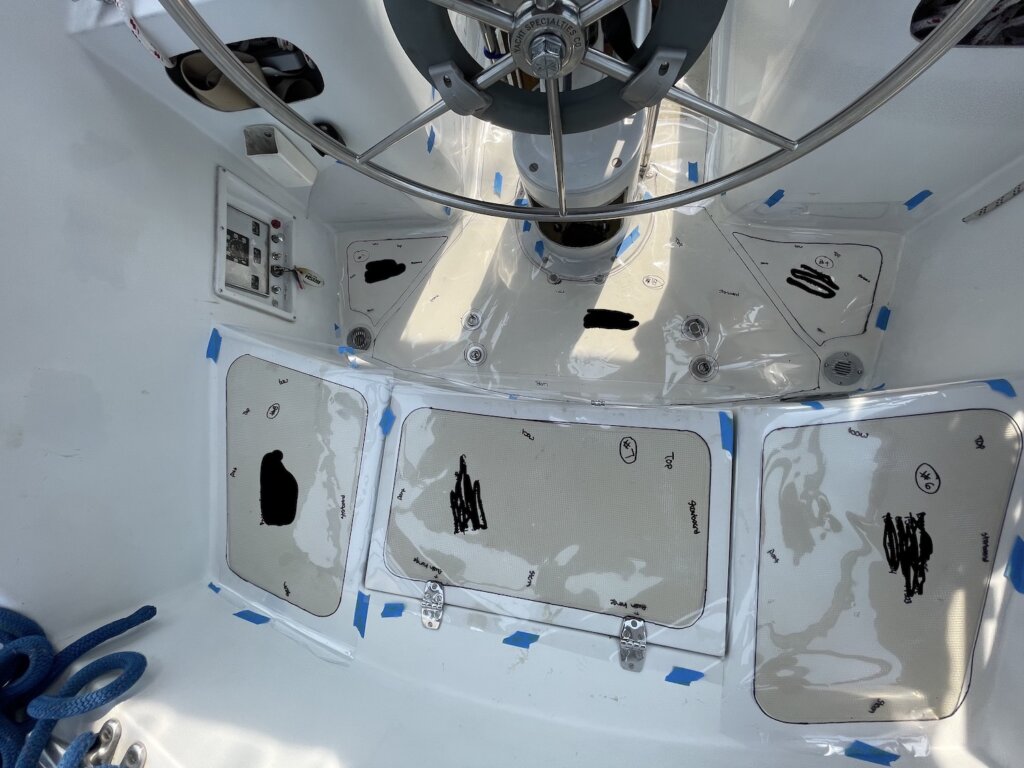
To be continued… we are getting Seadek in our cockpit! This is a picture of the templates we made and sent back to Seadek to be scanned. The process overall was very smooth, which we’ll show in a future post!
Hope you learned something, let us know if you’ve ever done core work on your boat. If so, how did you do it differently, and have any advice for us in the future? Let us know in the comments below!
After spending way too much time figuring out how to size the power system for our boat, I thought it would be good to create a simple guide to estimating your needs. It is an excel file you can download/modify with your own sailing or RV needs. I ran through this math with our teardrop trailer, and now with the more complicated sailboat. This whole file is set up for a 12-volt system, you may need to make some modifications to this file for different voltages.
Start at the top of the document and fill out the yellow boxes. The file The results will show up at the bottom.
Think of your system as the combination of three different calculations:
Energy generation from solar, wind turbine, generator, and/or alternator
Energy storage to/from the battery bank
Energy draw to the system demands
Each system needs to be sized appropriately for your application, which starts with the demand you expect to have in your system. Start by listing all of the loads that will be on your system, and classify them in different ways: on anchor vs. on passage and define the minimum critical requirements. Then figure out how many amps and how many hours each draw will take on a given day – either on passage or at anchor. For example, we don’t need to run our autopilot while at anchor, and it’s one of the biggest amp draws we have on our boat.
Once you understand your overall system needs, you can play with sizing your solar panels and battery bank. This is the generation side of the equation. You want to make sure you’re accounting for usable sunlight, clouds, and a safety factor when making your assumptions. You also want to make sure you’ve got the ability to weather a few days of low (or zero) power generation. This all gets calculated at the bottom of the excel file where it shows the final calculations of how long you’d be able to last (theoretically) in each scenario, and what your excess/deficit would be.
On this calculation, we determined we would be at a deficit on passage and would be able to last 7.2 days. We could turn some systems off to conserve battery.
What do you think? I’d love to get some feedback on the file/calculations.