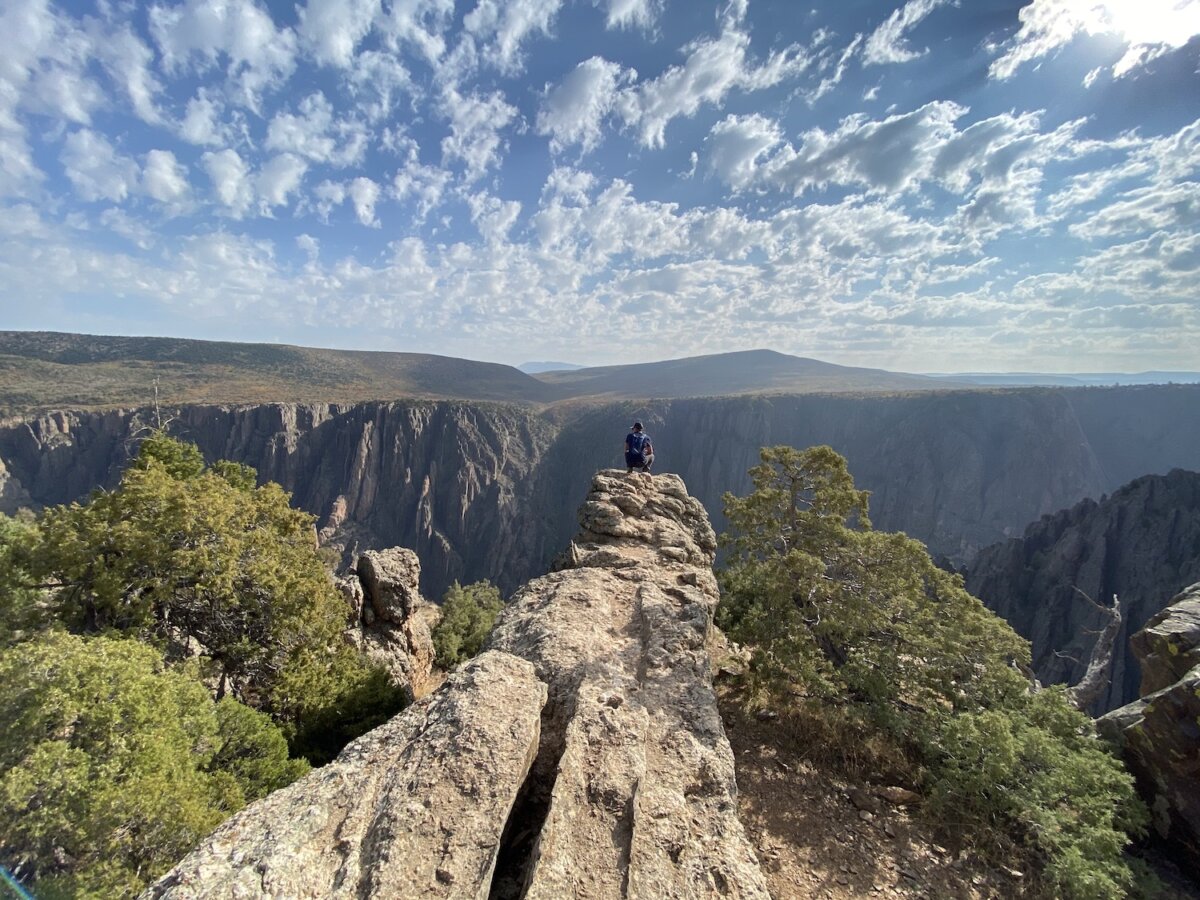
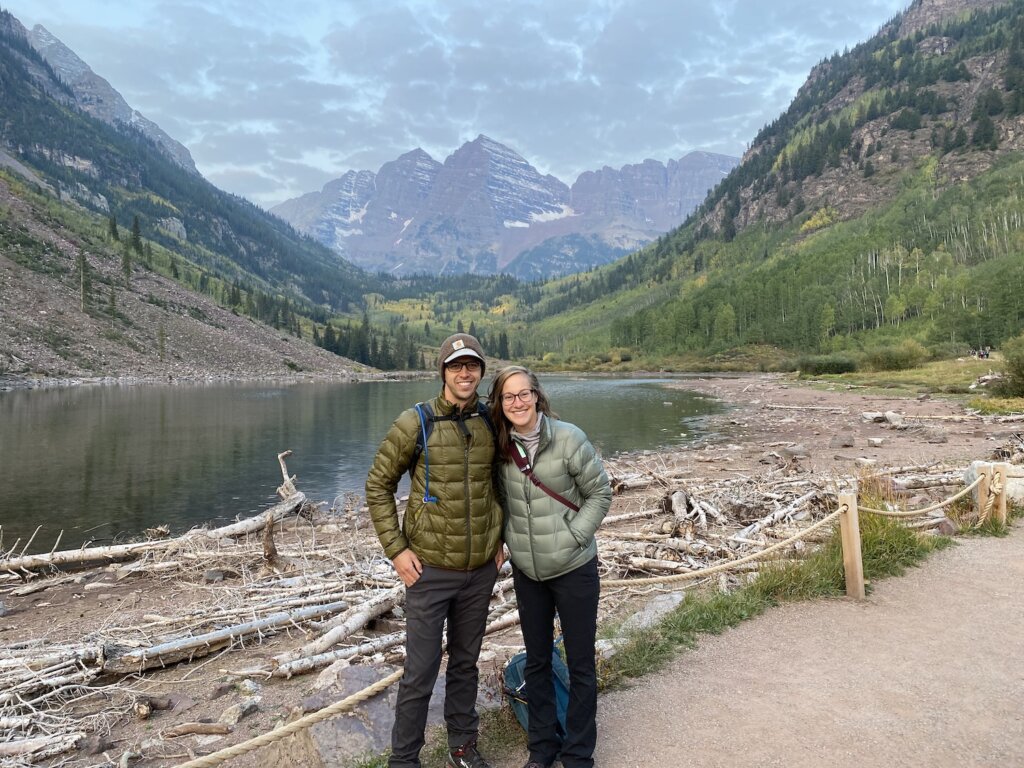
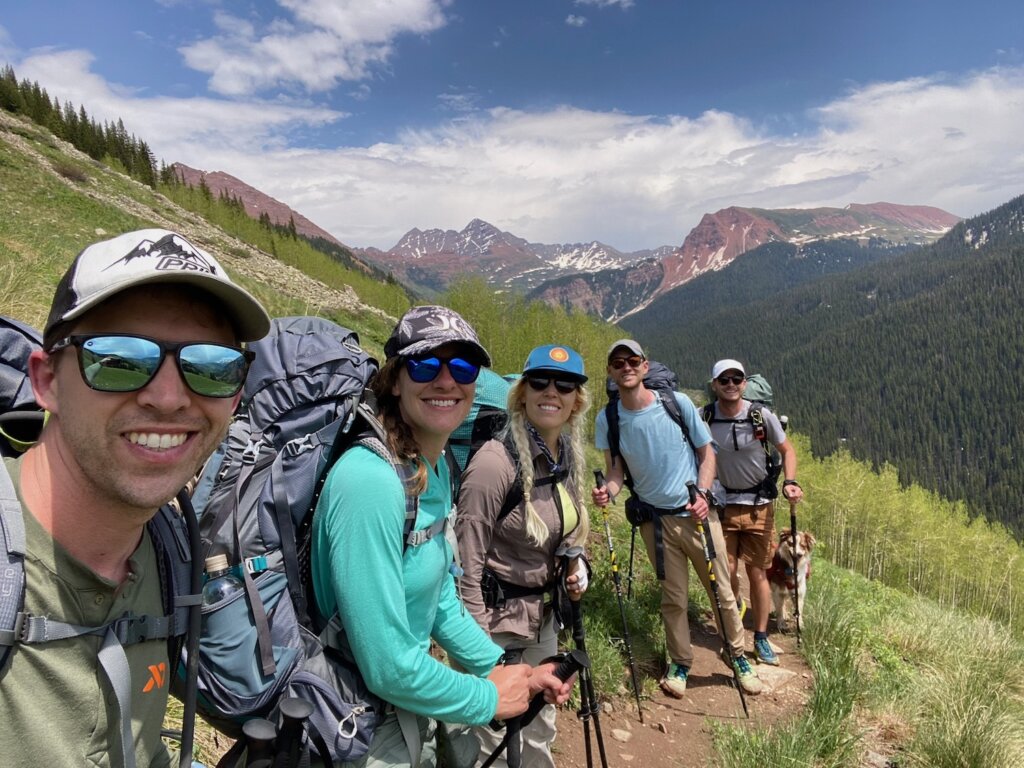
We set out to complete the four pass Loop at Maroon Bells Wilderness 6/16/22-6/18/22. This would be our first big backpacking trip and we were feeling ambitious! We had a group of five people and planned to complete the loop in three days. We did have additional food packed in case it took four days. Most people complete the four pass loop in 3-4 days. We planned to go counterclockwise, ideally making it to Maroon Lake on night one then camping part way up Frigid Air pass on night two to set us up for completion of the loop on day three.
This is early in the season for the four pass loop which we were aware of. We did make it fully around but we do agree it was early to attempt the trail. The hike, while doable, would have been more enjoyable and likely much easier later in the season.
Logistics:
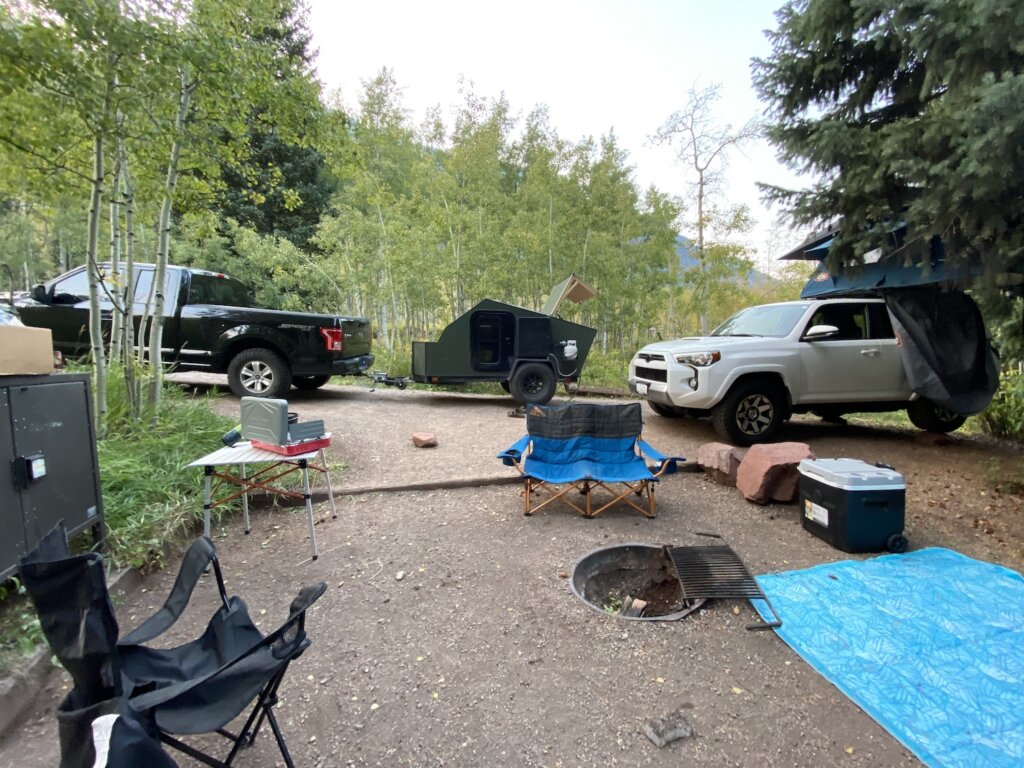
You will need to park at Aspen Highlands and take the shuttle up to the trailhead. You can drive up there if you have a reservation at one of the three Maroon Bells campgrounds. We got a bit of a later start than ideal for day one. We drove in from Denver Thursday morning and caught the 11:15 shuttle up to the trailhead. The shuttle runs approx. every 15 minutes with the last shuttle back down to the Highlands at 5pm. We did reserve spots on the shuttle up, no reservation was needed to take the shuttle back down when we finished our hike. You can book your shuttle here and find campground information here.
Now for the Hike:
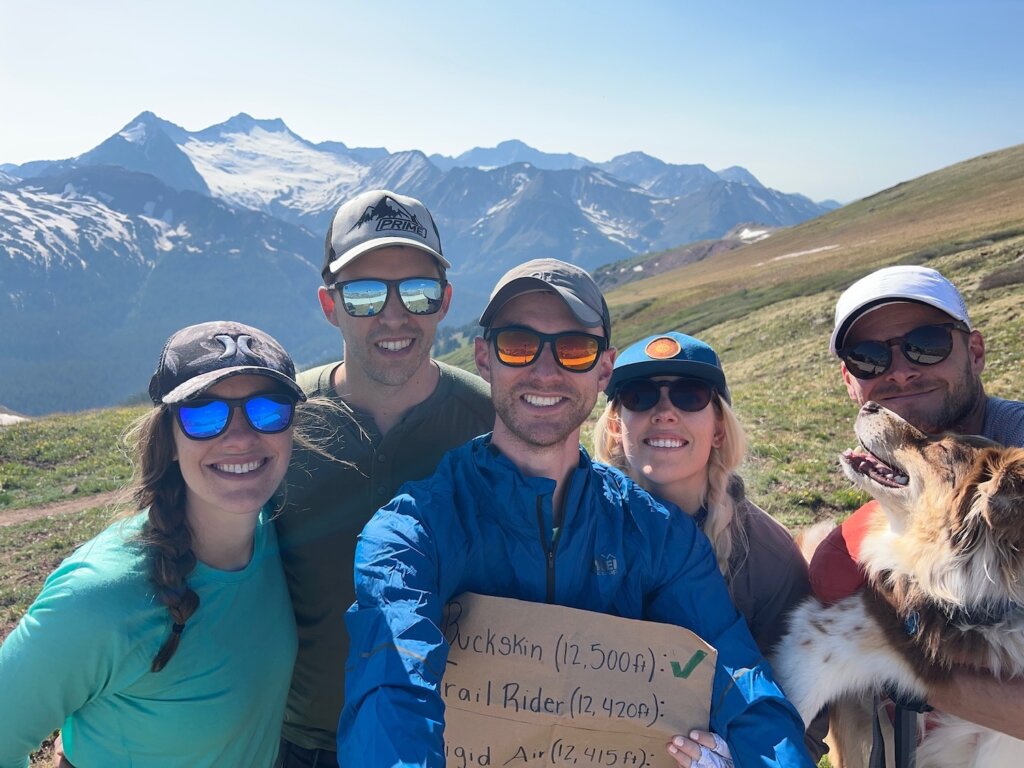
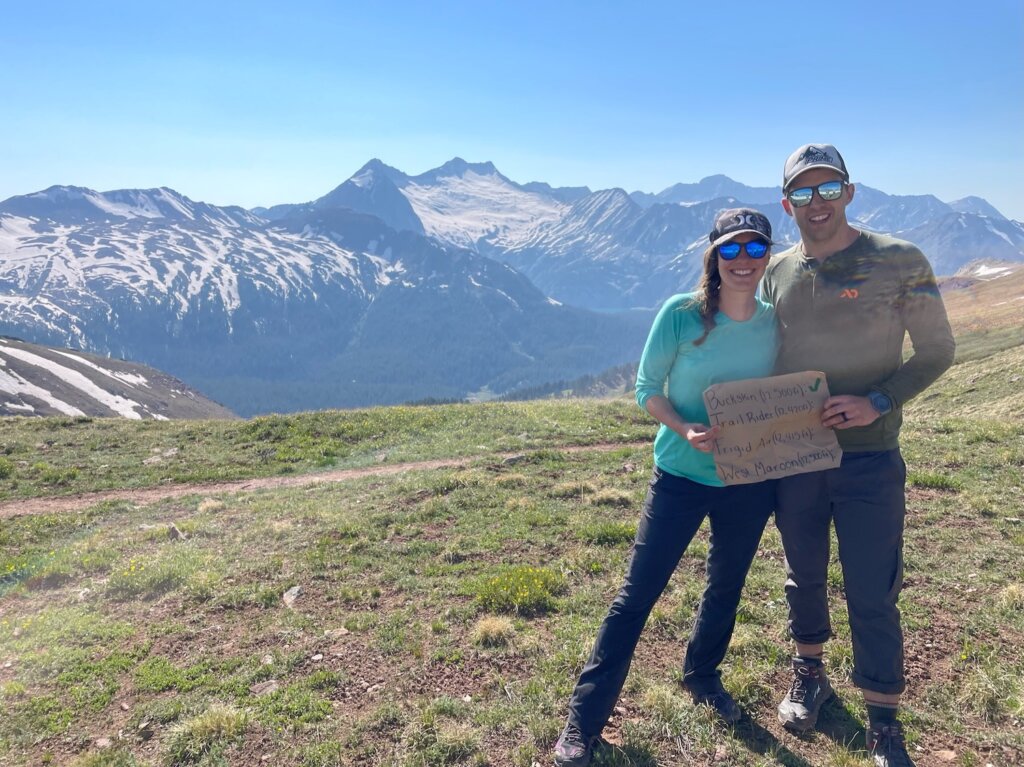
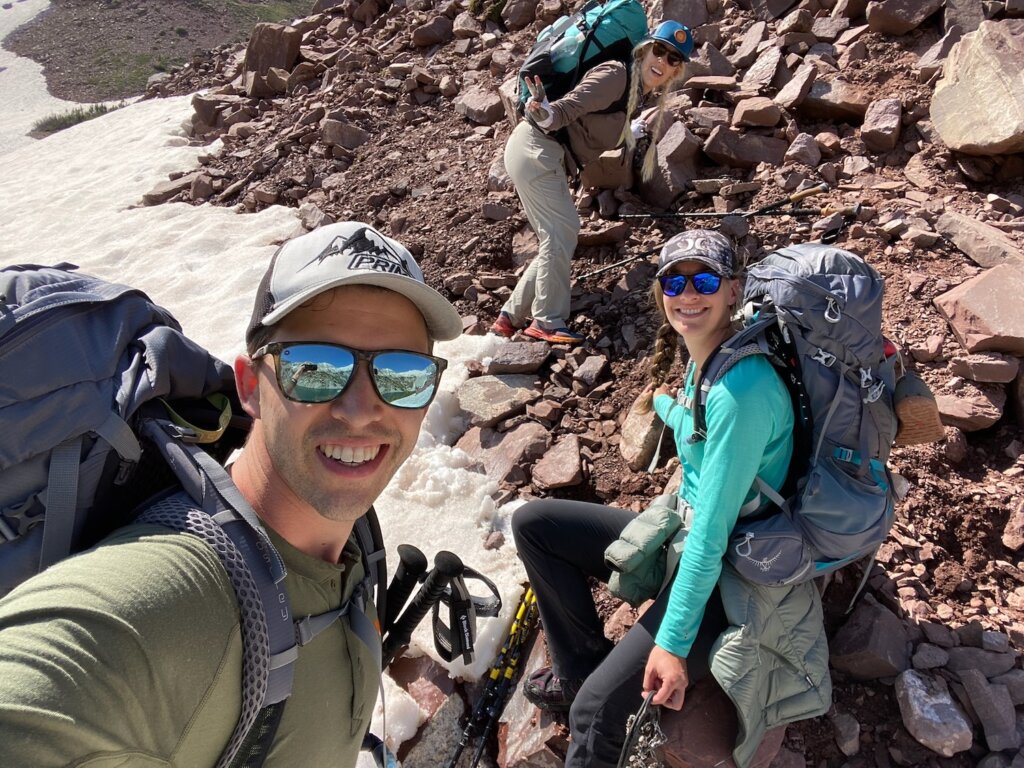
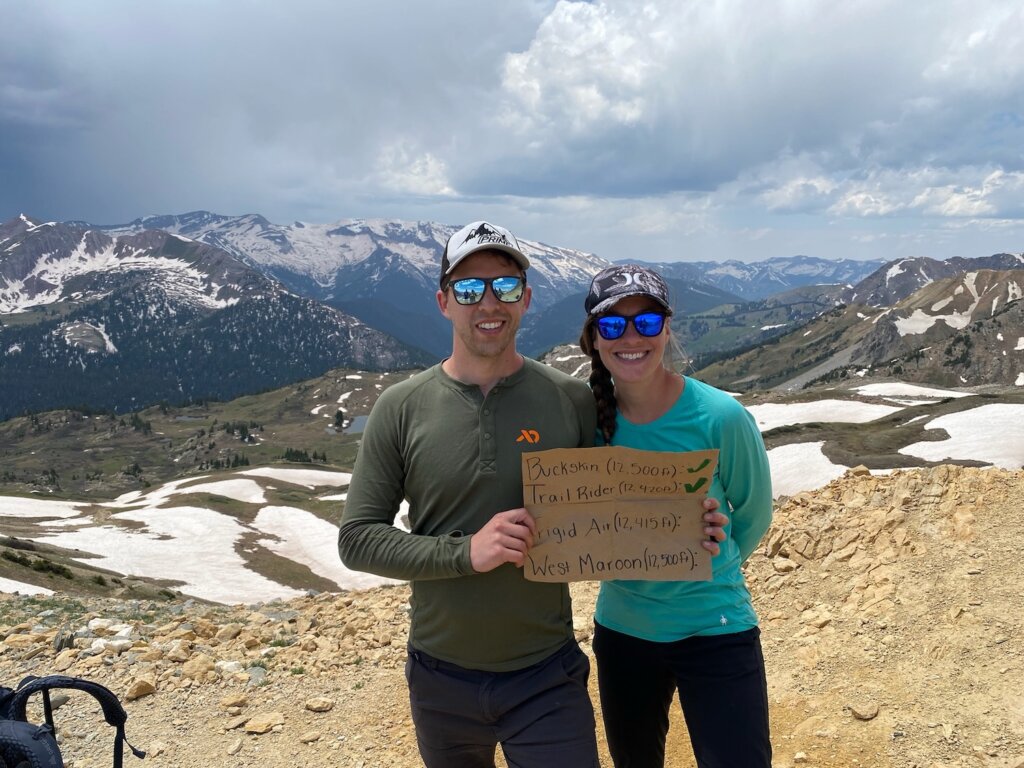
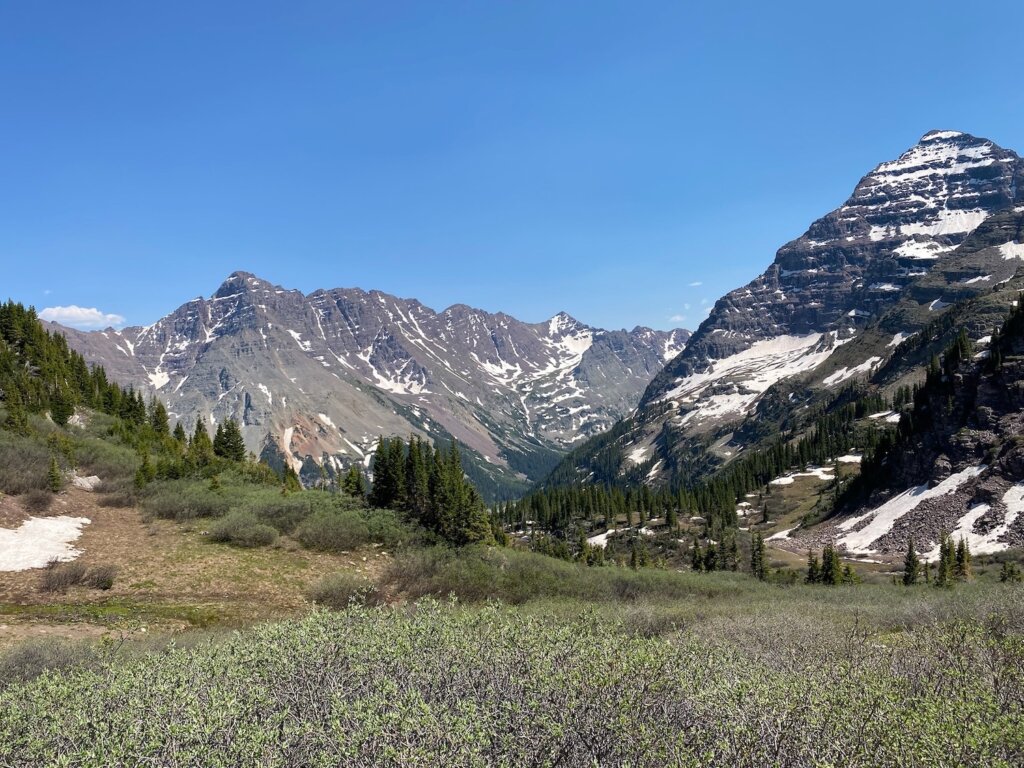
Day one: We ended up going approx. 8 miles total on day one. After Crater lake which is just under 2 miles in you won’t see many people. We didn’t end up making it all the way to Snow Mass lake, we camped just before Snow Mass creek. The trail on day one was pretty easy to follow. Buckskin Pass (12,500 ft) was fairly clear of snow until the very top which did have a large cornice. We went off trail at the end and rock scramble up to the top to avoid the cornice.
Coming from sea level we both were moving slow up this pass. We did acclimate well after day one but ideally an additional day in Denver or Aspen prior to starting the trail would have been beneficial. We had no major complications on the way down Buckskin pass. The hike went fairly smoothly for the rest of the day. We camped very near to the creek so we had plenty of fresh water to top everyone off and make dinner.
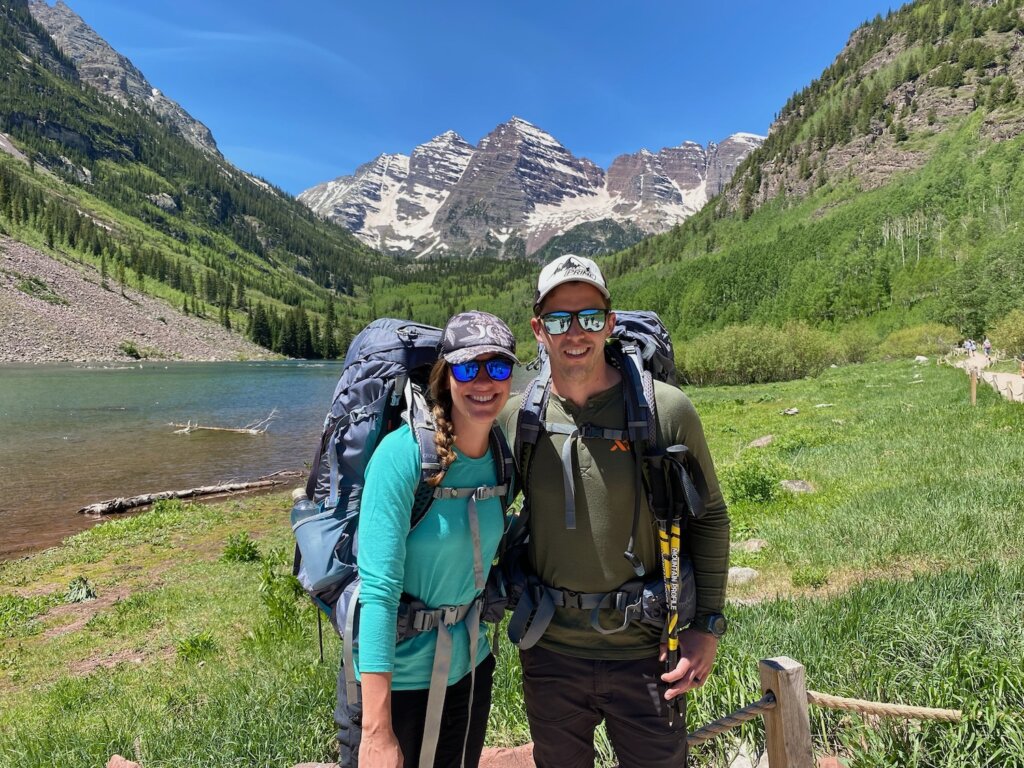
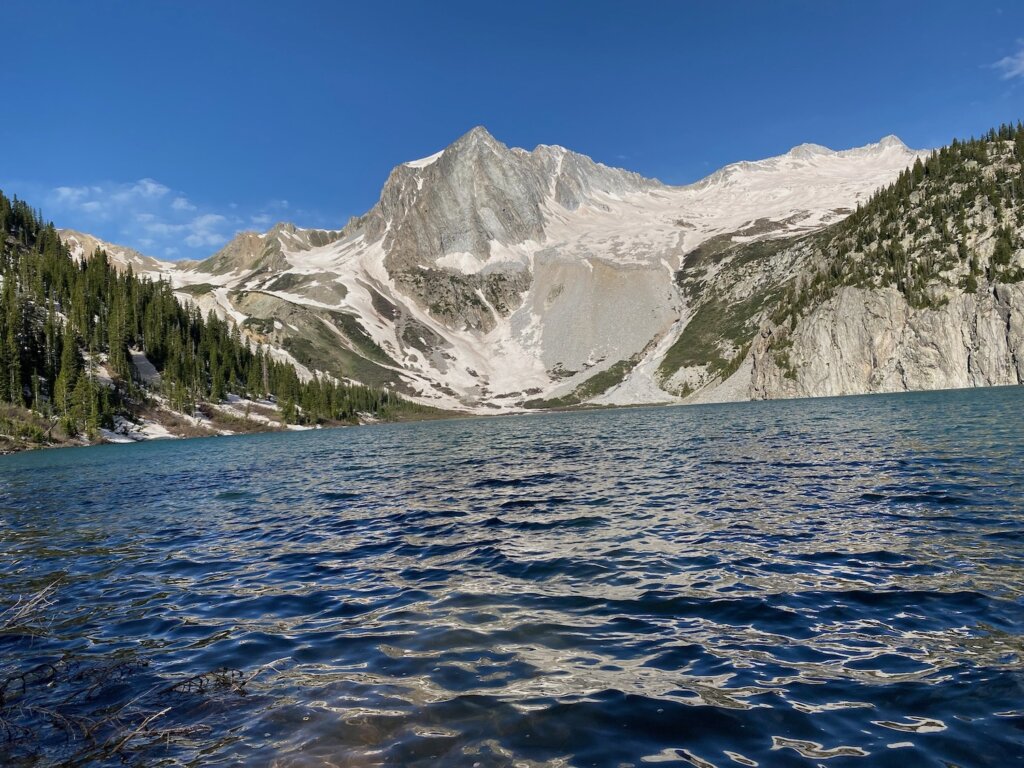
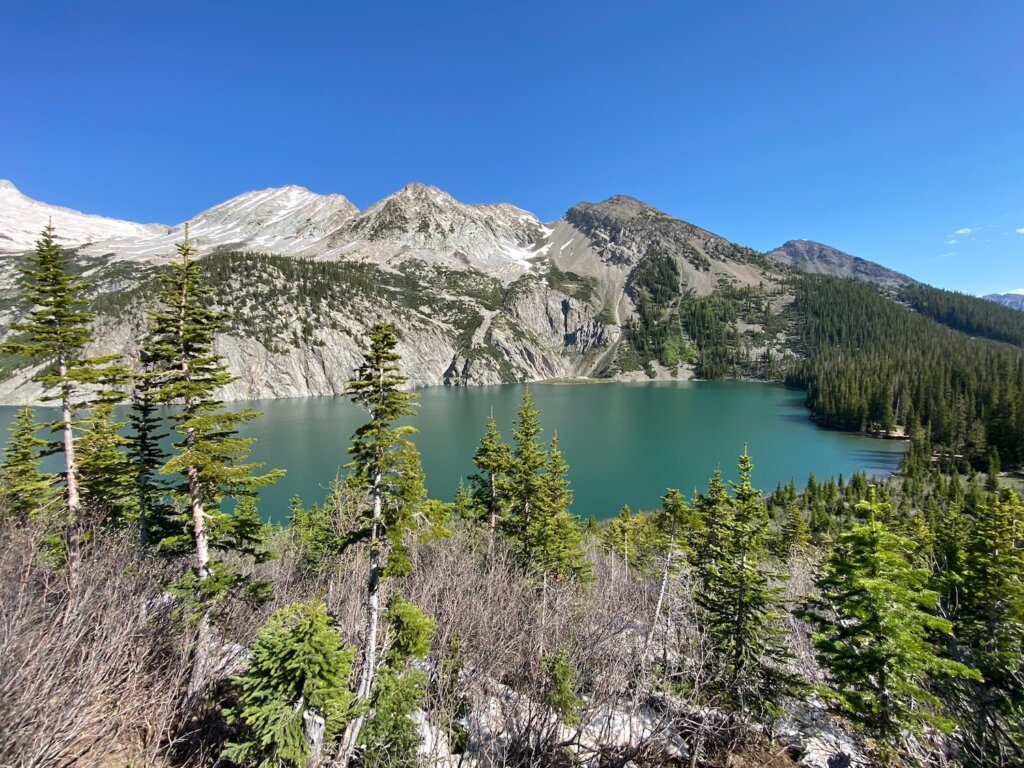
Day two: We got up and started hiking right away. The creek crossing was easy for us as there was a log bridge right where we camped. A bit furher down the trail is where the actual creek crossing was located. The water there was much higher and faster moving which would have made for a much more challenging crossing. From our camp spot it was just over a mile to Snow Mass Lake. Once we reached the lake we stopped for breakfast and coffee, taking some time to enjoy the views of the lake which is arguably one of the prettiest spots on the entire trail.
From the lake we headed up Trail Rider Pass (12,420ft). As we got higher up the trail become quite snow covered. We ended up going straight up vs curving around and following the trail. With the snow covering the trail it was too steep an angle to walk safely across. Once we got up the snow bank we encountered a large rock field that we had to cross to get back to the trail. This added about two hours to our trip as we were moving slowly over the rocks.
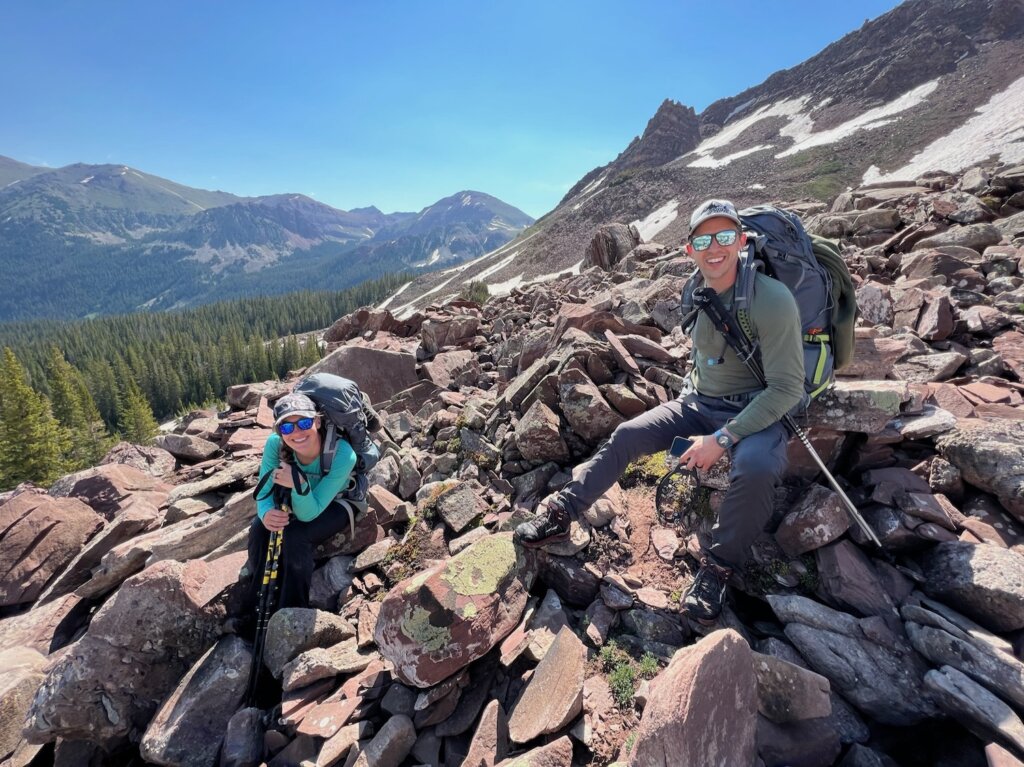
It was definitely the safer option based on the trail conditions we encountered. We had a little bit of time after that where we got to follow the trail before once again we encountered significant snow.
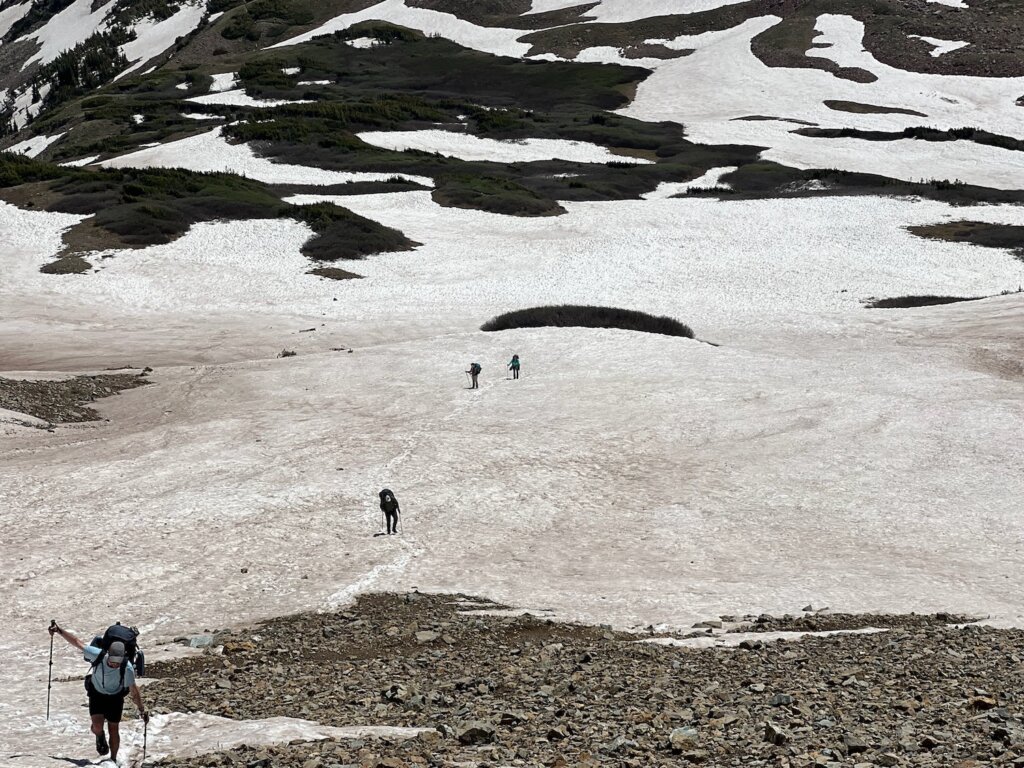
It appeared everyone abandoned the trail here as we saw footprints going straight up the snow in every direction. With our micro-spikes and hiking poles the snow was fairly easy to get through and we all made it up the pass with no further complications.
We arrived at the top of the pass seeing a large thunderhead in the distance. The storm moved quickly and we scrambled down to get to some trees right as the thunder and lighting started. It was briefly rain and then turned to dime size hail coming down on us. We stayed low, sitting under the small trees for about an hour unitl the lighting stopped and we saw a small patch of blue sky. The sun did end up staying out the rest of the day so we could dry ourselves and our packs out.
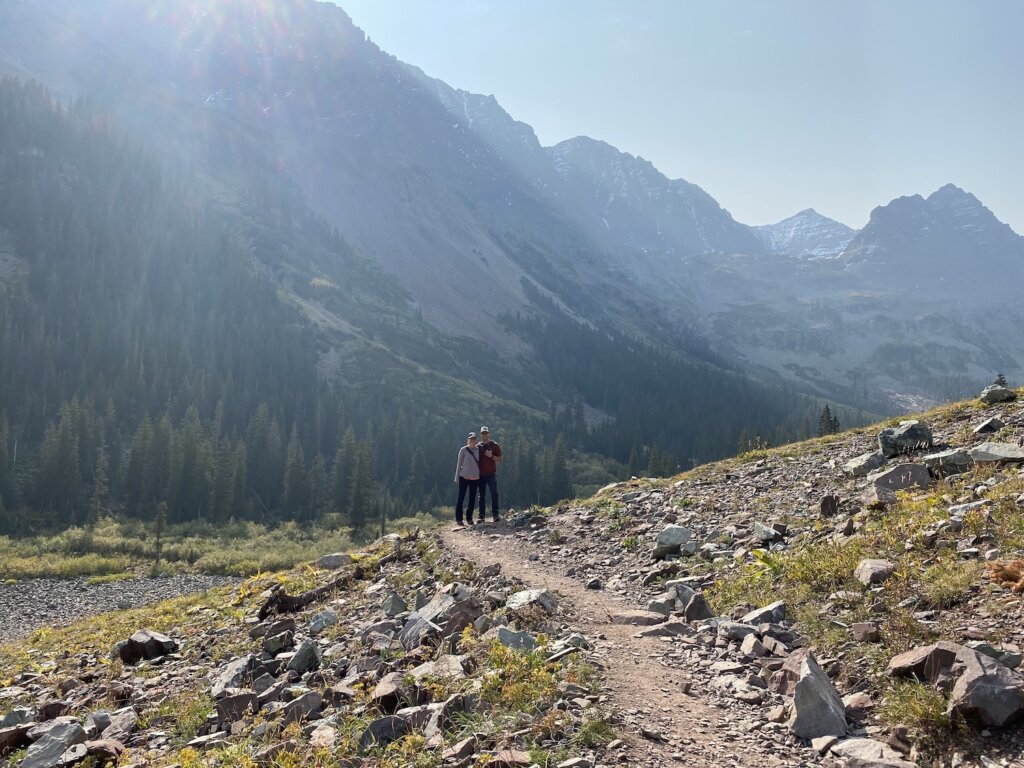
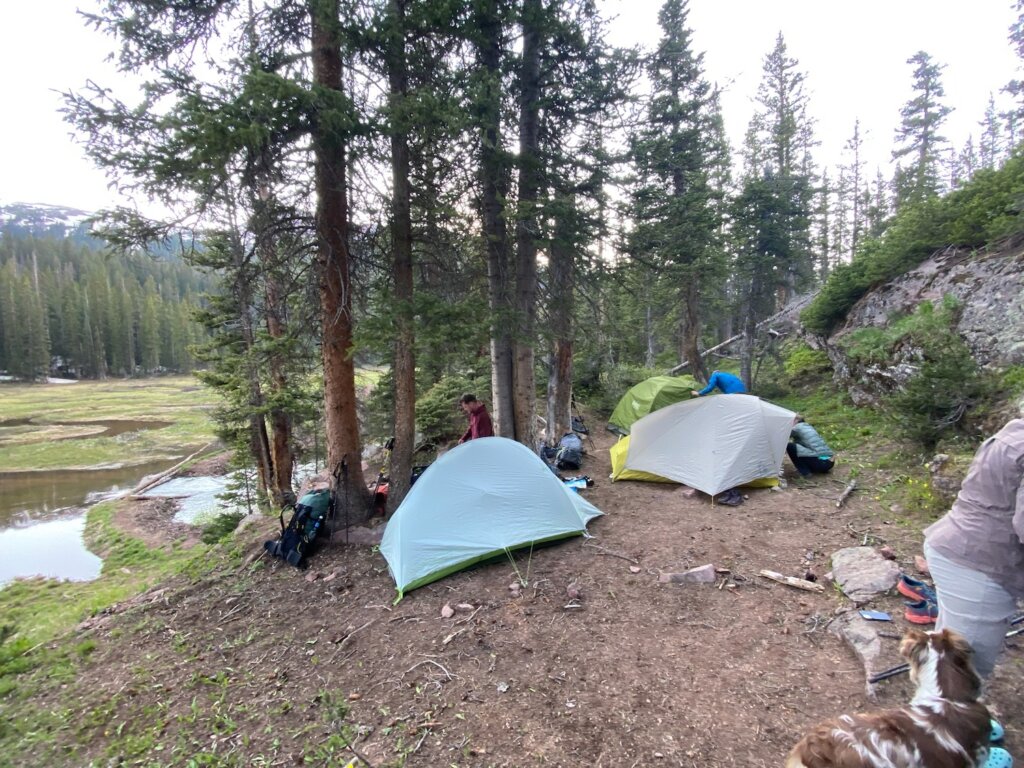
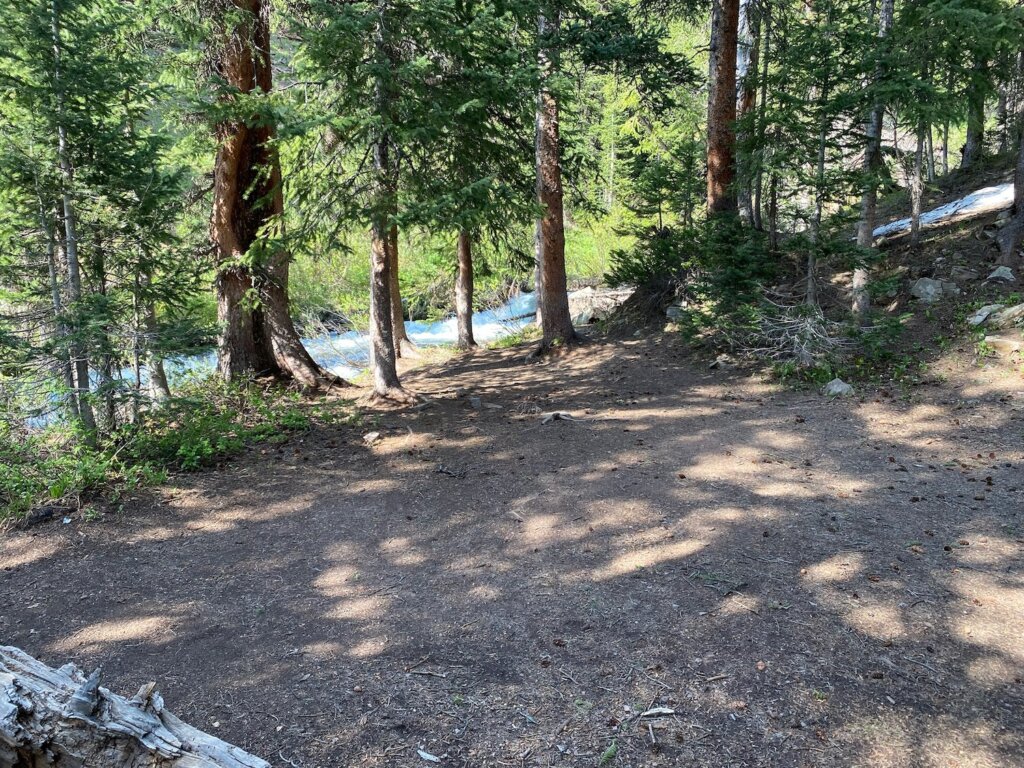
The final designated camp site on the trail before going up the next pass is at approx 10,800 ft. We went down the valley and then began our hike back up and stayed at that camp site to set our selves up for the final two passes the following day. Again this site is right next to a river so we had plenty of fresh water.
There is a river crossing in the valley that was just above ankle deep for us. The current was fairly strong, we could feel it pushing us as we set our feet down each step of the way but it was doable to cross. We had a dog with us and did end up carrying her across. In total this day was about 9 miles.
Day three: This was our big day, we had to go off trail quite a bit so in total we ended up with about 13 miles completed including the final two passes. We woke up early and began hiking up Frigid Air Pass (12,415ft). We left camp at about 5am. Frigid Air pass did have some snow but overall we were able to follow the trail most of the way with no complications. After that pass it is less than 3 miles to the second pass of the day. You don’t hike all the way down the valley, you only descend to approx. 10,500 ft before starting back up the next pass.
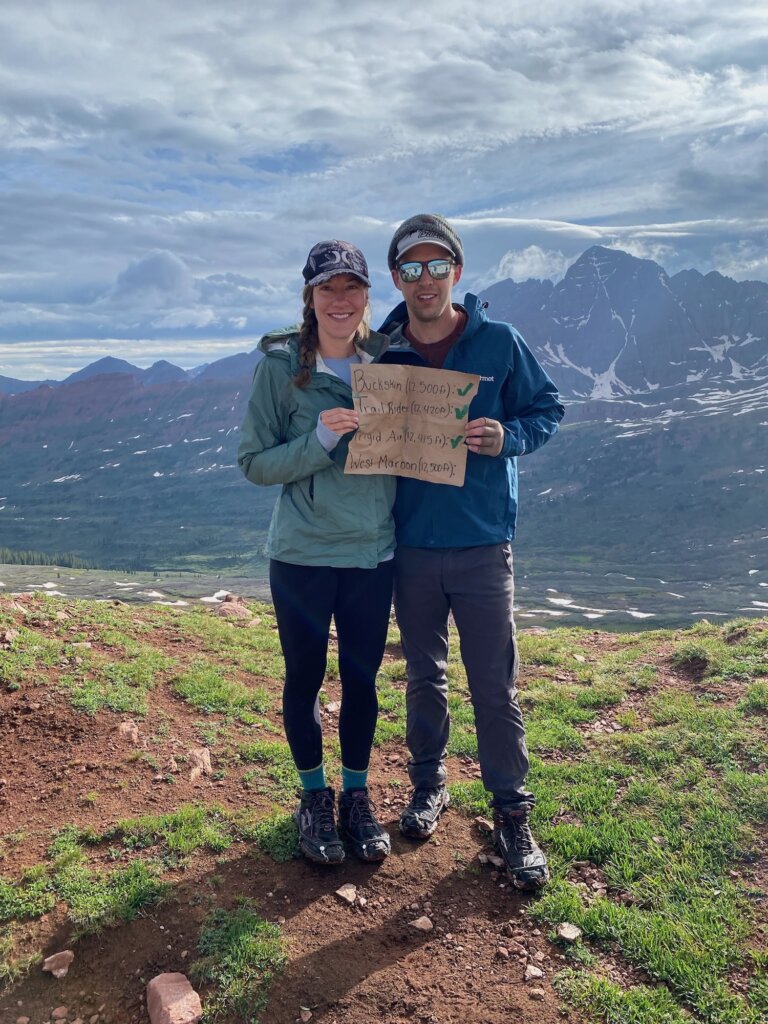
The final pass, West Maroon (12,500ft) was a challenge! We encountered snow, wet trails and a very steep trail up to the top. We made it to the top and it felt so great to have completed our final pass!!!!

We soon realized the way down would be even more of a challenge. The trail was steep, snow covered and muddy. It had rained most of the night before which likely did not help our trail conditions. It was not easy to get good footing coming down this pass. One of us did fall and thankfully didn’t slide far as there wasn’t much space before the steep drop off down the mountain.
This really freaked us out. After we all made it to a safe spot a bit further down we needed a minute to compose ourselves again. There was a brief time where the trail flattened out a bit and we were able to walk along it before quickly encountering more snow. We walked across the snow fields trying to find the least steep areas to go across, trying to avoid sliding down. We have no pictures of the hike after the top of West Maroon pass so unfortunately we can’t show you. The lack of pictures speaks to how stressful this part of the hike was for us.
Once we were through the snow things calmed down for a bit and we were able to make good time. The rest of the trail is downhill with two final river crossings as the final obstacle.
When we got to the river it was very high and the current was very strong. It was not safe to cross where we were supposed to. We walked up and down a little way with no safe crossing located. After looking at the trail map again we realized the trail crosses the river and then crosses back over.
We decided the best course of action was to go off trail and bushwhack, picking up the trail again without having to cross the river at all. This was successful for us but was slow moving. In some areas the bushes were quite thick making it difficult to get through. We also had to go across several rock fields, there was once fairly steep area that worried us but we all got through. It was approx. .8 of a mile in total that we had to cover before picking up a trail that lead us back to our trail. This added considerable time to our day, setting us back about an hour.
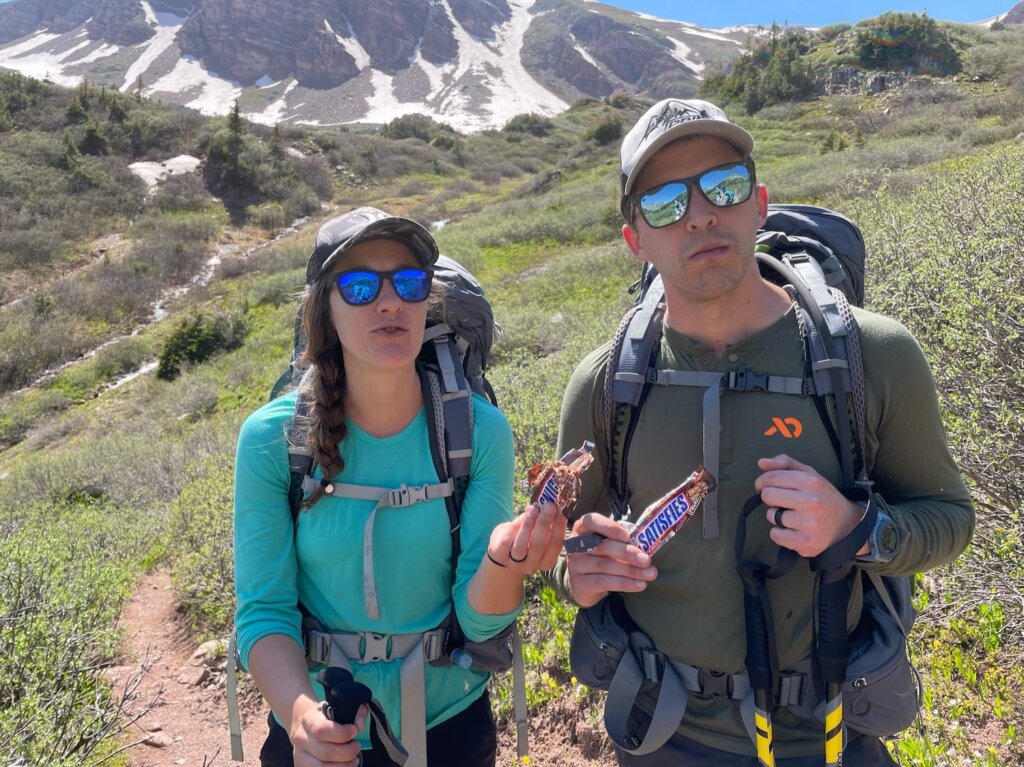
After we were back on our trail we had no other major set backs. We made it back to the shuttle around 4pm. Overall we all felt we were in a little over our heads. Because of the time of year and conditions we were off trail more than we thought we would be. It was more mountain climbing at times than hiking. We would strongly recommend hiking poles, micro-spikes and some type of water shoe for the river/creek crossings. Even with the water shoes prepare for your feet to be wet most of the time due to snow and wet trails with rain. Bring socks for each day to have something dry to change into when you arrive at camp.
It is impossible to know the exact weather and trail conditions you may encounter. Be prepared for anything. We had one Garmin in-reach to check weather and let someone know that we had made it to camp each night. There is NO cell phone service once the shuttle leaves Aspen Highlands. Once you head out, you are on your own until you complete the trail. You are required to have a bear vault for all of your food, this will add weight to your pack and they do take up quite a bit of space. You can buy or rent these at REI. Bear spray is also a good idea just in case. We did not see any bears or see any evidence of bears but you still want to be prepared. We also had one person with AllTrails Pro so we could see the trail map without having cell service. This helped significantly and we would highly recommend it! We also referenced Gaia GPS for trail and campsite locations.

We all experienced a range of emotions on this trip. We had great times and times full of anxiety and nervousness. Having a good group of friends was helpful. Whenever one of us was nervous there was someone to help pull them through. The trail is absolutely beautiful! It is probably best for those with some backpacking/backcountry camping experience. We made it through and are happy we did it. The four pass loop was a trip we will never forget! Our friends at the Passport Pair put together this short video of our trip!
Have you done the four pass loop? What was your experience? What other questions do you have? Leave us a comment below.