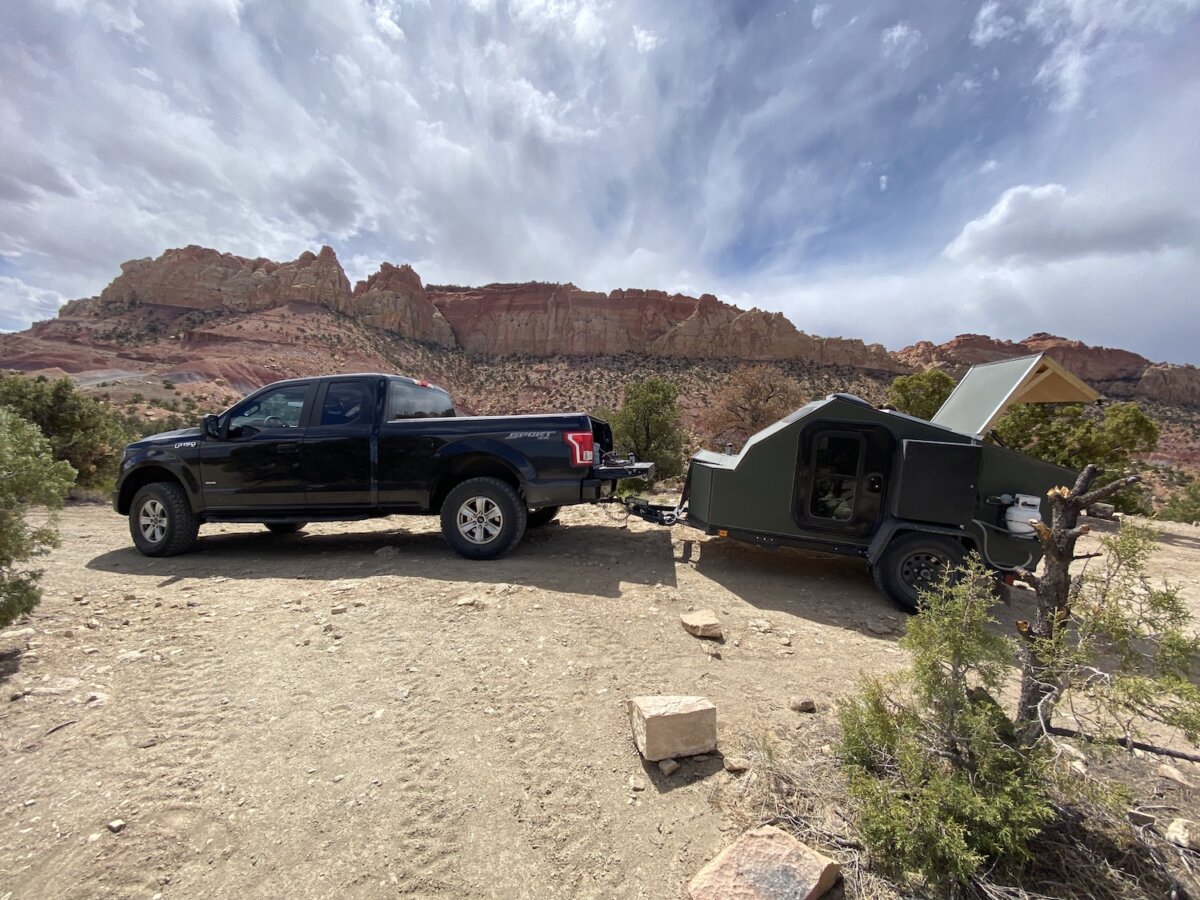
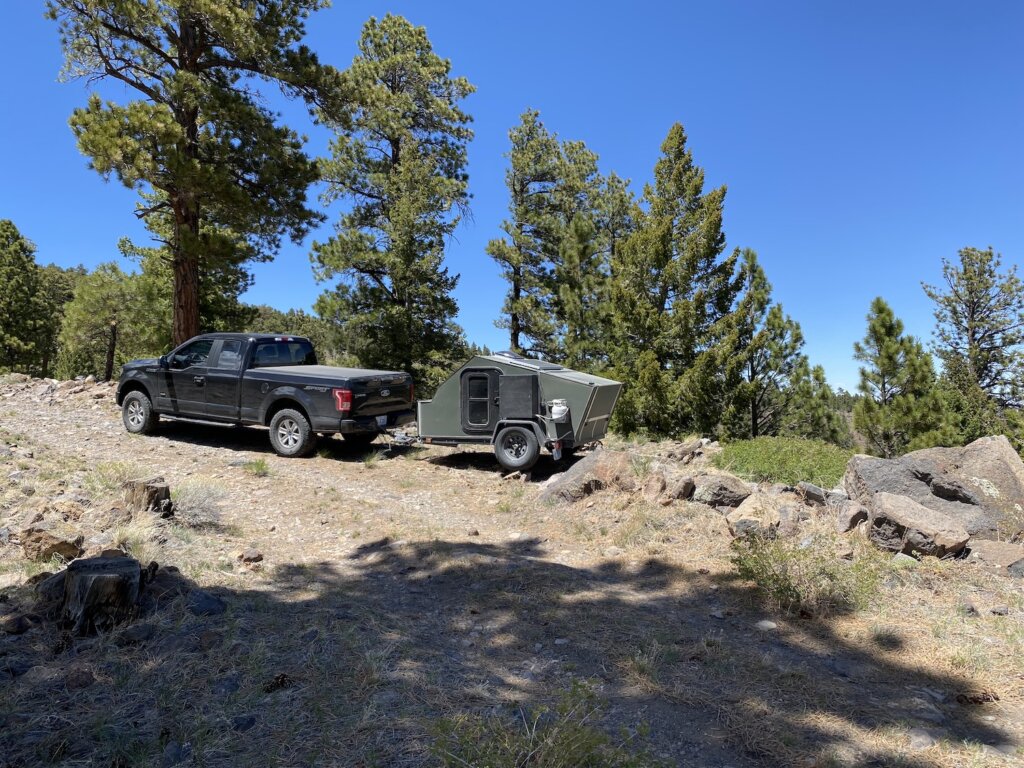
On our most recent trip out west, we took our teardrop trailer to Utah and Colorado. We spent a grand total of 10 nights in the trailer (including one night at a rest stop on our way out west from Michigan). We had no firm plan for this trip, just a list of parks and areas we wanted to visit. We ended up camping at a different spot each night, all free, all with no reservations, and all close to the national park, state park, or city we wanted to visit. We loved all the spots we found! We did stay in a few that were fairly crowded but the vast majority of our nights we were one of the only, if not the only ones camping in the area. It can be done! Here are our tips for how to find great free camping…
You can stay on BLM land or in National Forest. Use the Gia app or another map app that outlines what designation you are in.
Use apps such as the Dyrt. We have successfully found several great spots using this app. It is all crowdsourced. You can read reviews from other people and leave a review yourself. We filter by free and drive-in. You can also find paid campgrounds and hike in only camping on this app.
Go farther away from the nearest city/town. The further out you are the better your chances of finding more private, less crowded spots. Not to say you can’t find great spots close to town but if you are having trouble or want fewer people then drive further away and you’re sure to find what you’re looking for.
Avoid know ATV/off-road areas. These are noisy and these areas will be more crowded because you’ll get campers and off-roaders.
Look for free camping outside National and State parks. While these parks all have a campground, they will often be full and certainly not the most private. We have successfully found spots within a 5-15 minutes drive from the park entrance at several different parks. This allows you to enjoy the park for as long as you want and then escape to a quiet spot to camp for the night once your done exploring. You typically get at least a few days to re-enter the park so leaving and coming back in shouldn’t be a problem once you’ve paid your park entrance fee initially.
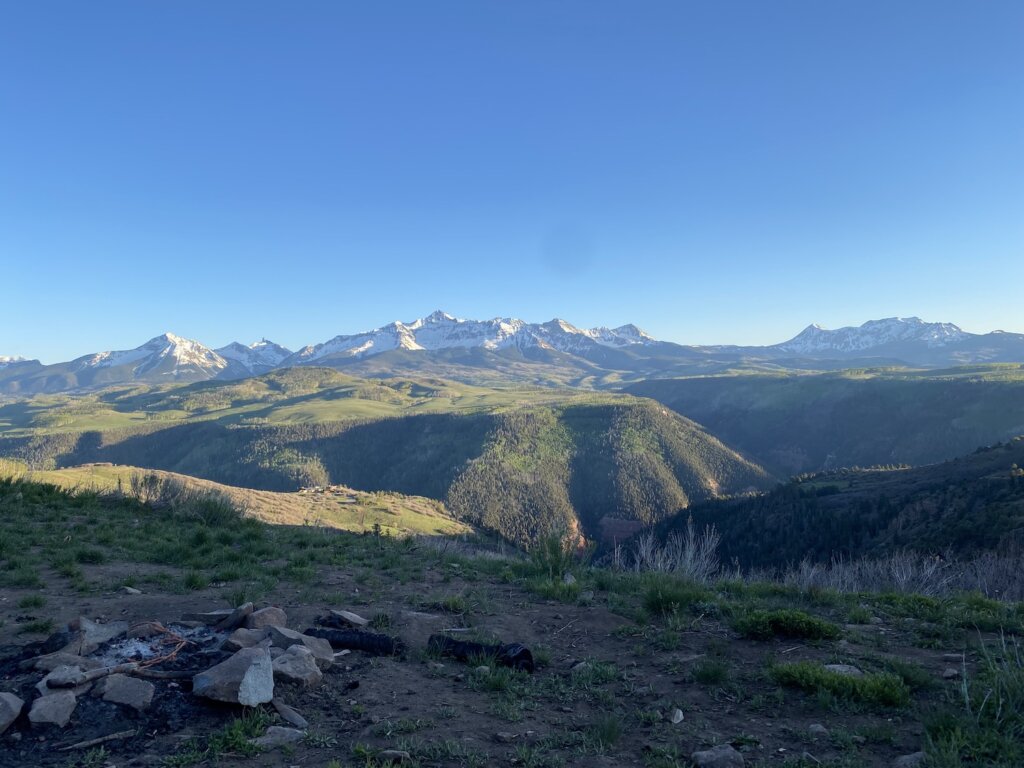
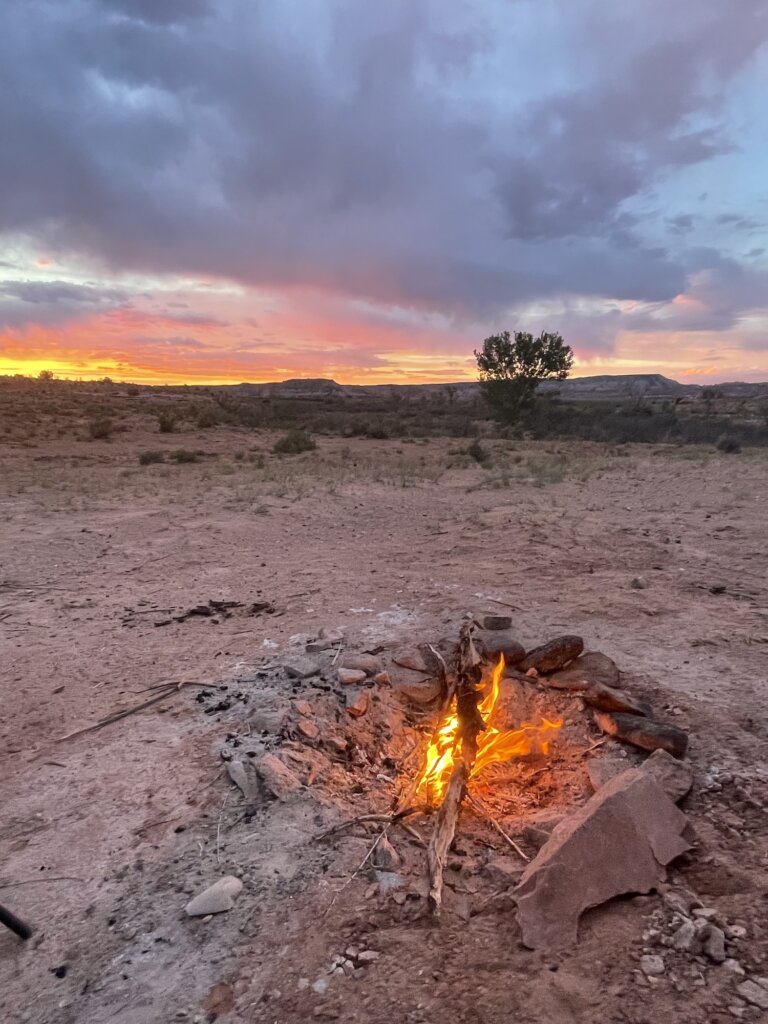
Don’t be discouraged if you have to pass private property on your way into National forest or BLM land. Near Telluride Colorado, we pulled off onto a road where the sign said National forest access. We drove several minutes on a dirt road, past sign after sign saying “private property” and “no camping”. I began to get discouraged but our map showed that we were growing closer to National forest land. Sure enough, once we passed that line on our map we found a fantastic campsite. While it wasn’t the most private site, the views were incredible so we didn’t mind!
You can find a spot later into the evening but we recommend beginning your search midafternoon. We are early risers, especially when camping. We tend to get up, get going and by 2-3, we are done exploring/hiking and ready to find a spot for the night. When you start around this time you give yourself some wiggle room to take your time finding a spot. Or if you don’t like a location, find another option. This also gives you time to relax, make dinner and take in the views wherever you are. If you are getting to your destination later in the day you can still find a spot so don’t be discouraged!
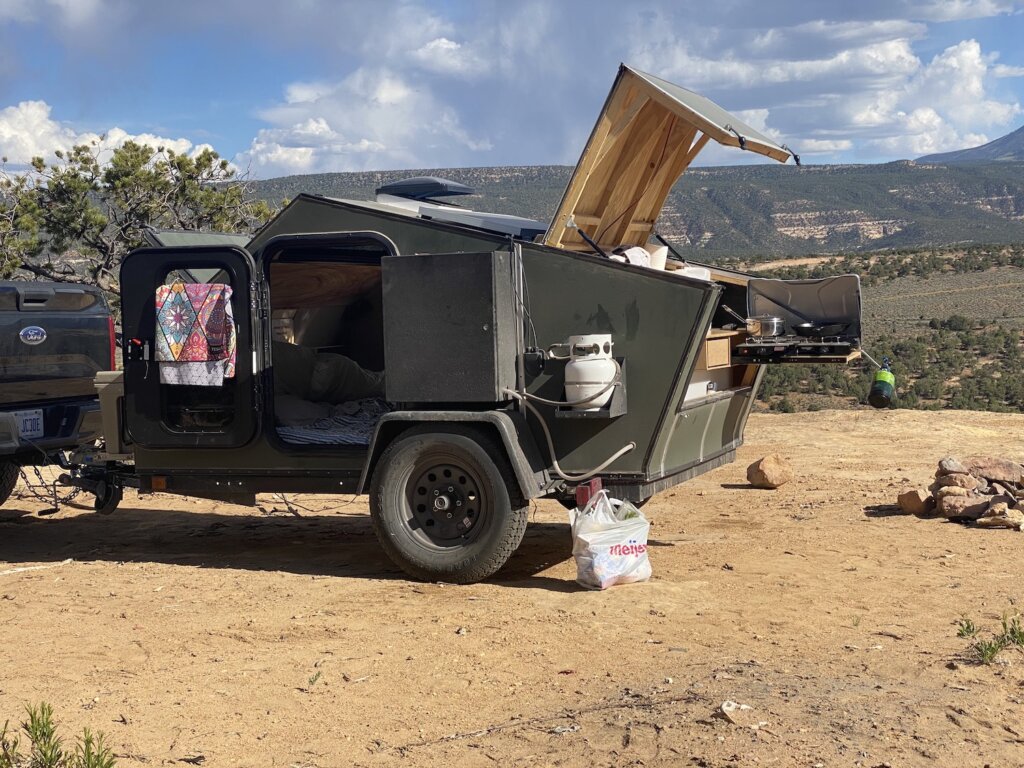
The smaller your rig, the easier it is because you can get back into places that large RVs cannot.
Remember to pack in/pack out, leave no trace so you don’t ruin these great spots for others!
What did we forget, any other tips/tricks you have for finding great spots?
In all of our travels together, Erika has never been to the Rocky Mountains. It’s about an 18-hour drive from where we live in Grand Rapids to Denver. After getting two smaller trips with the trailer under our belt, we felt we had most of the kinks worked out for a longer trip. We decided on Colorado since we have some good friends there and it’s a manageable drive with the trailer. In total, we had about 5.5 days in Colorado, plus two days of driving. We started at our friend’s house in Denver and headed out, into the mountains from there.
We found this itinerary to be very manageable with the time frame we had. From Denver, our first stop was Maroon Bells near Aspen. After that, we headed about 3-3.5 hours to the Black Canyon of the Gunnison National Park. From there we went to Salida which was about a 2-hour drive. Our last stop was in Colorado Springs. We really enjoyed our time in each of these locations.
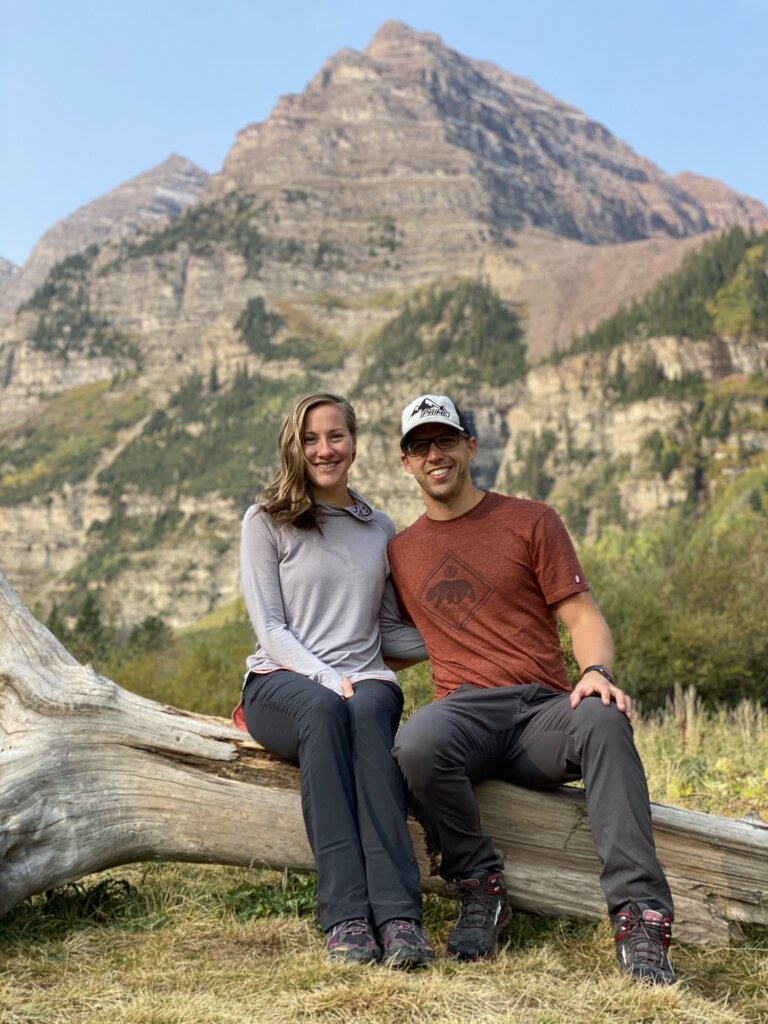
Maroon Bells:
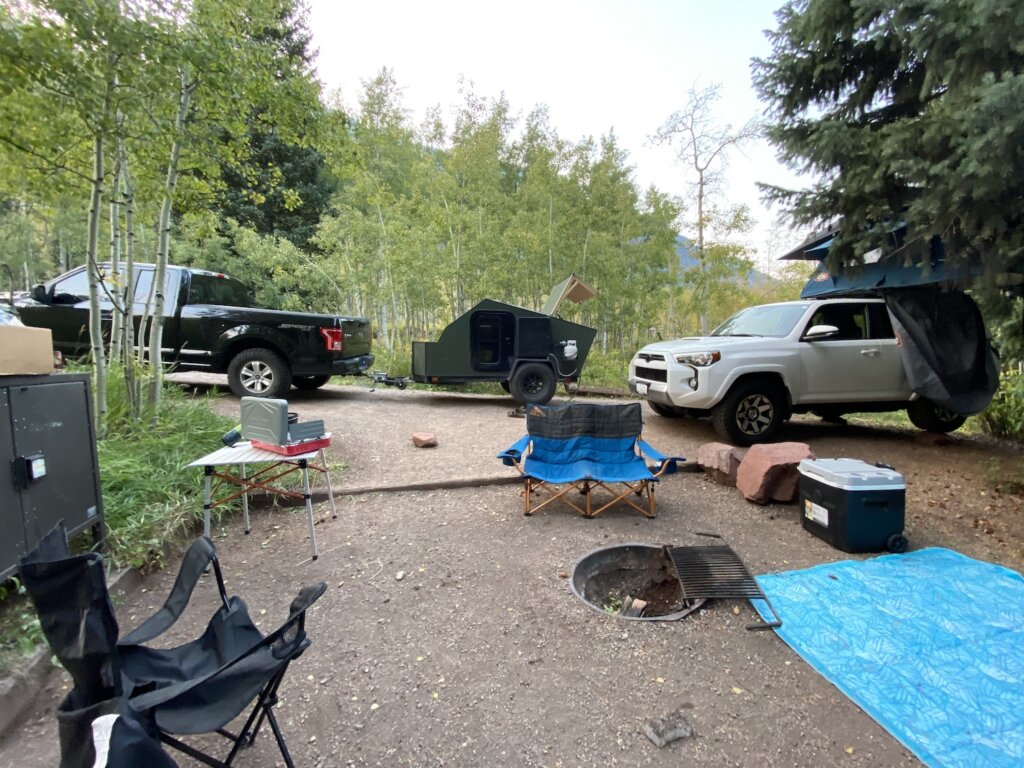
We were lucky enough that our friends had booked a campsite at Maroon Bells well in advance. You can start booking these campsites 6 months ahead of time, and we have been told you need to book early to get one! The sites are fairly small but we did fit our teardrop and truck and our friends SUV with a rooftop tent. There are plenty of trees in between the sites so you do get a good amount of privacy. From Aspen, there is one road into these campsites at Maroon Bells. During spring/summer and into early fall ( we were there in September) you do need a camping reservation to drive that road between the hours of 8 am and 5 pm. If you do not have a reservation you can take a bus from Aspen. Check out this website for more information: https://www.aspensnowmass.com/inside-aspen-snowmass/stories/maroon-bells-101-all-you-need-to-know
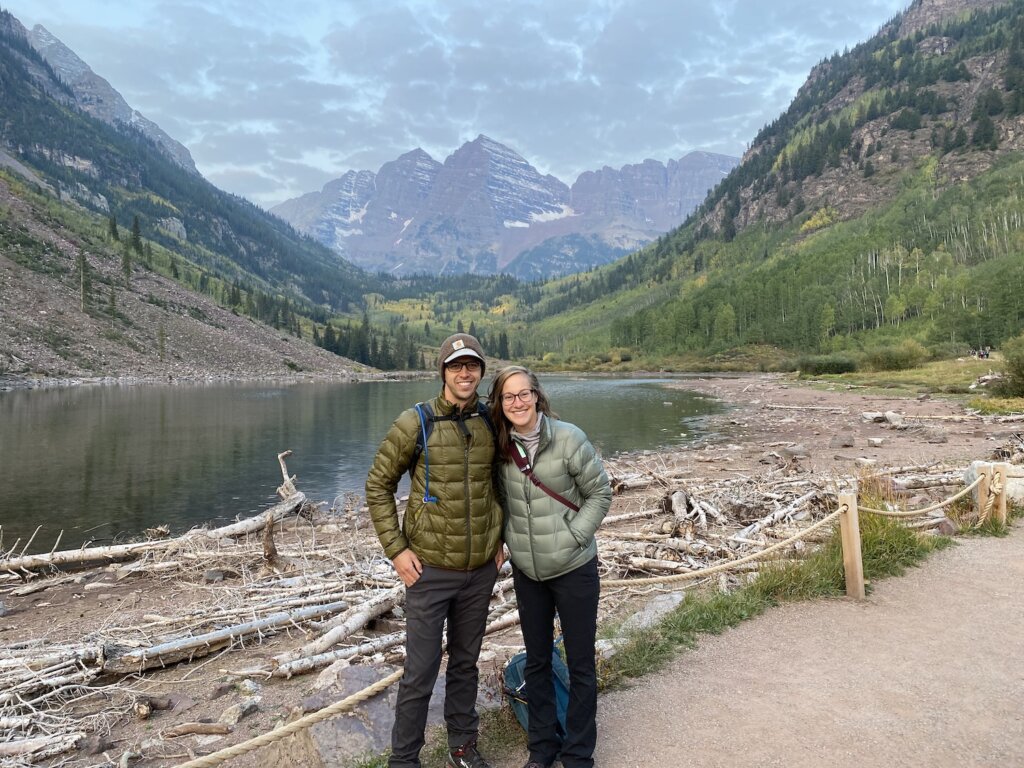
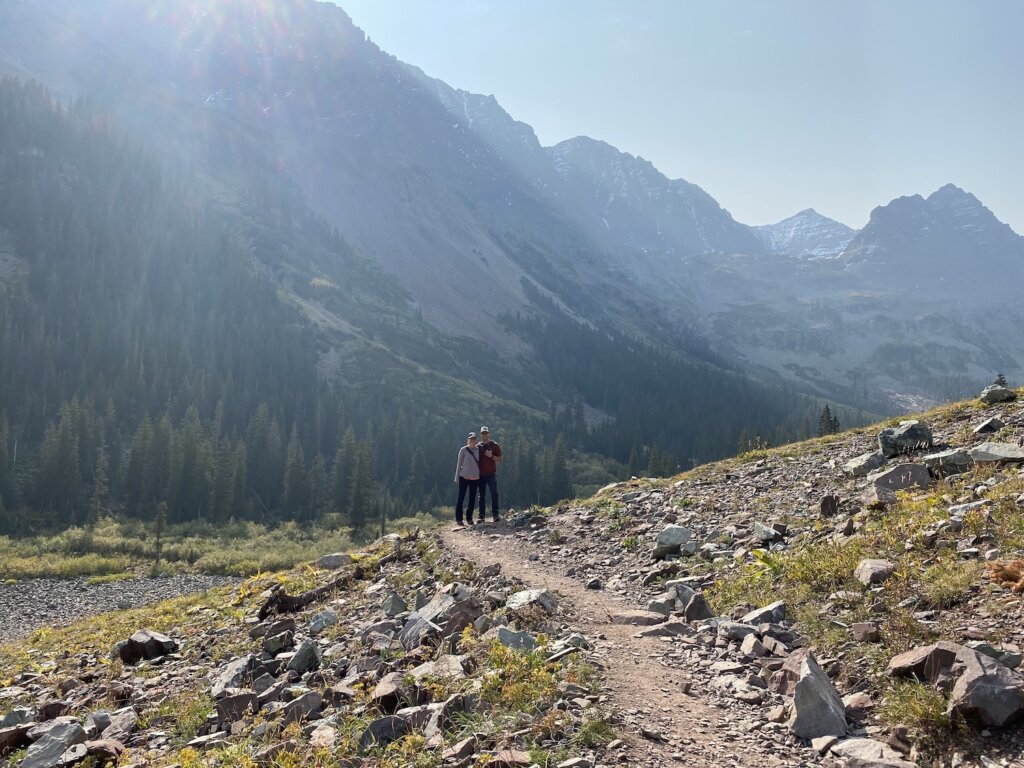
The greatest part about camping here was getting up and heading to see the sunrise hit the famous mountain peaks. This is a must-do! Definitely get to the parking area early as it does fill up (early in the morning you can without a camping reservation). After sunrise, we hiked from the viewpoint to the base of the actual Maroon Bells mountain. We did an out and back hike of about 3 miles, but there are multiple trail options if you’re more ambitious. The views along the way are awesome!
Other than that our time at Maroon Bells was spent just relaxing and hanging out with our friends at the campsite. We did have one bit of excitement when a black bear walked right through the camping area. There are bear boxes at each site to keep food locked up so do use those as you never know what you might encounter!
One last note on Aspen/Maroon Bells. It was recommended by our friends that we take Independence Pass to get into Aspen from Denver vs going around the mountains. This road isn’t always open and you do need to make sure your total length (for us meaning the truck and trailer) is less than 35 ft. We measured ahead of time, with our trailer we are 32 ft and we had no trouble driving this pass.
The road does have several switch-backs, some without guardrails and some are pretty narrow. There were lots of signs warning vehicles beyond that length to turn back, there was nobody enforcing this rule but it would definitely be a bit sketchy to drive if you were over 35 ft. The road is beautiful, it winds up the mountains to the peak which is at 12,000. There is a parking lot you can park and take in the views at the top, we did not since we were following our friends to the campsite but we would have loved to stop and take it all in!
Gunnison:
From Maroon Bells, we headed to the Black Canyon of the Gunnison. We got there about 2:30-3 pm and were told there were still campsites open but when we drove through we couldn’t find one. The sites are mostly set up for you to parallel park along the outside and then set your tent up in the spot. For us with our teardrop trailer, the spots wouldn’t have worked well. They are also very, very close together so there is not much privacy. We would say that it is not worth it to camp in the park. The cost is $16 a night for no electric hook up, $22 a night with electric hook up.
There is a large area of BLM land approx 1 mile from the park entrance with a lot of spots available. The BLM land is well marked and easy to find. The spots are fairly spread out and the area is forested enough to offer privacy from others in nearby spots. We really enjoyed this camping area and would highly recommend it! And it is free!
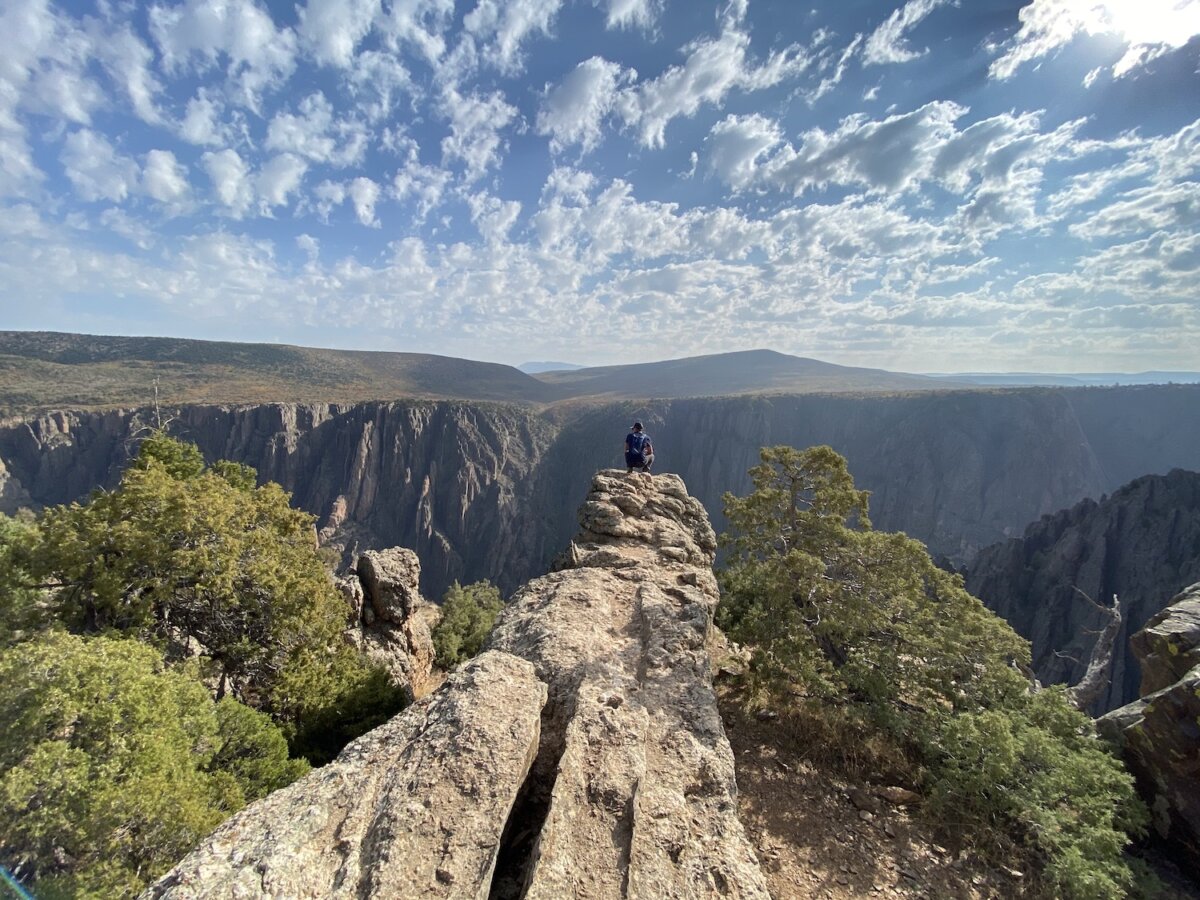
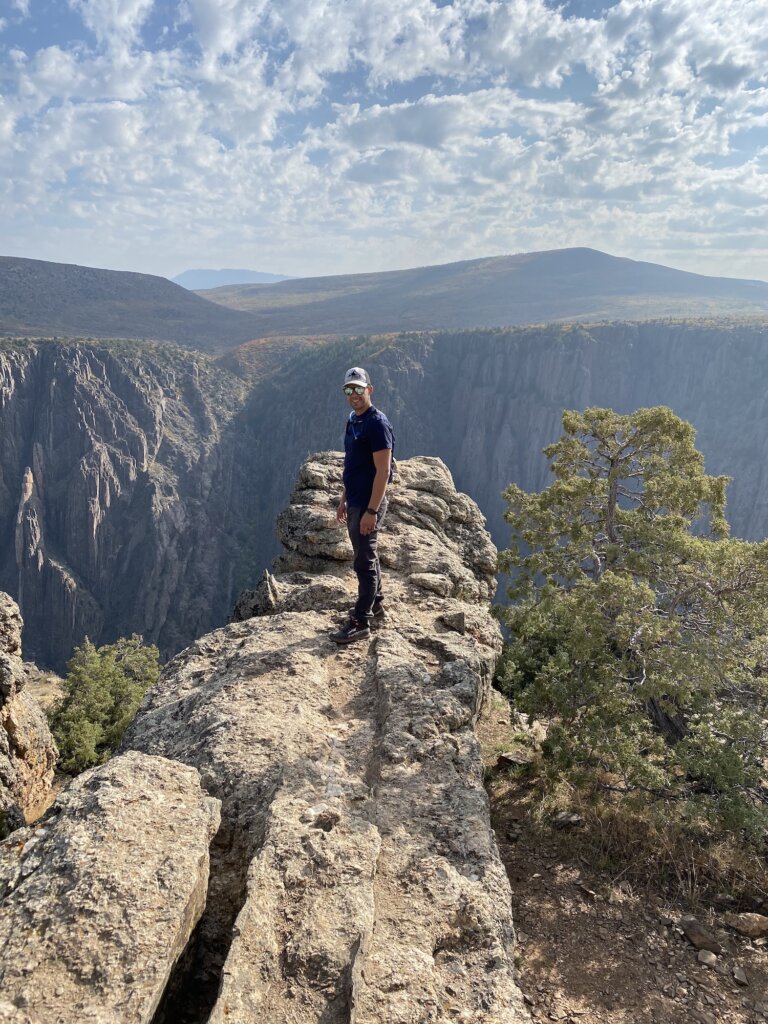
While you are in the park we would recommend driving along the rim and stopping off at the various viewpoints. Most of these are only a short walk from the road and you can easily stop at them all within one day. All the views are beautiful! There are several trails in the park, our favorite was the rimrock trail which follows the rim and offers spectacular views along the way!
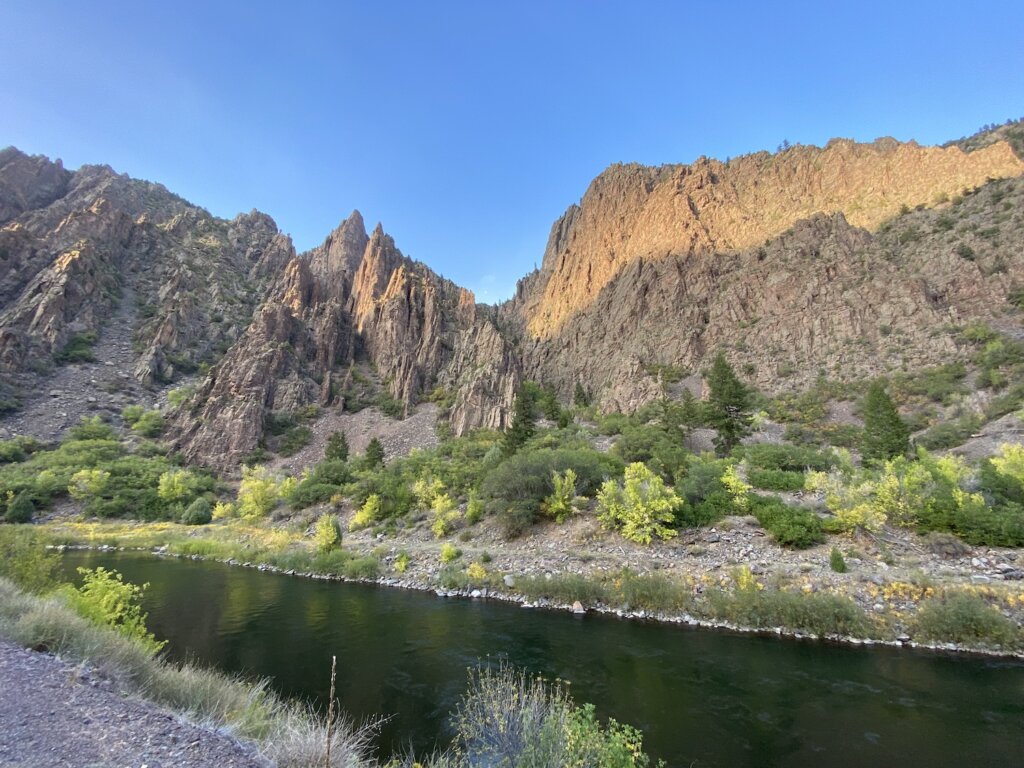
Our other favorite activities were driving down the east portal road to the base on the canyon. There is a length maximum of 22 feet to go down the East Portal due to the steep switchbacks. Once you are down there, you can walk along the river. If your plan is to do some hiking and just take in the views in the park as we did then you really only need one full (busy) day, maybe a day and a half here to get a good experience. We stayed at the BLM camping area for two nights. The first evening we just set up camp and then drove down the east portal road and explored a bit. Then the following day we got up and really explored the entire park.
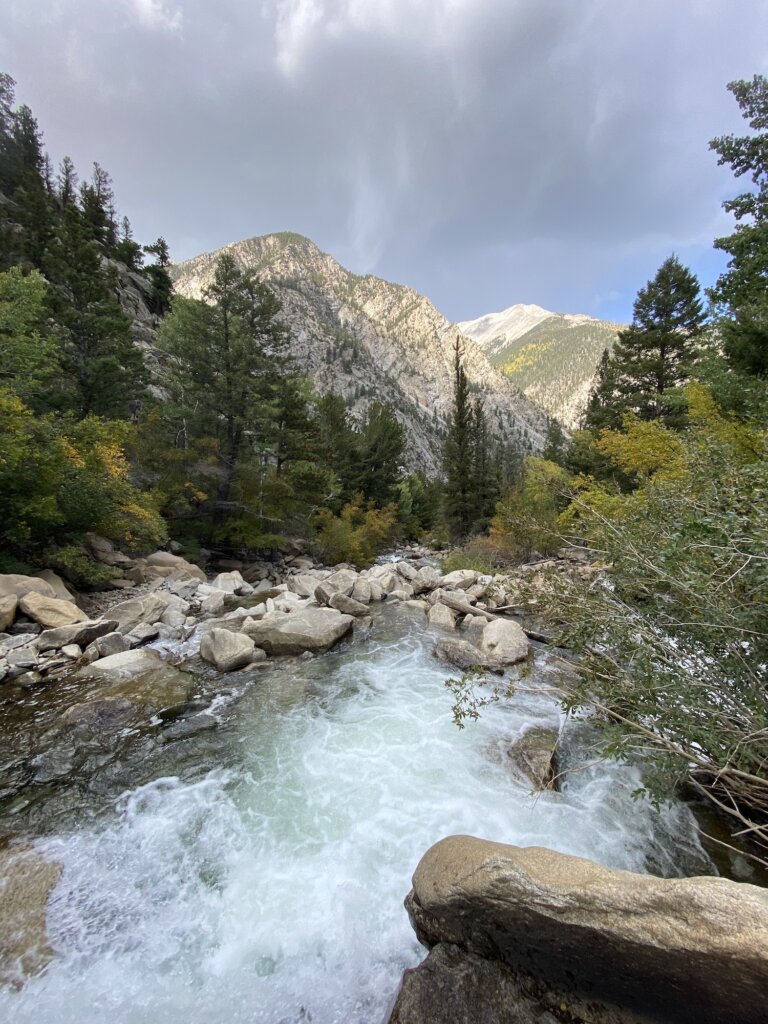
Salida and Collegiate Peaks:
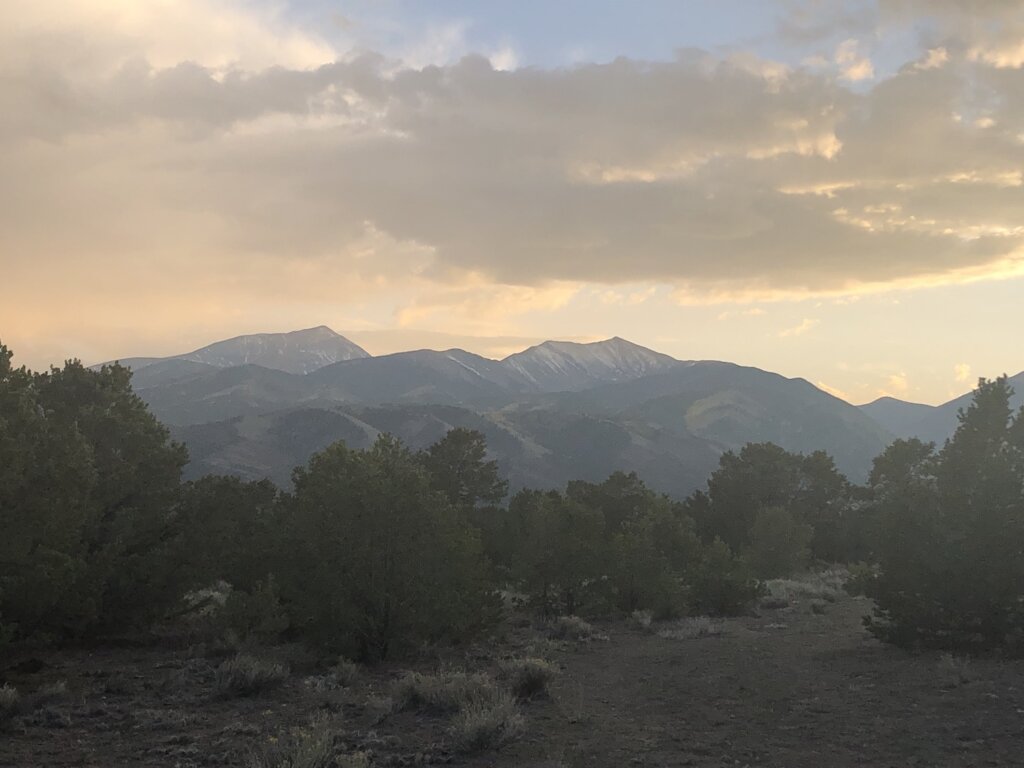
Our next stop was the town of Salida near the Collegiate Peaks. We found another great BML spot to camp. The road was pretty bumping getting to this area but the views were amazing! We had full 360* views of the mountains from our site! After dropping off our trailer we headed into downtown Salida for some lunch. We ate at Amicas pizza and brewery. We really enjoyed the food and beer.
From lunch, we decided to drive up into one of the mountains nearby. From highway 285 we took Chalk Creek Drive, which led us right past the chalk cliffs and past some really pretty views. There is an alpine lake which we did drive past but it is, unfortunately, private property. We enjoyed the views of the lake while driving past but couldn’t get out and walk around the lake as we hoped.
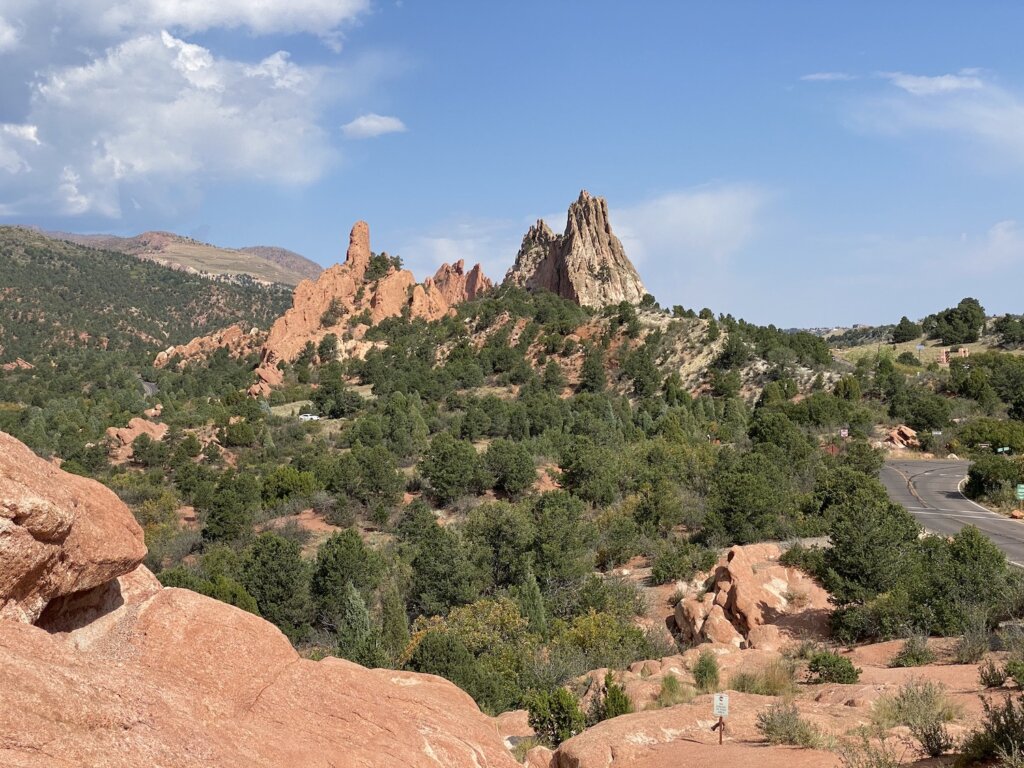
The next morning we began our drive back to Michigan. We did stop at the Garden of the Gods in Colorado Springs and did a little bit of driving/walking around that park before leaving Colorado. We would have loved to spend more time at the Garden of the Gods hiking around the rocks. It is really a beautiful park!
To find all our free campsites we used the Dyrt app and Gia GPS. We found both to be accurate in regards to the location of the BLM land. The Dyrt also has reviews from users on the camping areas to help you decide which sites you want to stay at. We loved this road trip and can’t wait to get back to Colorado to do some more exploring!