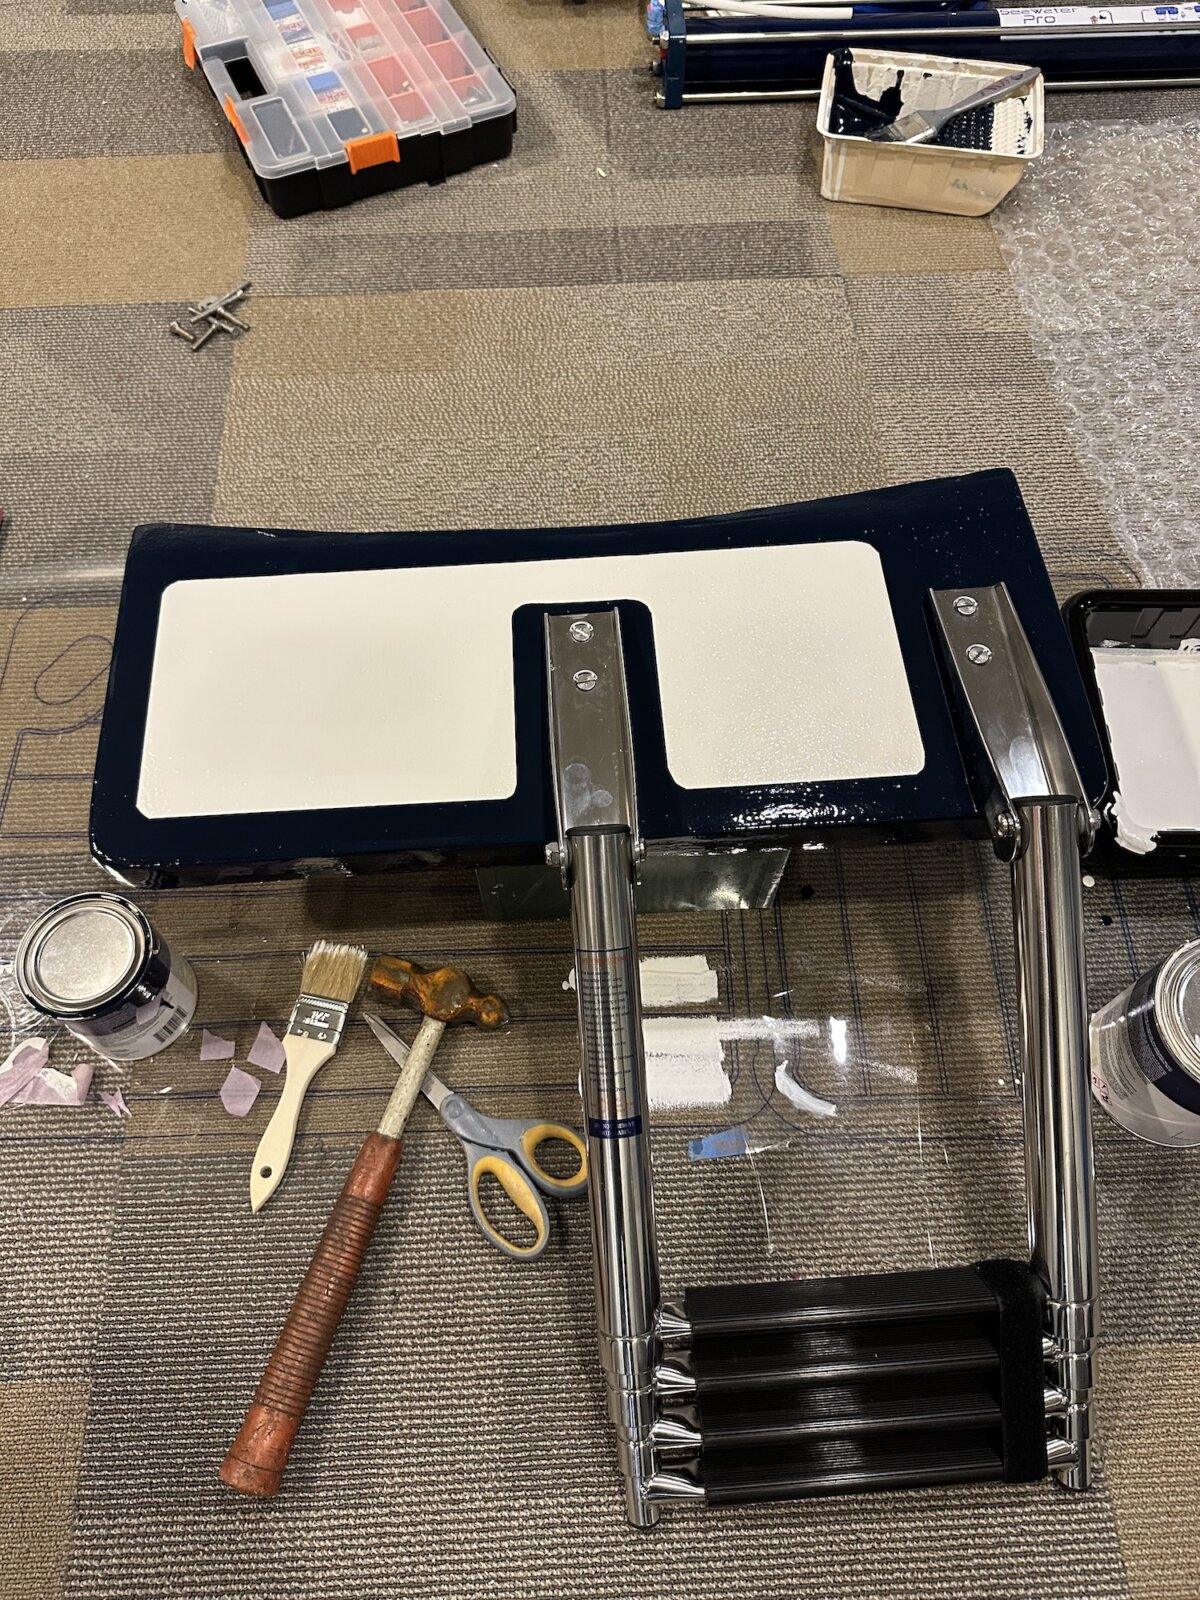
We don’t have an easy way on/off our sailboat SV Resande so we decided to make our own swim platform. Back in the 70’s when Resande was built swim platforms weren’t really a thing boat builders added. We weren’t sure exactly how it would turn out but figured it was worth a shot. We actually ended up really happy with it.
Our boat has a pretty narrow stern. We knew we didn’t want too big of a swim platform so that it didn’t look out of place. We actually used the seat from inside our dinghy as a reference point. It felt like a fairly good size, large enough for one of us to comfortably sit on. Having this seat to base our design off of also meant we could bring that seat to the boatyard, hold it up to the back of the boat and get somewhat of an idea what it may look like before proceeding further.
From there we made a wood form/frame so we could finalize the size we wanted. Once we were happy with our design we brought the wood platform to the boat to help ensure we liked the fit. We also needed to make sure we could match the angle of our stern so that we can actually install the swim platform and have it lay flat against the hull. Our stern has both an angle and a radius, making it a compound angle to attempt to match. We measured the angle (about 70 degrees) with a goniometer from Erika’s work, and measured a 2″ deflection over 24″ of length on the back (1″ per foot).
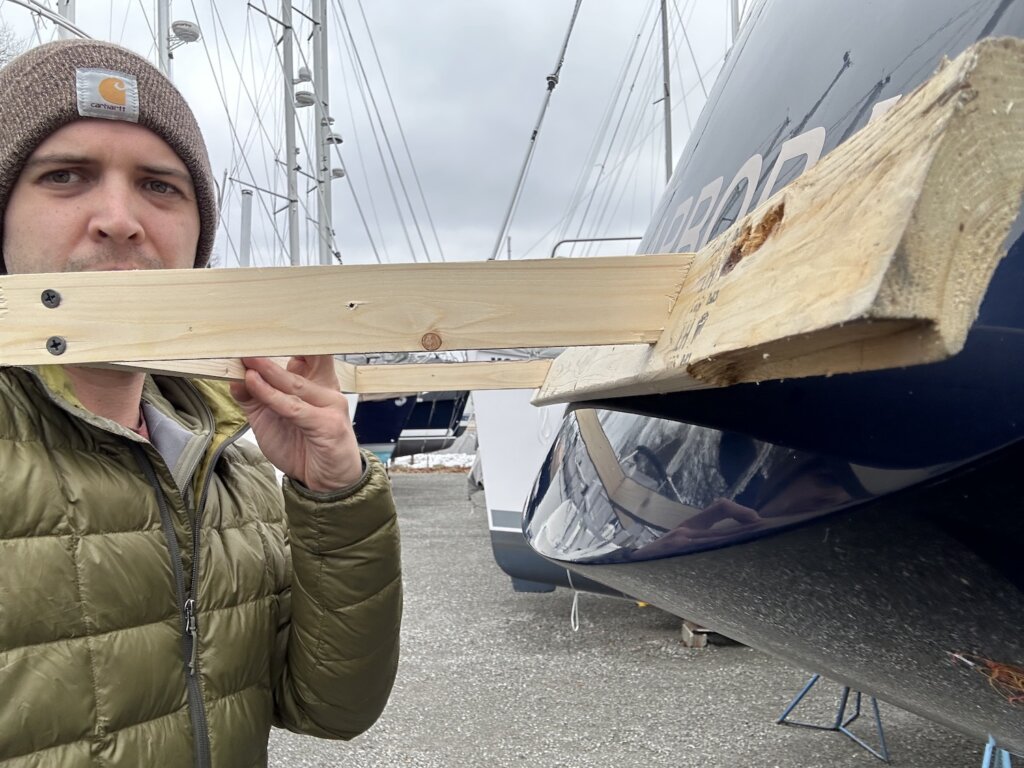
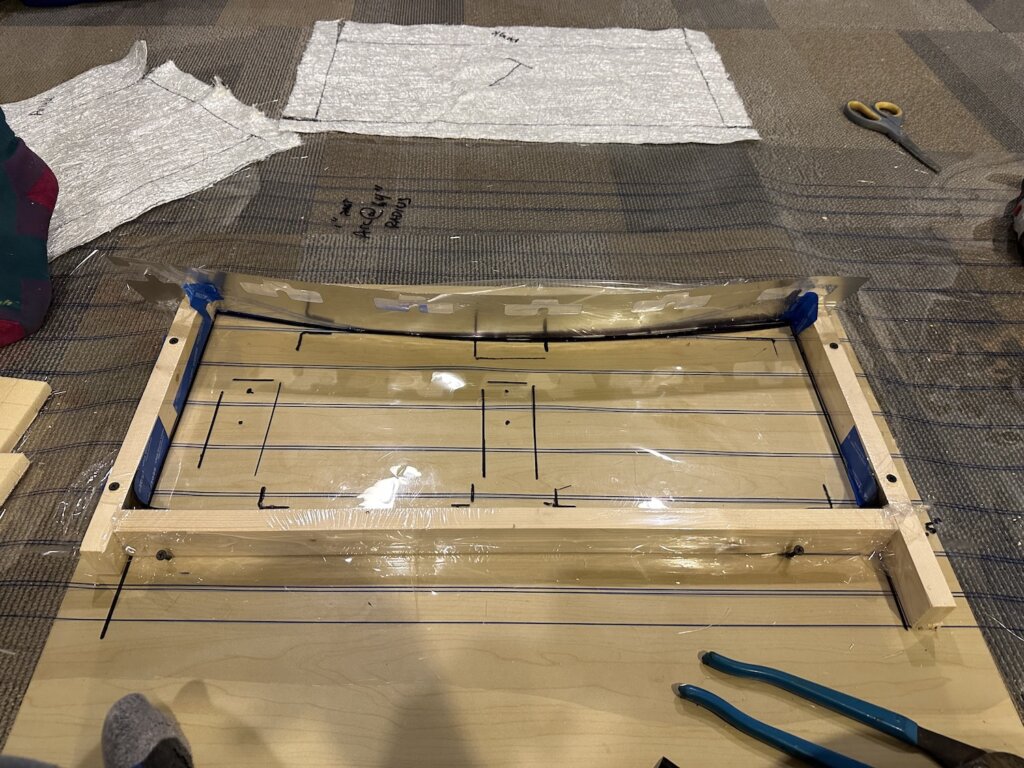
Back at home, we used a miter saw to cut the exact angle of the wood frame. For the radius, I’m sure there’s a great fancy mathematical way to calculate this, but I simply took a tape measure and created a arc on the floor until we found where a centerline meets a 1″ deflection over 12 inches… it was about 68″ if I remember. For this angle, we used a flexible piece of scrap metal from work, we screwed it to the wood frame to get both the miter angle and this moderate radius. We used some thin plastic sheeting (meant to cover windows to keep cold air out in the winter) to wrap the wood so we could fiberglass using the frame then “pop” out our swim platform. We also used some old plastic to draw in where our ladder would go to better size the swim platform up. We screwed the plastic and the wood frame to another scrap piece of wood so we could keep everything still and square as we worked.
We chose not to make the entire platform out of straight fiberglass but instead use some core material. We have used this form core for some of our re-coring projects and found it very easy to use. It was perfect for this project as well. For the ladder mount areas, we decided to reinforce with 1/4″ G10.
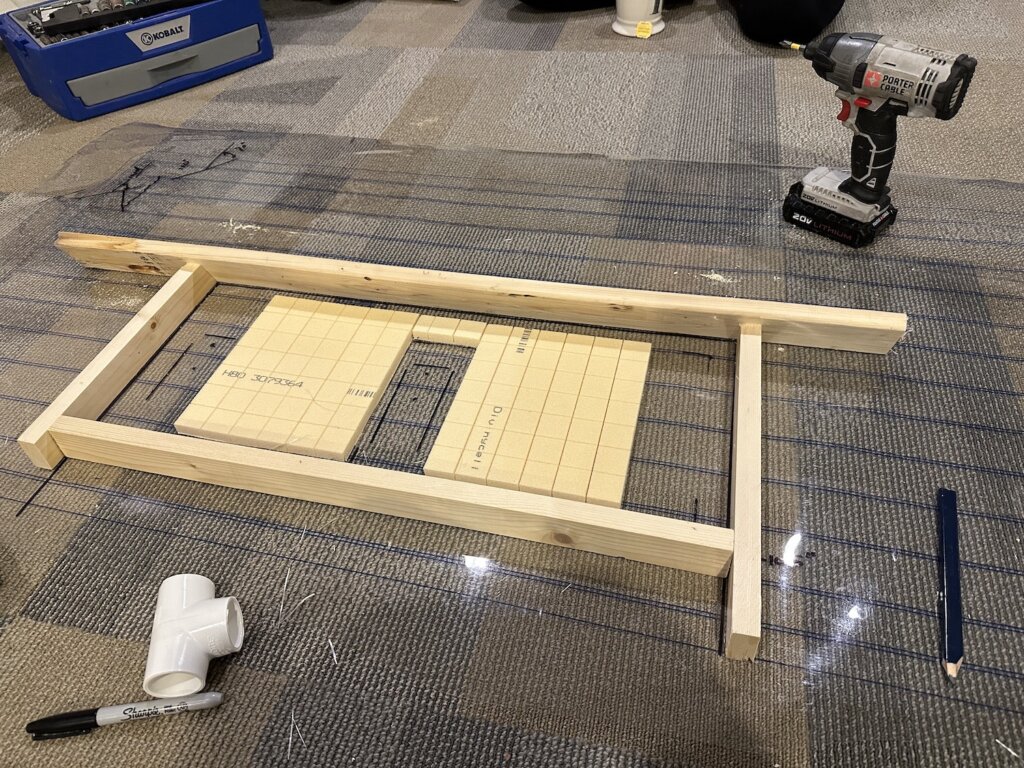
As a completely fresh build, we used vinyl polyester resin for this project. We first laid down a layer of wetted out 1.5 oz chopped strand mat, which form fits to the corners and started up the undercut angle. We then layered on layer of 1708 Biaxial, added in the foam core and G10, then two more layers of 1708 Biaxial
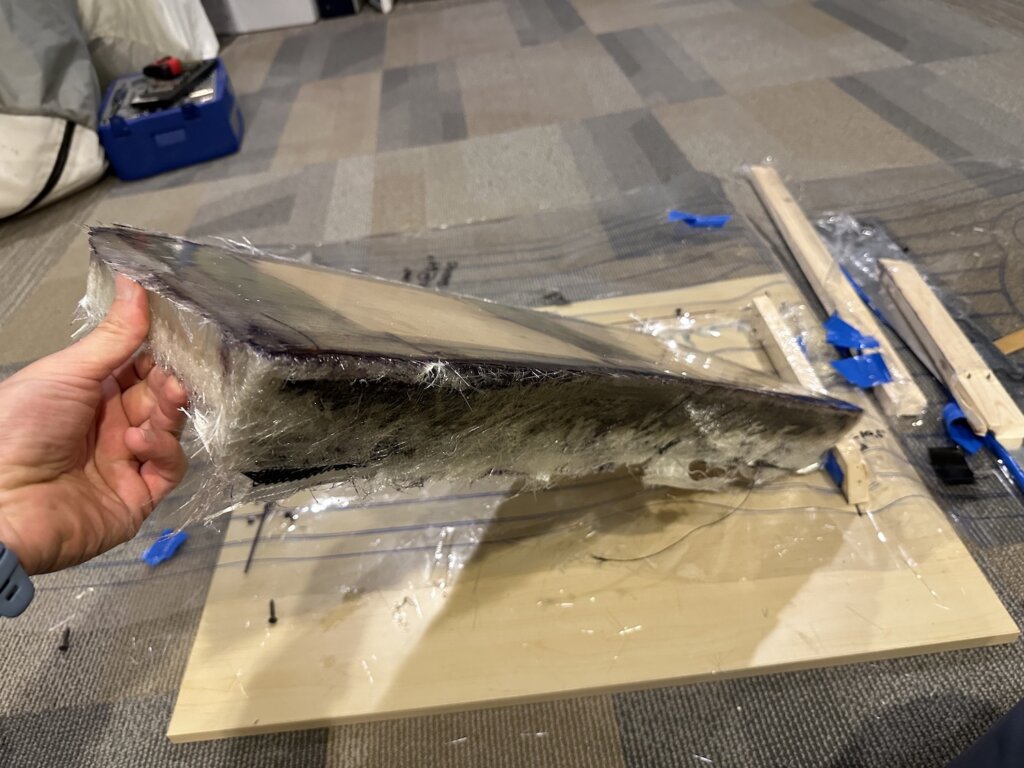
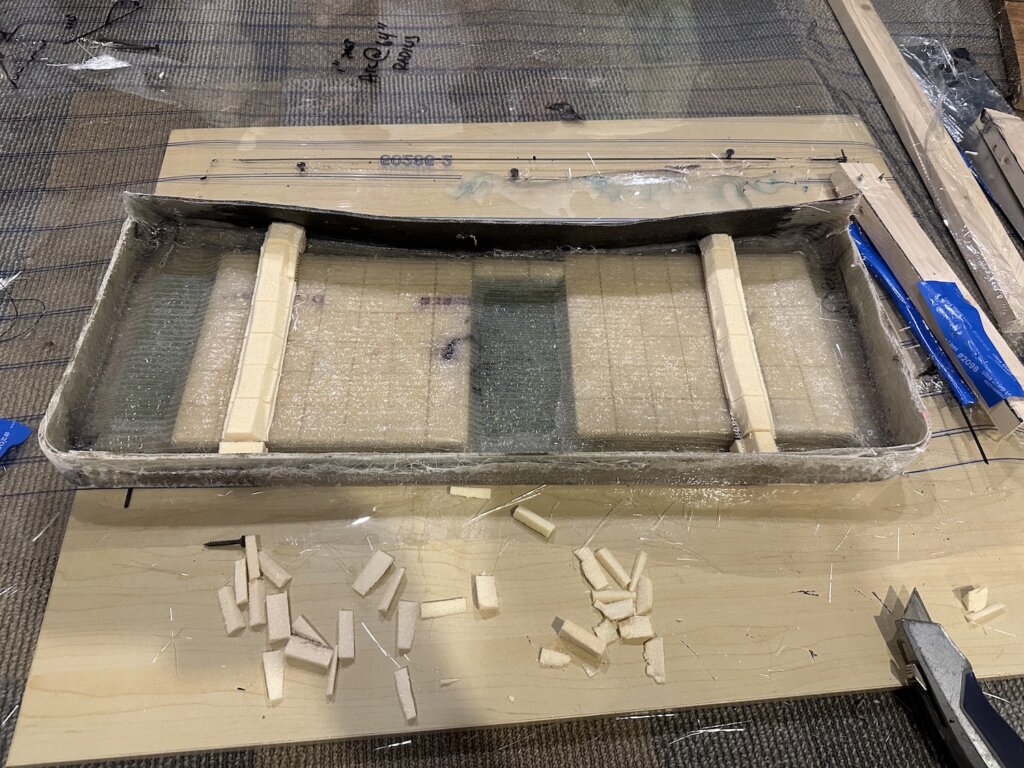
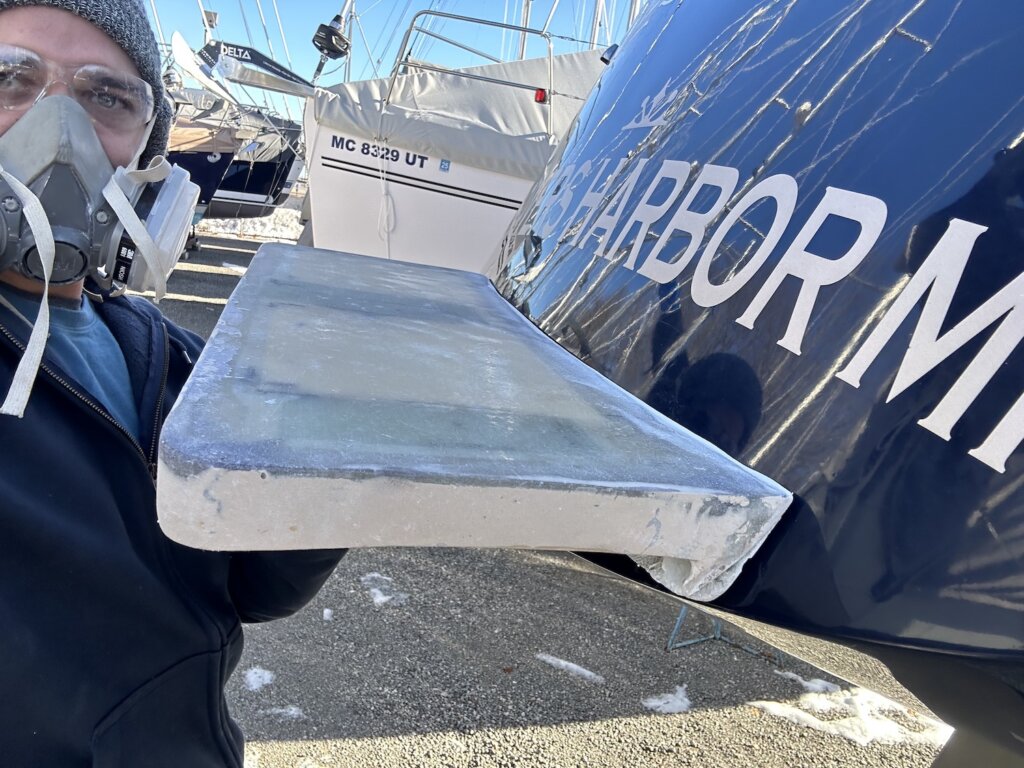
After a few layers of faring it was back to the boat to again check the fit and make sure we were happy.
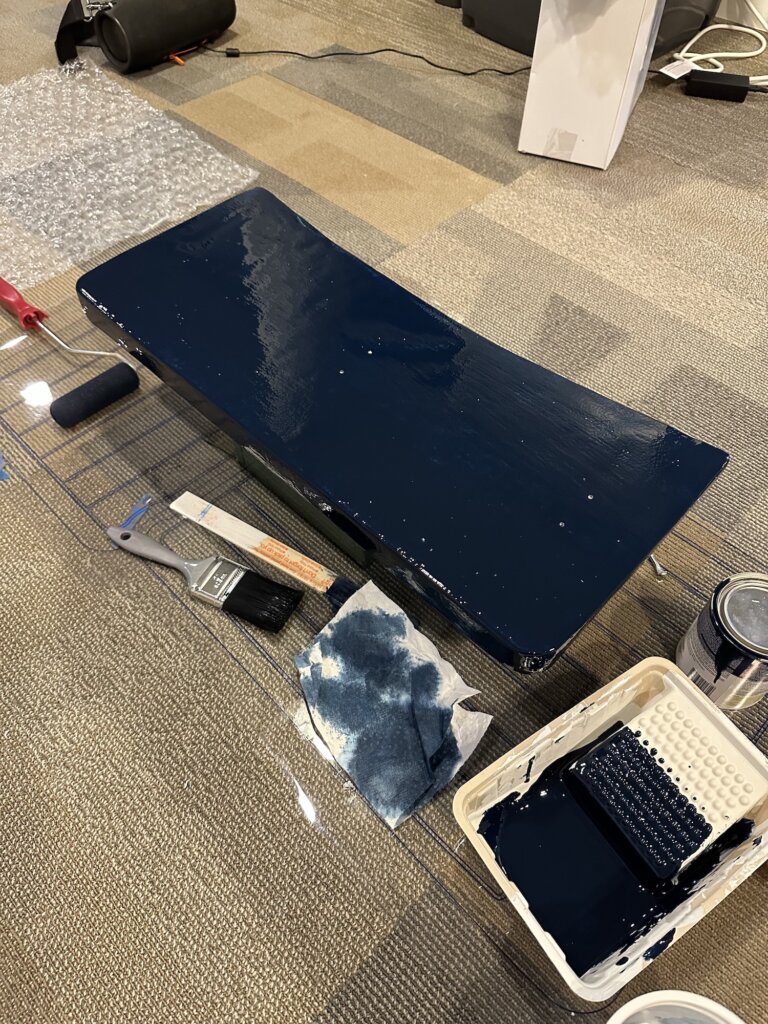
We used Total Boat topside primer and then wet edge topside paint. We chose to match the dark blue of the boat hull.
Once the blue paint was finished we installed the swim ladder and then taped out were we wanted to add total boat non-skin paint.
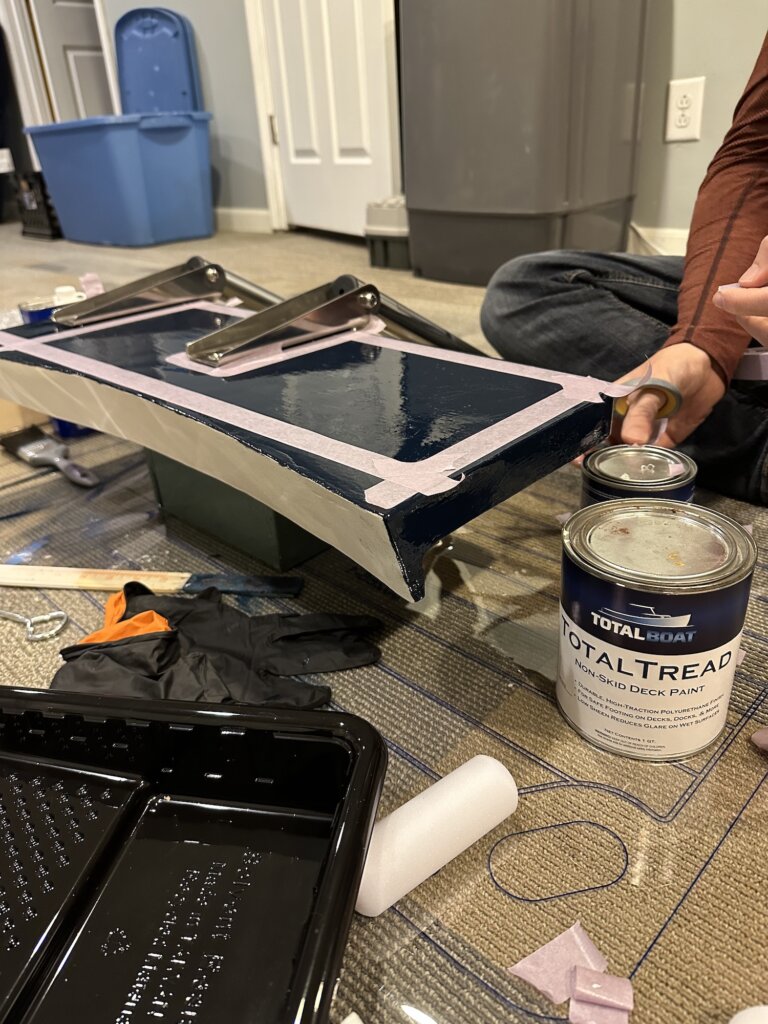
Two coats of Total Boat white non-skid paint coved the blue well and we were very happy with how it turned out. We will be installing this soon and will then update this post with how it all ends up.
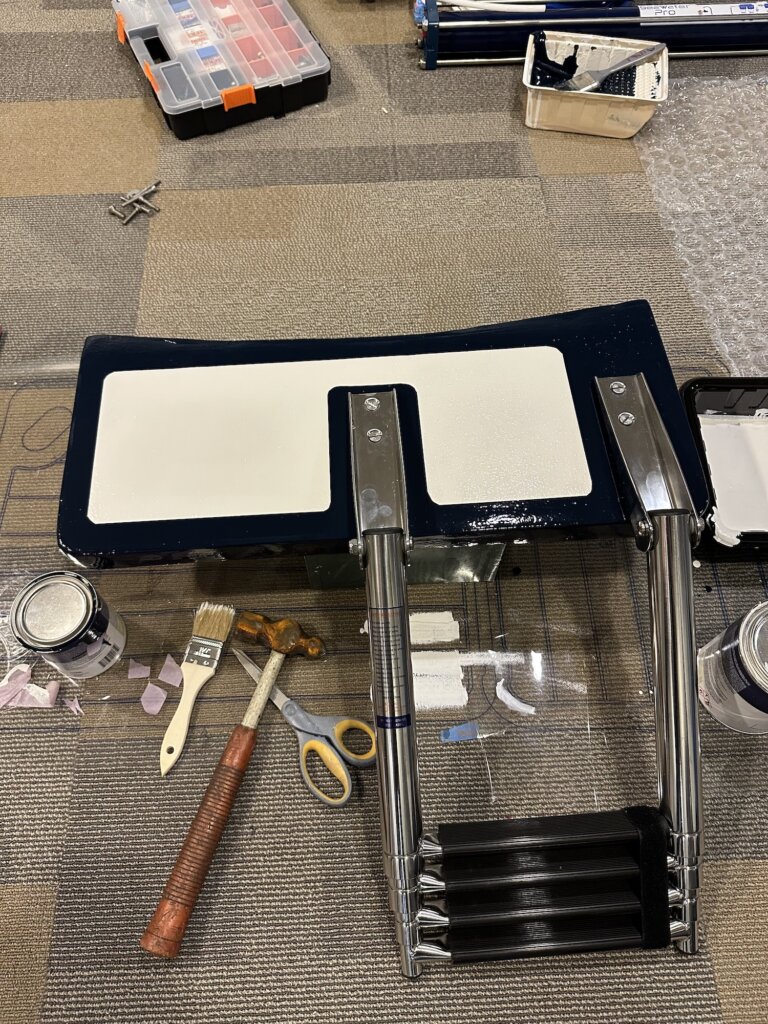
What do you think? We think it turned out pretty great, and can’t wait to put it to use this summer!
