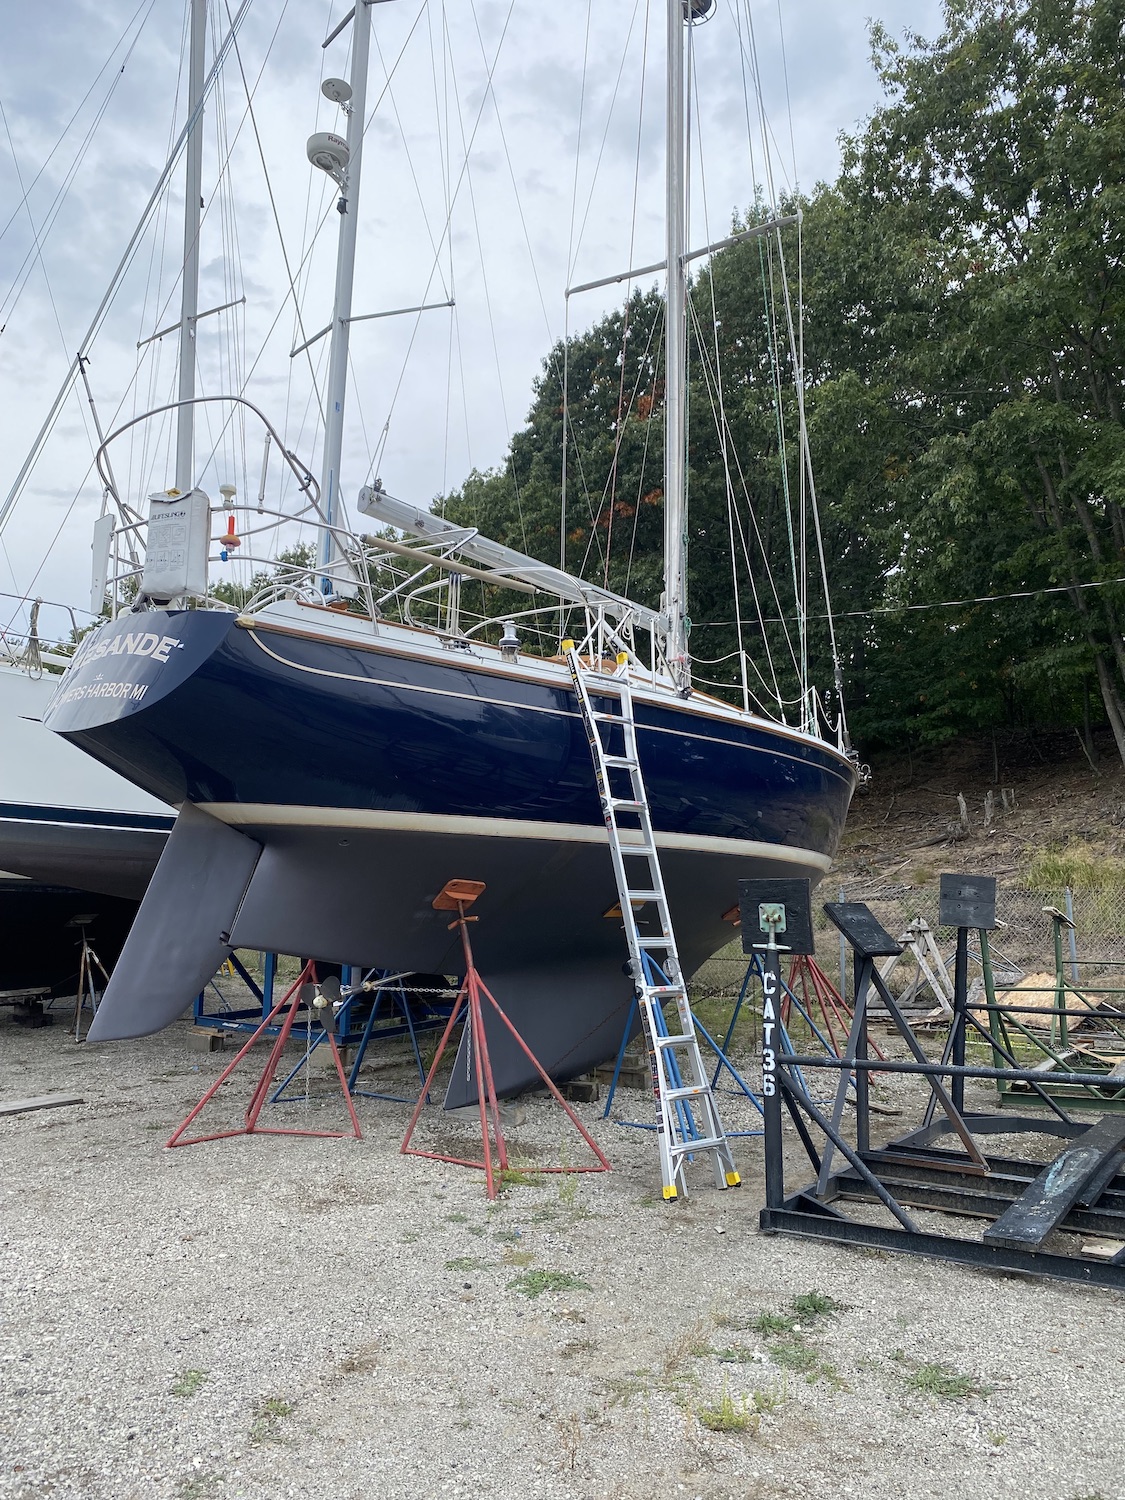
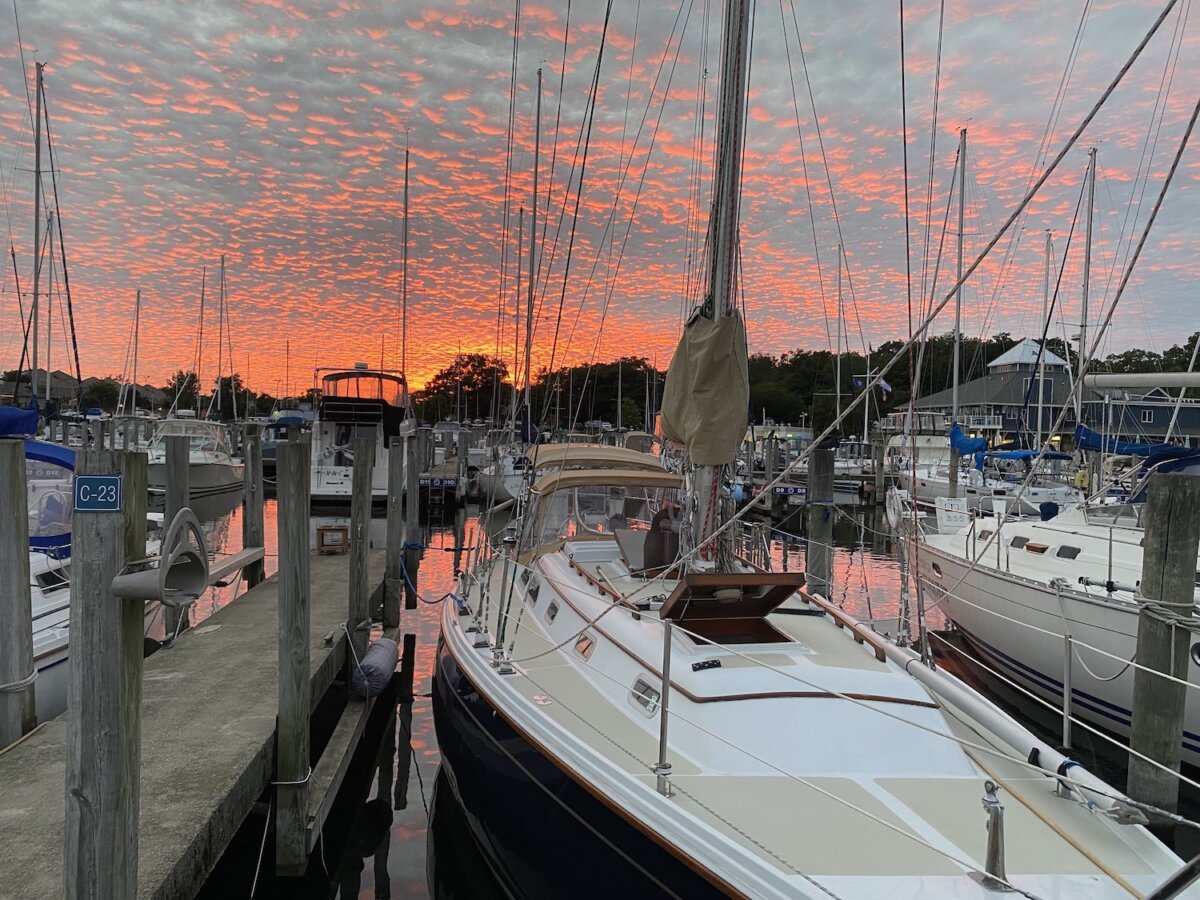
As I write this post, I’m sitting on my couch in the final months of our two-year refit that started in spring 2021. We purchased Resande, our 1976 Ericson 39B in September 2020 and got to sail her down to our home port of Muskegon before hauling out for winter. Starting with that trip, we started putting a project list together for what it would take to get her “Liveaboard Ready”. We broke this out by system, and looking back we were a little optimistic about the refit budget when we started.
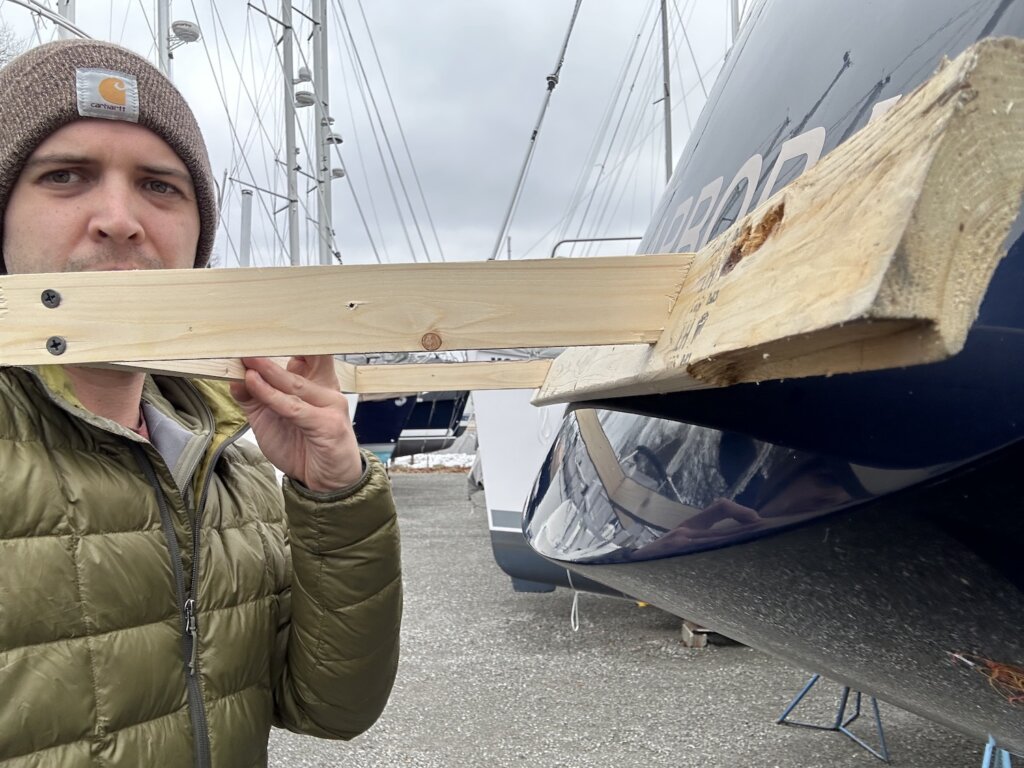
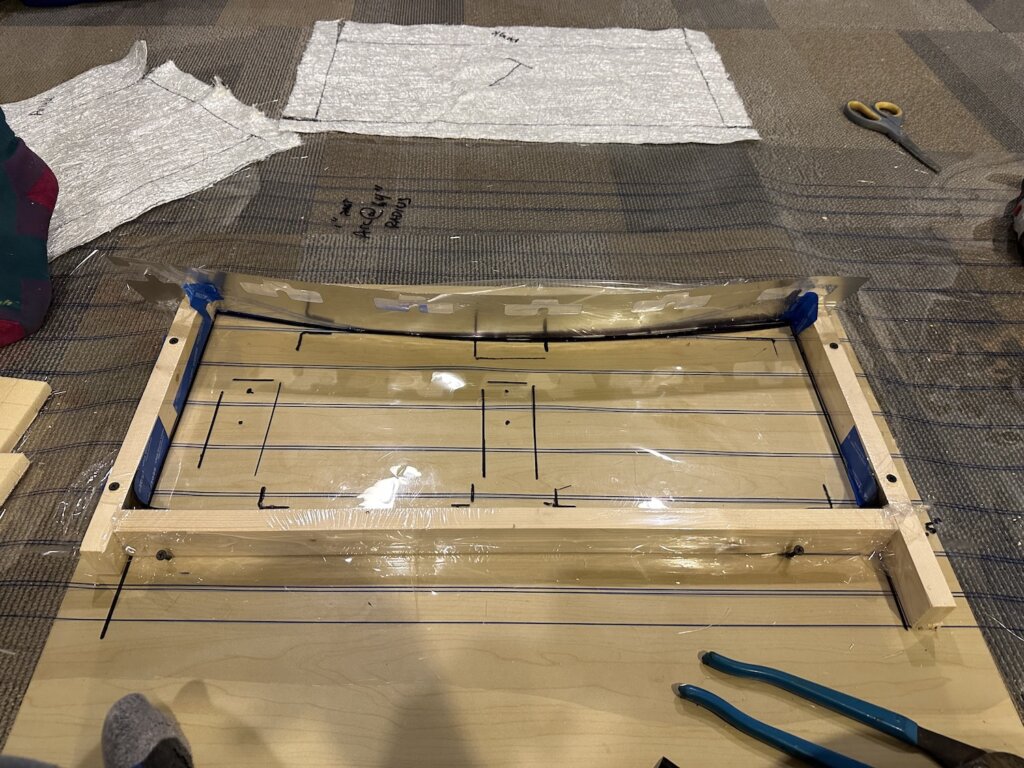
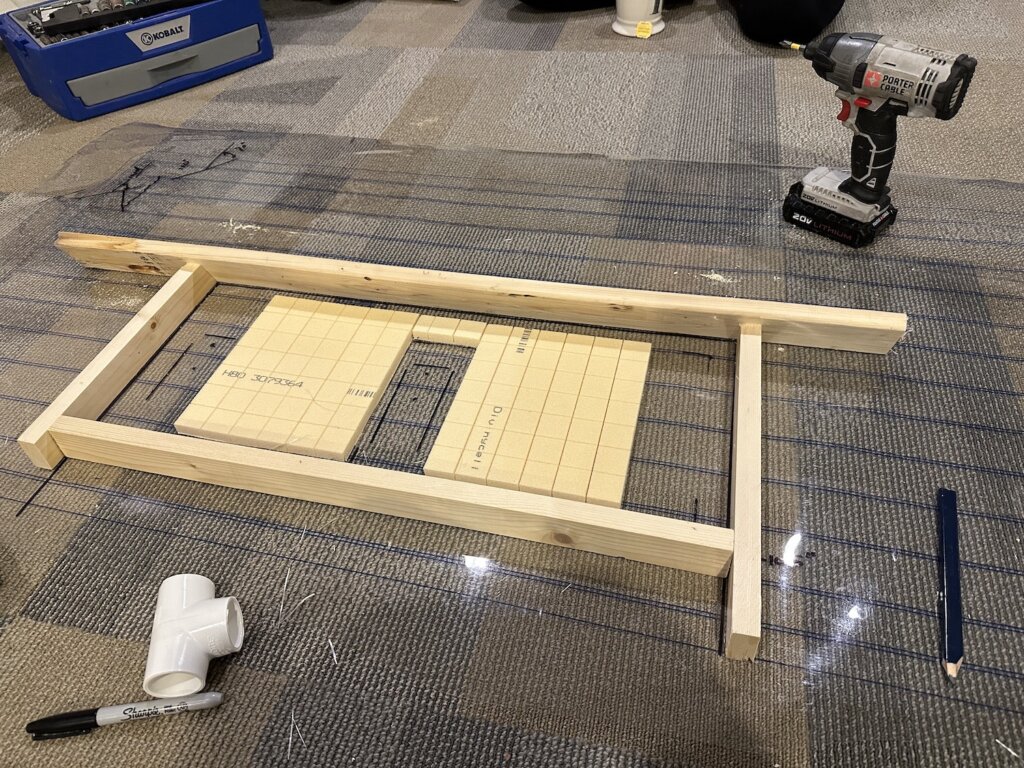
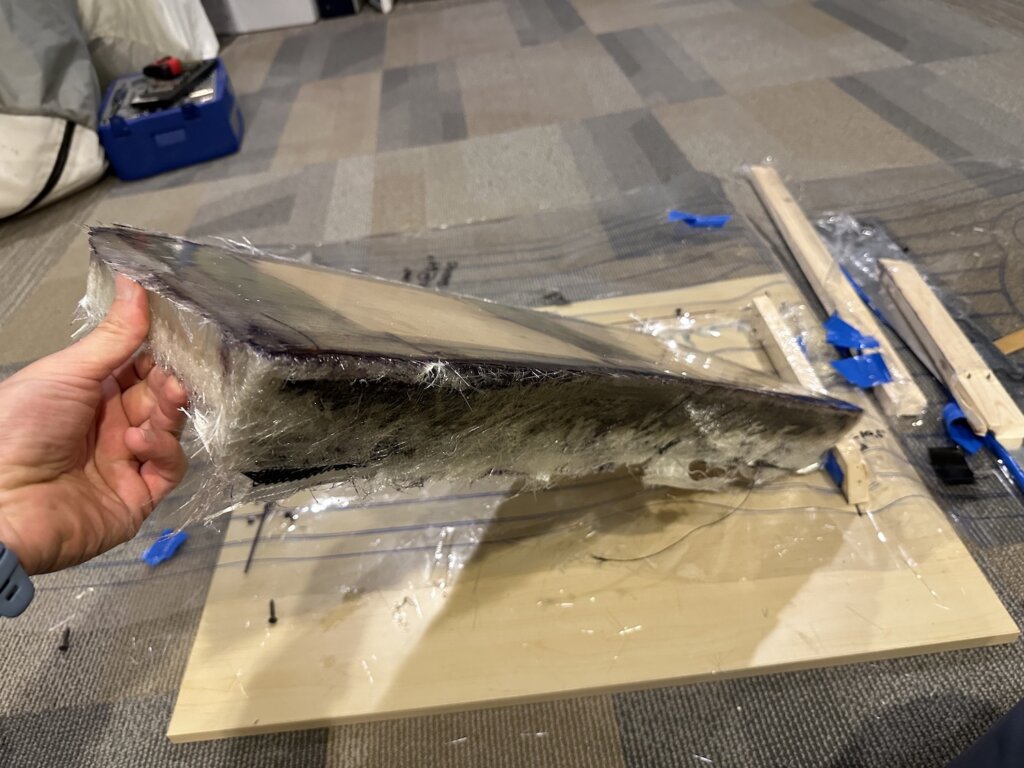
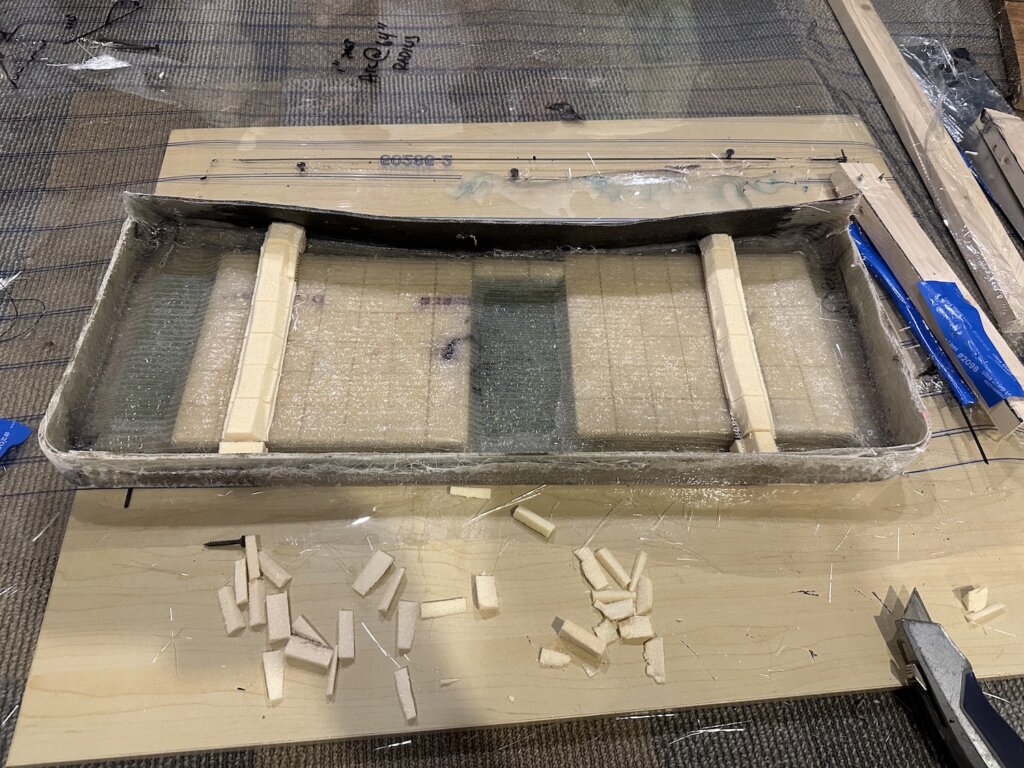
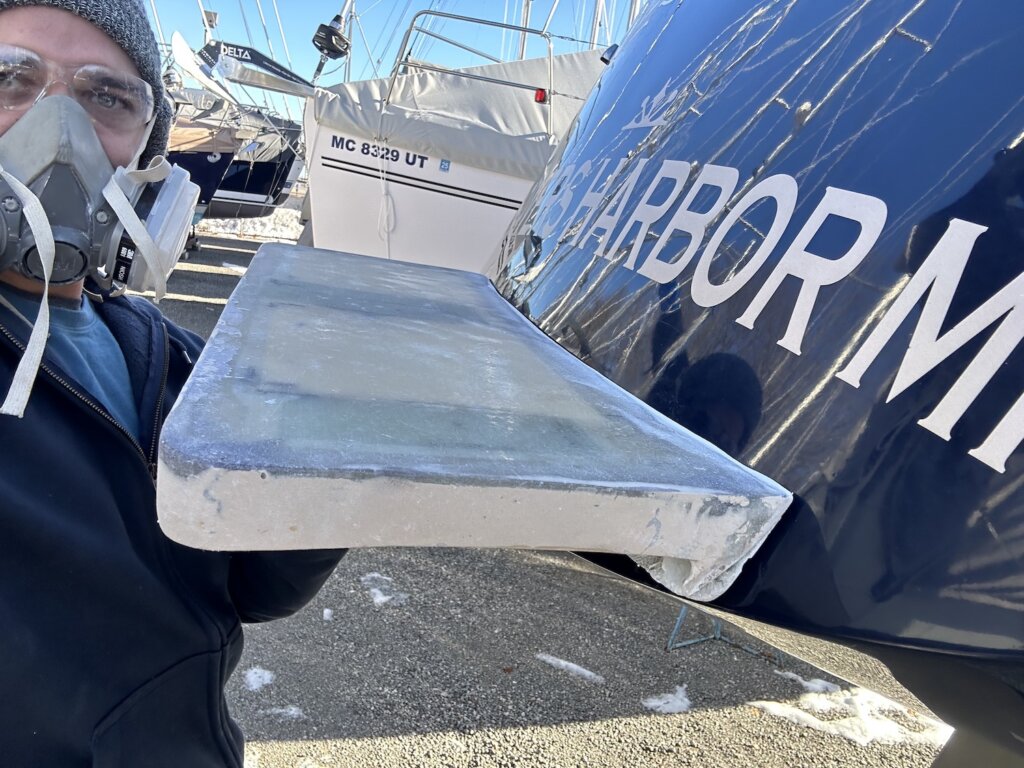
We knew when we bought Resande we’d have some re-coring projects due to do. I won’t go in-depth on them here, but as DIY projects they’re time-consuming but not that expensive. only a couple hundred dollars in materials for all four areas we re-cored. Paying a professional would have been thousands since it’s all about the time it takes to make it look pretty again. Here is our entire Master Project List.
Cost of Purchasing Resande
We purchased Resande for $55,000 + 6% Michigan Sales tax for a grand total of $58,300. This was in the aftermath of COVID buying where Boats, RV’s, and most recreation was selling fast. We jumped on the listing almost right away after looking all summer. She fit almost all of our requirements and was actually more of a ‘blue water’ boat than we were even looking for. We did a partial survey where we found moisture in the foredeck, cabin top, and helm – all of which have been fixed as of this writing.
Cost of the Refit
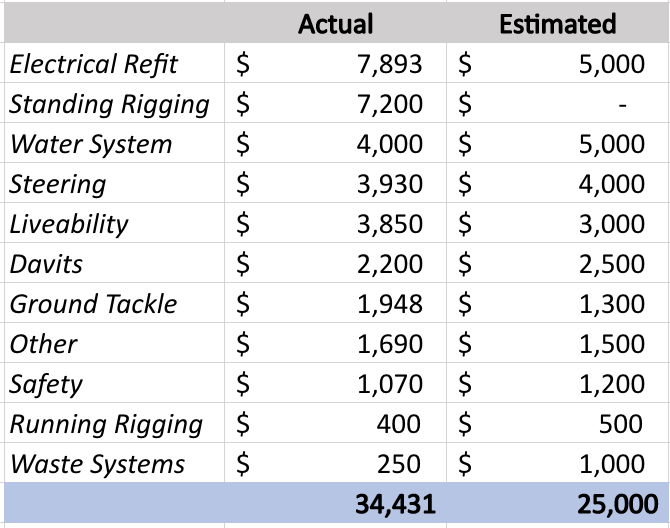
Our initial estimate for the refit was $25,000, but we ended up replacing the (original to the boat) standing rigging for peace of mind, the electrical refit also ended up being quite a bit more than anticipated as the scope expanded. Below is a breakdown of actual vs. estimated refit costs. The total refit was about $34,400, bringing our total investment in Resande to just under $93,000.
Electrical System – $7,893
In deciding on a boat, we knew most boats purchased in the Great Lakes would need most of this list replaced or upgraded. The dated electrical system for any boat in our price range was going to need a complete overhaul especially since we planned to switch to Lithium. We ended up using the Explorist Life 200-400ah Diagram and following the videos and bill of materials almost exactly. We ended up with the following system:
- 400 AH Battle Born Batteries
- 2000w Victron Multiplus Charger/Inverter
- 525 Watts of Solar
- Victron MPPT Charge Controller
- Victron Lynx distributor
- DC/DC Charger for dissimilar chemistries
- All new AC wiring
- New AC disconnect and Panel with Rev. Polarity
- BMV 712 Smart Battery Monitor
- 130 Amp Balmar inverter, with Balmar charge controller and Perkins 4108 Serpentine belt kit
Standing Rigging – $7,200
This one wasn’t really on our radar when we bought the boat. Many boats in the Great Lakes never have standing rigging replaced. The previous owner told me himself you don’t need to replace standing rigging on a freshwater boat. In researching, I found all kinds of conflicting opinions on freshwater standing rigging. The common theme was that the risk is that with age stainless steel work hardens and gets brittle over time – for our boat (47 years young) you could make a good assumption that the rigging was well past its prime. Since we don’t have an exact plan for how long we’ll be cruising, the peace of mind of knowing we’ve got a brand new rig that can take us around the world if we wanted was worth the investment.
Water System – $4,400
We just ordered the 17 GPH Seawater Pro watermaker for about $4k. We also purchased an Acuva Arrowmax UV 2.0 water purifier since we’ll be drinking water out of our stainless water storage tanks.
Steering – $3,930
Our boat came with an old Raymarine X1 Wheel Pilot, which we removed (and actually sold piece by piece for about $700 on Ebay!) to install a below-deck Garmin autopilot. We went with Garmin due to a family friend who works there getting us a discount, and it’s worked great so far. We also bought a 40″ Lewmar folding steering wheel. The original wheel on Resande was only 32″ so it’s a really nice upgrade.
Liveability – $3,850
There were a few things we knew needed replacing if we were going to live on Resande. First off was the mattress – we ditched the thin old one for a big upgrade for about $750: DIY Boat V-berth Mattress: Step by step guide. We also got our cushions re-upholstered in our Saloon was $1900. Finally, a more fun one was putting Seadek in our cockpit was about $1,200
Davits – $2,200
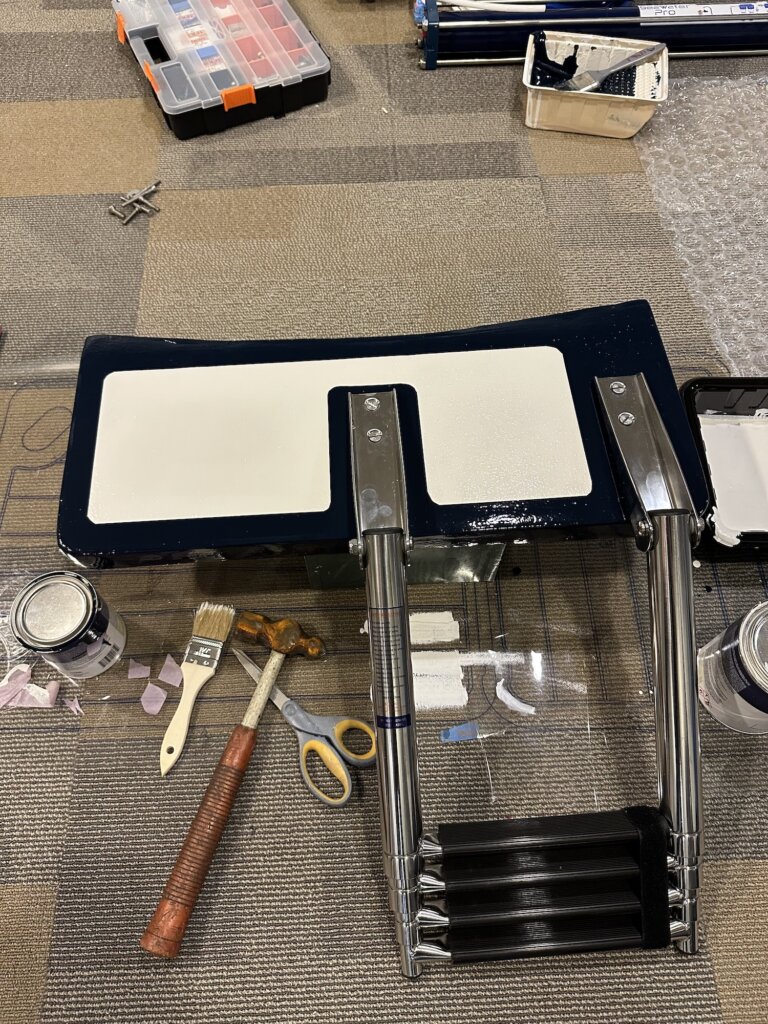
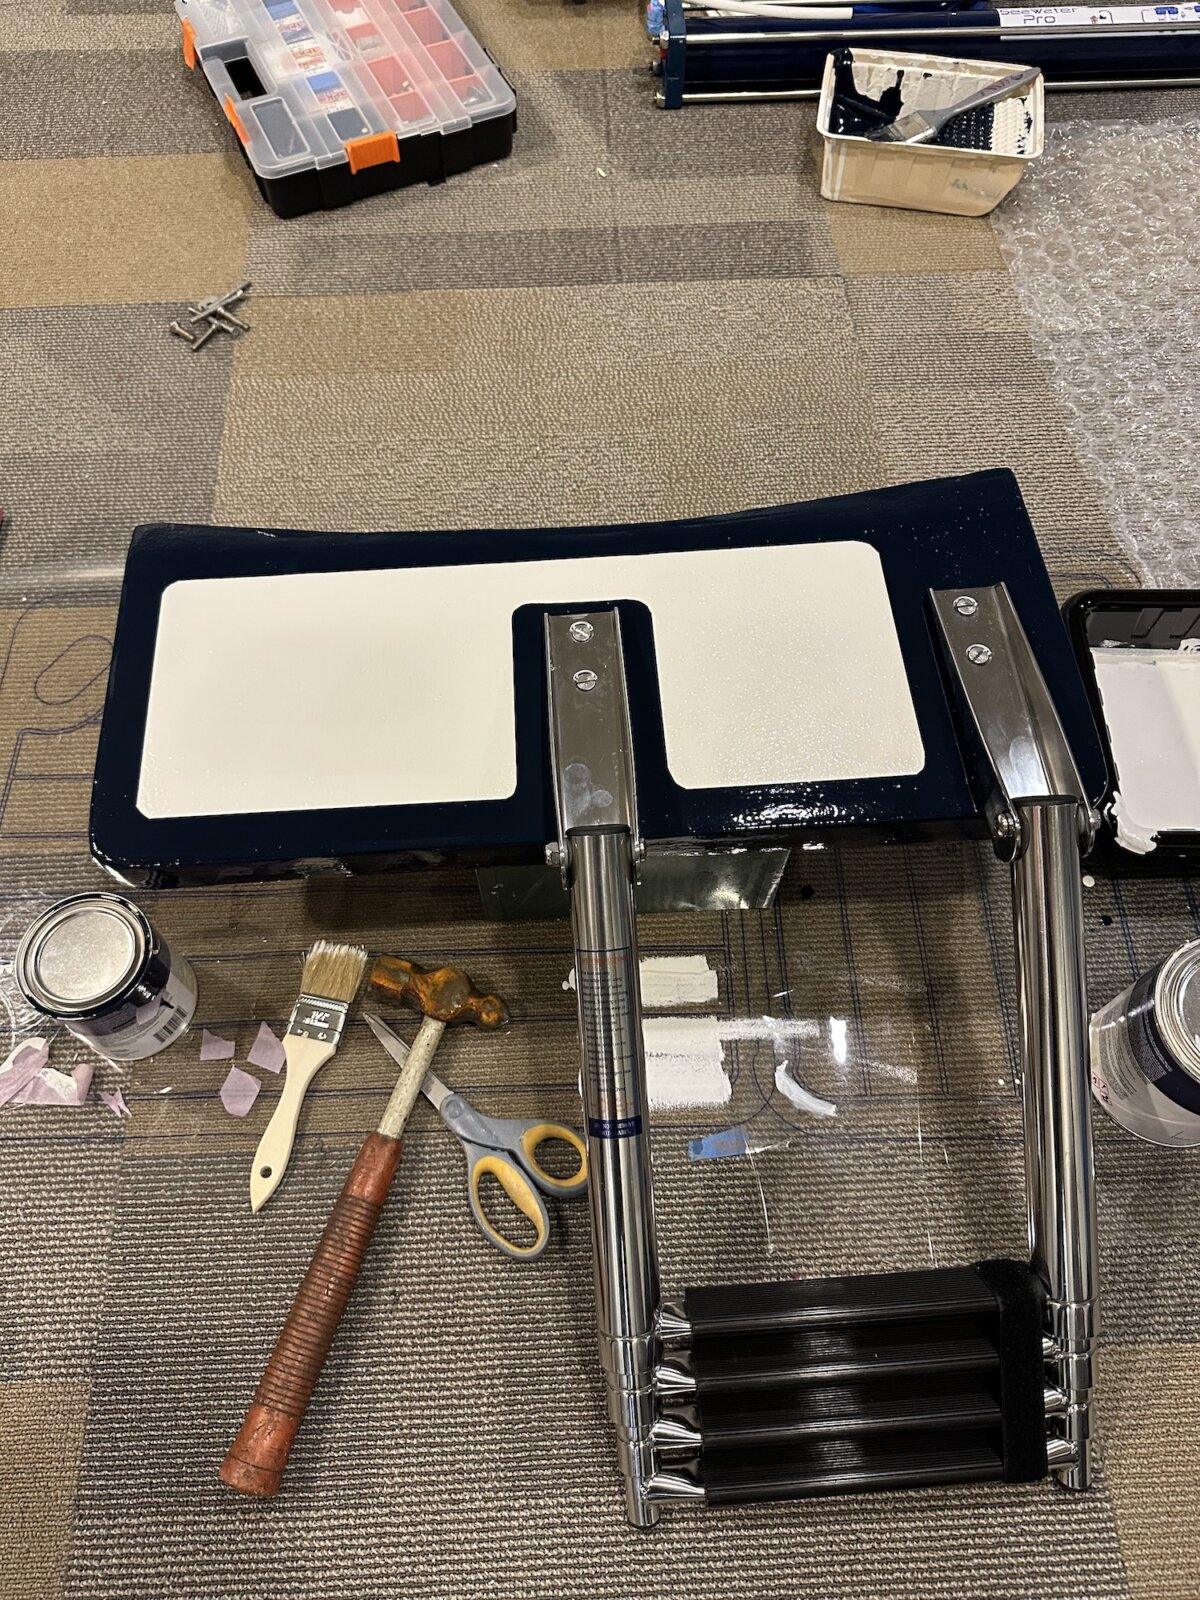
We went back and forth on what to do about dinghy davits. Really the main contenders were between a tower (Towers in a box) or the Garhauer DD 6-2 Davits. We ended up going with the Garhauer davits since they were a lower all-in cost and I was confident we’d be able to fit them on our very narrow stern of Resande. Resande is only about 60″ wide at the stern, which is slightly lower than the minimum on the towers. We likely could have made it work with some side mounts a bit more forward, but combined with the overall cost I settled on the Davits. As of now we haven’t installed them so, we’ll still have to see how they turn out.
Ground Tackle – $1,950
The original anchor on our boat was a 35 lb CQR. Not a bad anchor by any means, but the newest generation anchors have made significant leaps in both holding power and ability to re-set. The two most important things you want in an anchor. Really the new generation of ‘digging’ anchors are essentially an inverted plow anchor. Instead of creating resistance by plowing the seabed, these anchors dig down into the seabed. We chose to go with a Mantus 55 lb M1 Anchor slightly oversized for our boat, as the calculator put us near that threshold between 45 and 55 lbs – we opted for the heavier option.
Attaching us to the anchor, we ended up with an all-chain rode – we ended up splitting a 550 ft barrel with another boat which netted about 275 ft per boat. Since this is arguably more chain than we really need in most cases (5:1 gets us to about 35 ft of depth with 175 ft) we actually keep about 100 ft (and about 100 lbs) of chain in the v-berth locker which is below the waterline and closer to the center of the boat. On the rare occasion we’re anchoring in deeper water we can always move more chain to the anchor locker, but this setup should get us through the Caribbean without issue. I’ll probably add about 50 ft of nylon rode that we can get to and cut off in an emergency.
Finally, the M1 anchor didn’t quite fit with the original bow roller. we ended up buying the Mantus Bow roller and fitting it onto the bow of the boat. to this day, we’re still trying to figure out how to get it to roll off without hitting our jib furler, but that’s a different post altogether.
Other – $1,690
This is a bit of a catch-all. Epoxy, paint, coring material, lights, fans, wires, connectors, pumps, rebuild kits, spare parts. The dozens of random projects we’ve done to get everything ready to go. This is probably much lower than the real number.
Safety – $1,070
For Safety, we added an AIS, Jack lines, and a bunch of random smaller projects to make sure we stay on the boat and upright.
Running Rigging – $400
Not a huge surprise, but we had several lines that needed replacement: Main sheet, overhaul on the reefing system, furling line, etc.
Waste – $250
Our initial plan was to buy a Composting head from Nature’s Head or C-Head. Due to dimensional constraints, we ended up making our own version for a fraction of the cost and probably ended up with something a bit better since it’s exactly what we need for the exact space. We detailed the process we went through here: DIY Composting Head.
What do you think – would you have made the same upgrades or did we miss something big that you would have done? Leave a comment below!
