
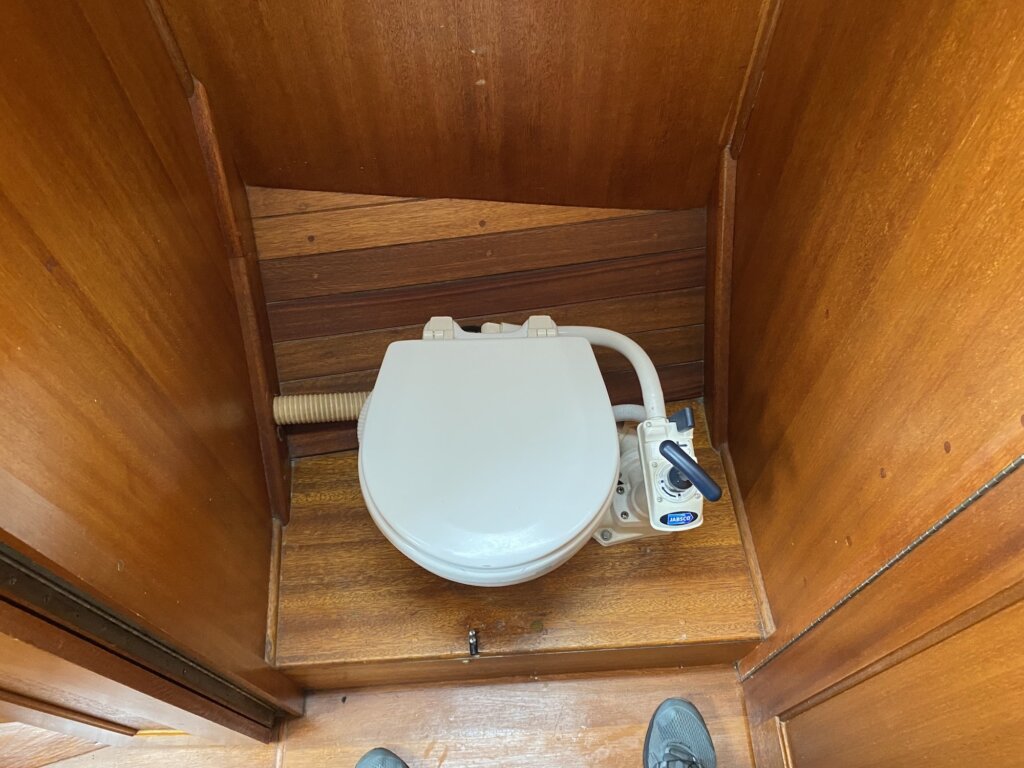
We did some research and heard several bad stories about boat toilets breaking at the worst possible time. We decided to remove our old holding tanks and go with a composting toilet aboard SV Resande. Our first choice after looking into several different brands was Nature’s Head. We quickly realized that the Nature’s Head wouldn’t fit into our space. Of course, this lead to another DIY project for us.
The actual components of a composting toilet are fairly simple:
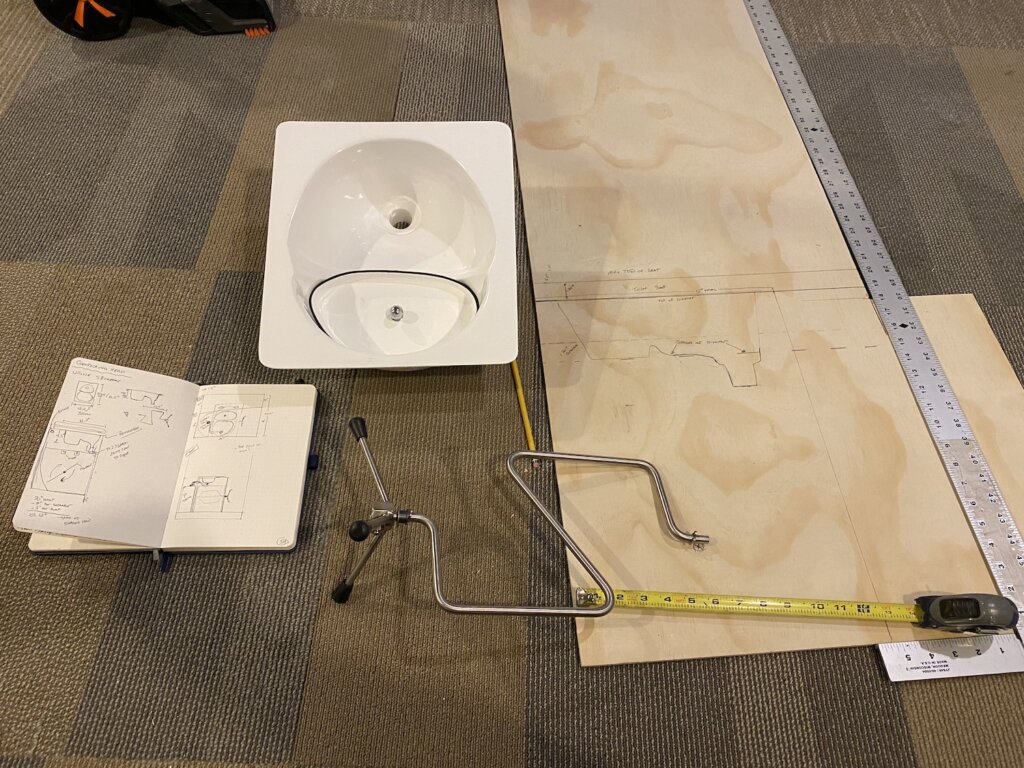
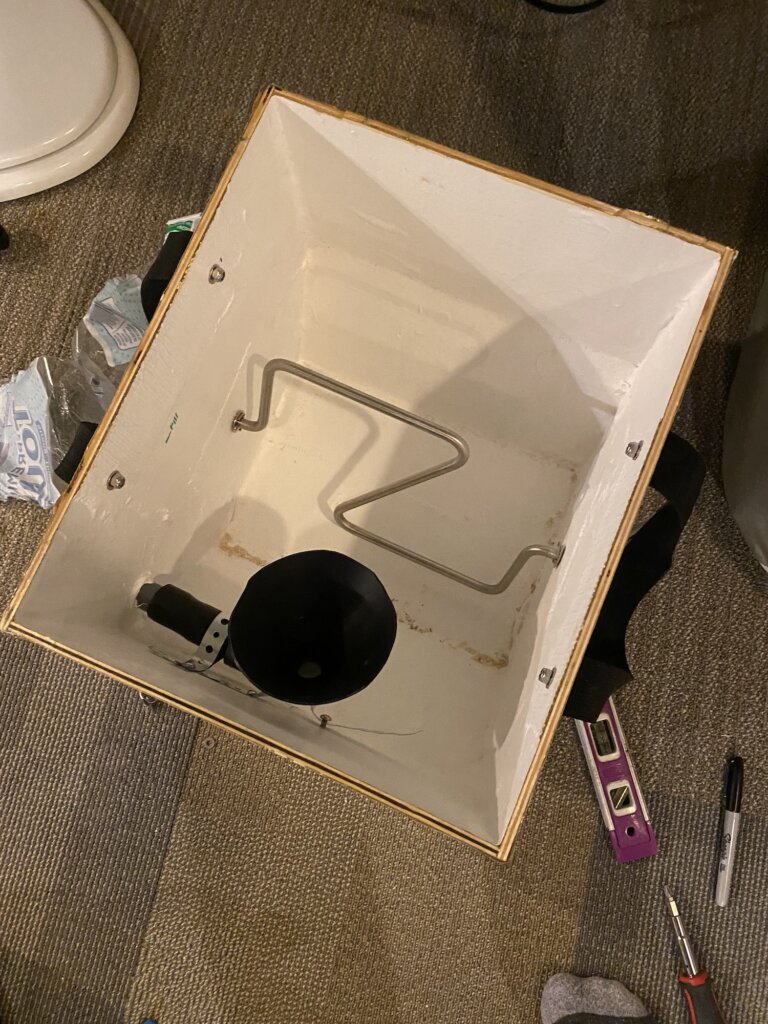
- Solids bin – you want to keep the solids and liquids separate, you can even go as simple as a five gallon bucket. We ended up making ours out of plywood, fiberglass, and gelcoat to the exact shape and size for our boat. We did add an agitator to give a good ‘fluff’ to the solids and mix everything around
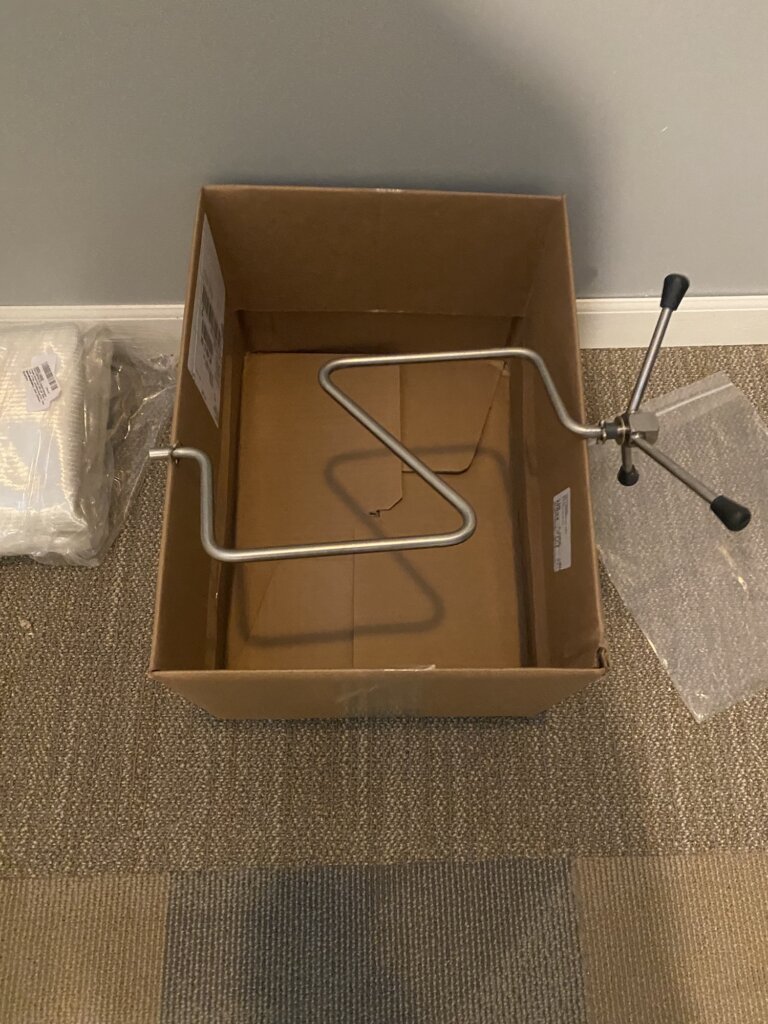
- For the agitator, we ended up buying a replacement for the Nature’s head. This worked perfectly for the width we were going with, and was easier than fabricating something ourselves. We bought it at: Nature’s Head Agitator Kit
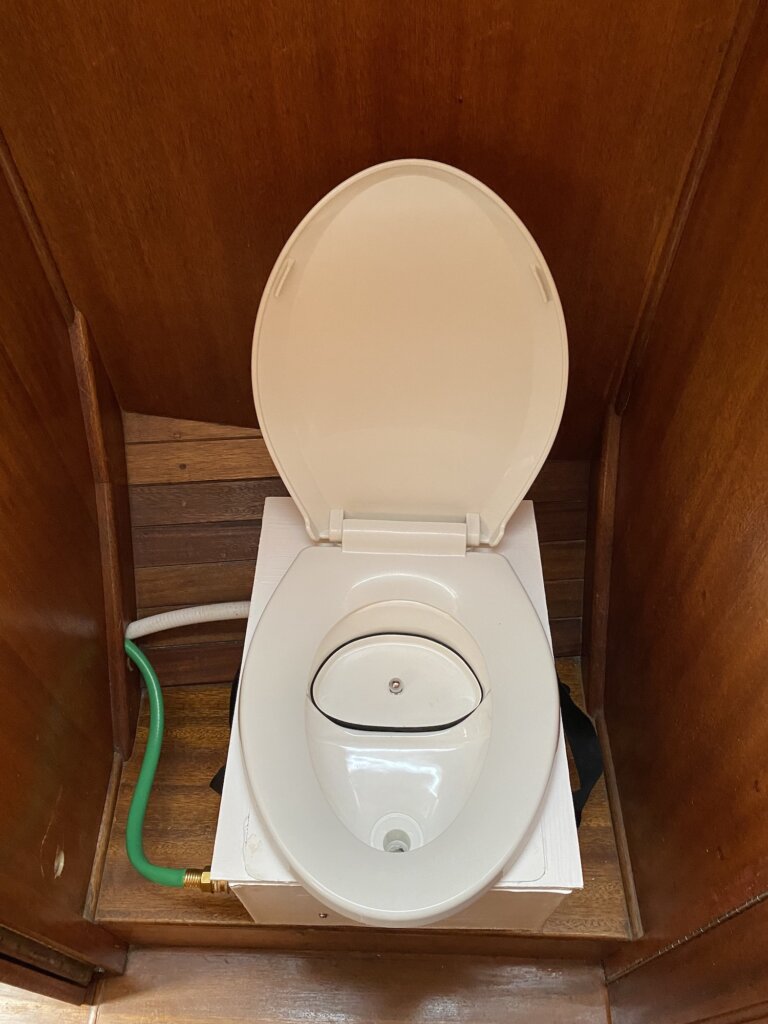
- Diverter – The urine diverter is really the difference between a composting toilet and a porta potty. The goal is to divert the urine away to a separate tank so it never mixes into the smelly sewage that’s in the holding tank you’re trying to get rid of. There seem to be a few options out there, but we went with one from a UK Ebay seller strumpetandtrollop, they also have a website https://www.strumpetandtrollop.com/. They have some pretty unique stuff – shipping was expensive, but I liked their diverter the best (fiberglass and gelcoat) plus it had a ‘modesty bung’ which is pretty nice
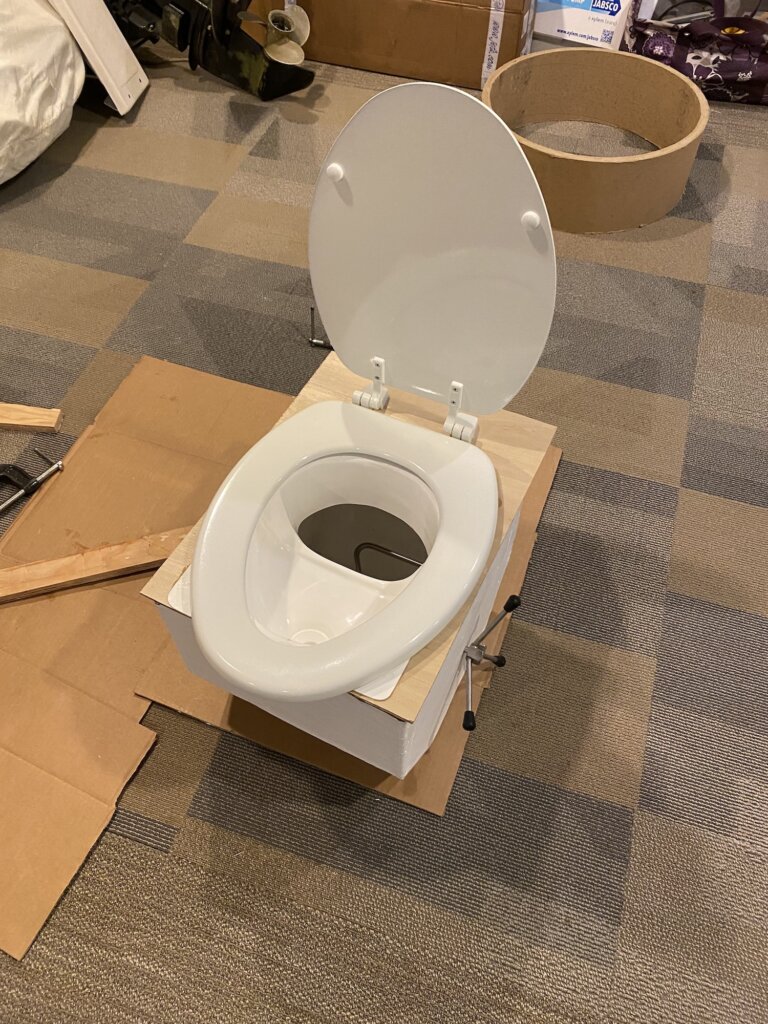
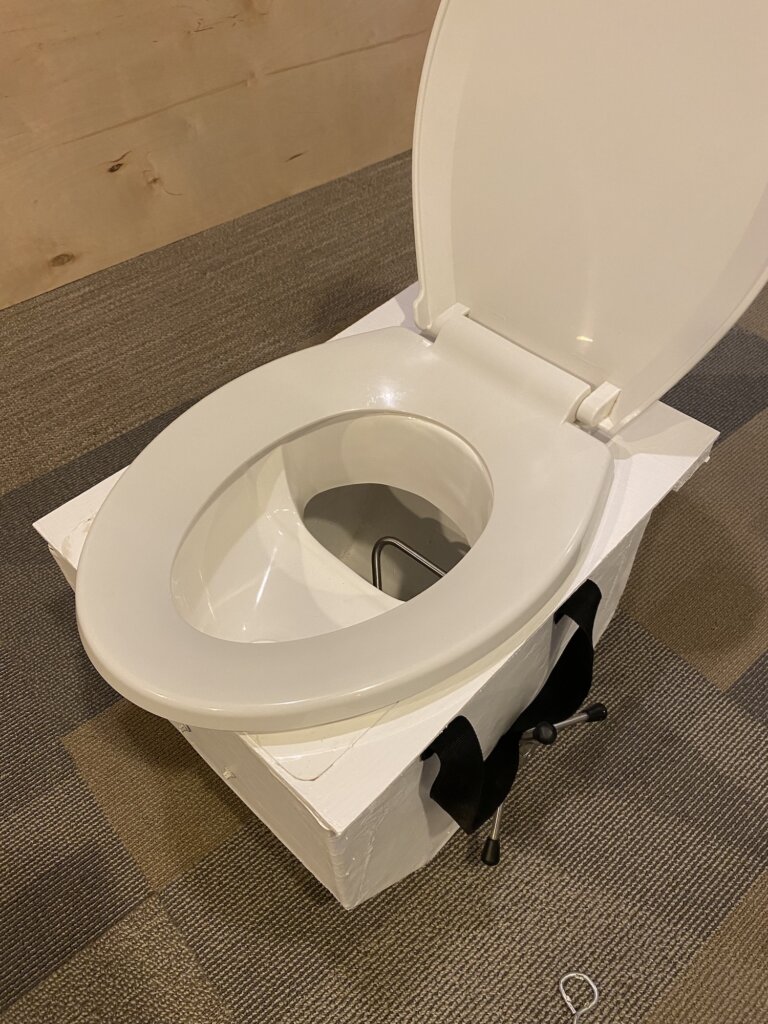
- Toilet seat – pick your favorite from your local hardware store – we went with and oval shape
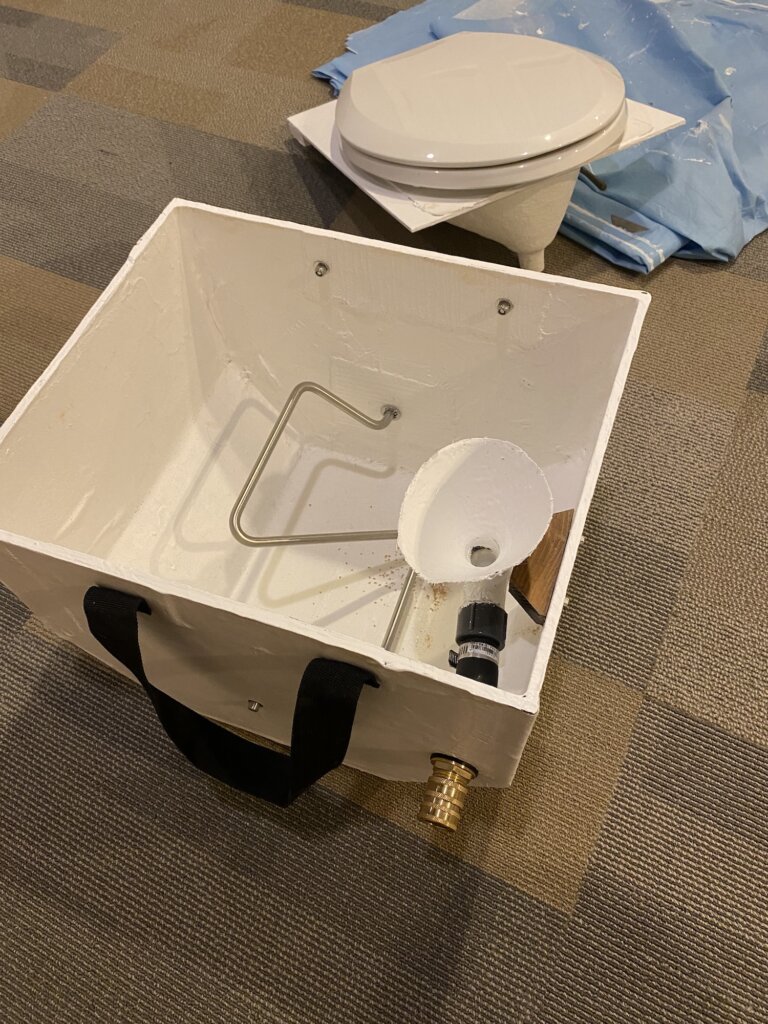
- Pee Jug – The counterpart to the solids bin. You need it to be lower than the bottom of your diverter if you want gravity to work in your favor. We used quick-disconnect hose fittings so we can easily remove the jug or solids bin without tools. We went with a 2.5 gallon (10 liter) option which should last several days and is easily emptied
- Pee Jug Vacuum System – in early testing of our system we found it’s possible to outpace the drain rate of the urine diverter. We also found it doesn’t drain when heeled to the port side. Our solution is to put a small 12v vacuum pump on the vent side of the pee jug to create a moderate vacuum inside the jug. This will remove air bubbles and allow faster drainage
- Ventilation fan – links directly to the solids bin to keep air flowing and remove moisture and unpleasant smells. I found a nice option on Etsy including the 12v fan for only $20 :JohnnyCompostToilets
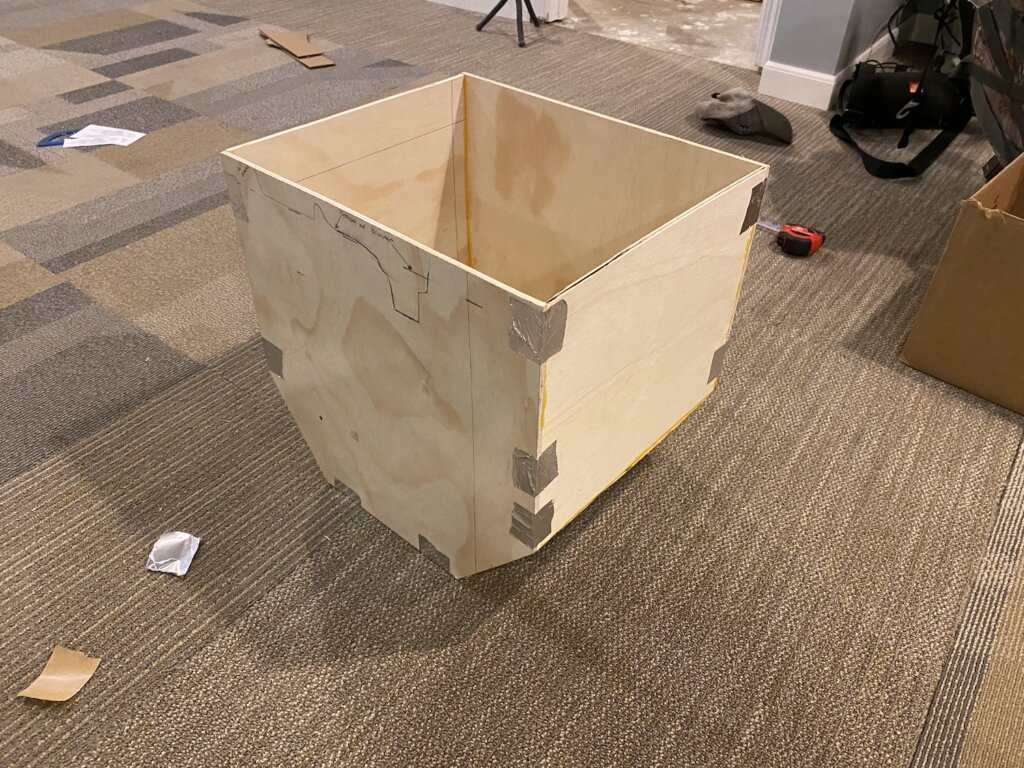
The first step was to draw out what we thought would work best in our space and then proceed with building a cardboard model.
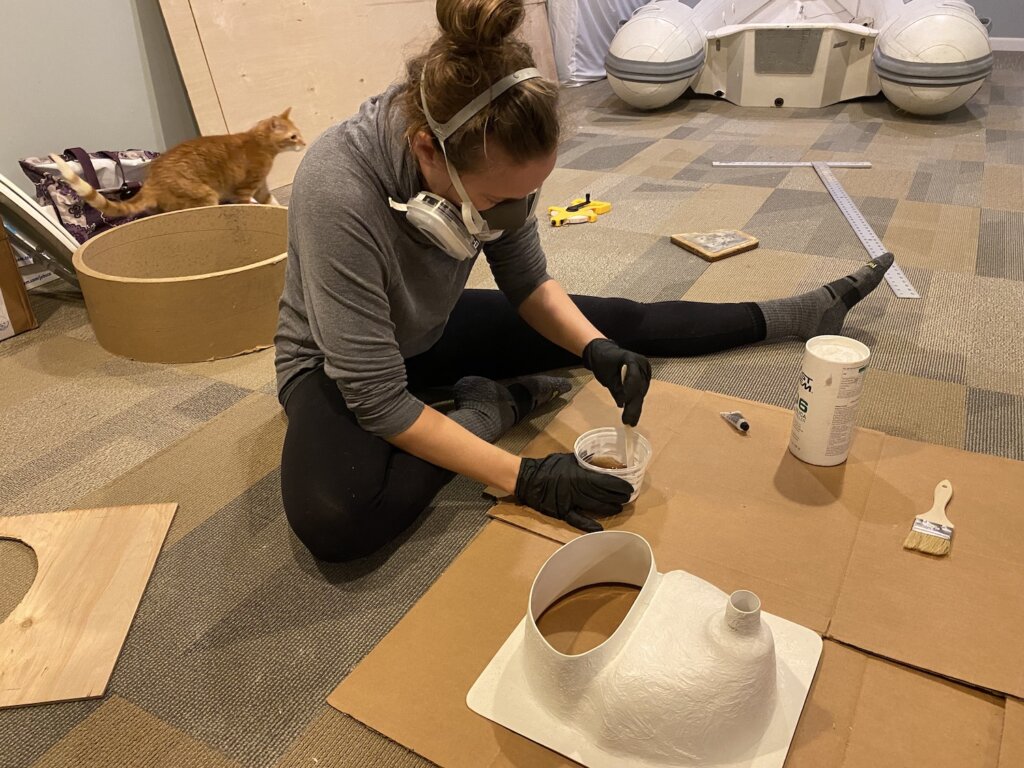
Once we were happy with the fit of our model we proceeded with making the real solids bin out of wood. We used wood glue to secure the sides together. Tape was necessary initially until the glue was dry. Once we were satisfied with the wood bin we used fiberglass to make the bin more sturdy and last longer. We then used white gel coat to seal and protect it.
Next was building a toilet top for the urine diverter that we had purchased to sit on. We did this also out of wood. We fiberglassed the urine diverter to the top once we were happy with the size/shape. From there we used gel coat to seal and protect the top.
Next up was figuring out how to funnel the urine from the diverter down and into our pee jug. We tried a few options before we found a funnel the correct shape and size for our application. Once again the fiberglass came out and we used the funnel as a mold so we could make a fiberglass funnel the exact shape and size we needed. The fiberglass funnel is molded to a 90 degree elbow connected to a bulkhead fitting. The bulkhead fitting has a quick disconnect fitting, so you can disconnect the solids tank for complete removal without any hose clamps. We’ve got a quick disconnect on the pee tank side of the hose as well for easy removal of that tank.
Finally, we added some polyester straps so we can easily remove the whole tank and carry it off the boat to empty.
Finally it was ready to install! We got our last ever pump out, removed the old holding tank and toilet and voila!
Finishing Touches
Well, almost voila.. we had a slight issue with the funnel draining to the pee tank when heeled to port. To solve this, we added a small DC vacuum pump, and attached it to the vent of the pee tank. To create a vacuum/siphon effect to encourage the drain.
For the solids bin ventilation, we used some 1.5″ sump pump hose connected to a 12v fan and housing from JohnnyCompostToilets. This takes odors from the solids bin to the stern locker, which is well ventilated.
We are using Coco Coir bricks to help facilitate the compost in our solids bin. Overall, we’re still figuring out how to make this system the easiest and most efficient for us. We can say it definitely smells better in our boat now that there are no old holding tanks! If you are living on your boat, you are going to have to deal with your waste at some point. We much prefer doing it this way with no sewage and doing so on our own terms!
Tell us what you think? Do you have a composting toilet on your boat? What other options do you think we could have considered? Leave us a comment below.