


In all of our travels together, Erika has never been to the Rocky Mountains. It’s about an 18-hour drive from where we live in Grand Rapids to Denver. After getting two smaller trips with the trailer under our belt, we felt we had most of the kinks worked out for a longer trip. We decided on Colorado since we have some good friends there and it’s a manageable drive with the trailer. In total, we had about 5.5 days in Colorado, plus two days of driving. We started at our friend’s house in Denver and headed out, into the mountains from there.
We found this itinerary to be very manageable with the time frame we had. From Denver, our first stop was Maroon Bells near Aspen. After that, we headed about 3-3.5 hours to the Black Canyon of the Gunnison National Park. From there we went to Salida which was about a 2-hour drive. Our last stop was in Colorado Springs. We really enjoyed our time in each of these locations.
Maroon Bells:
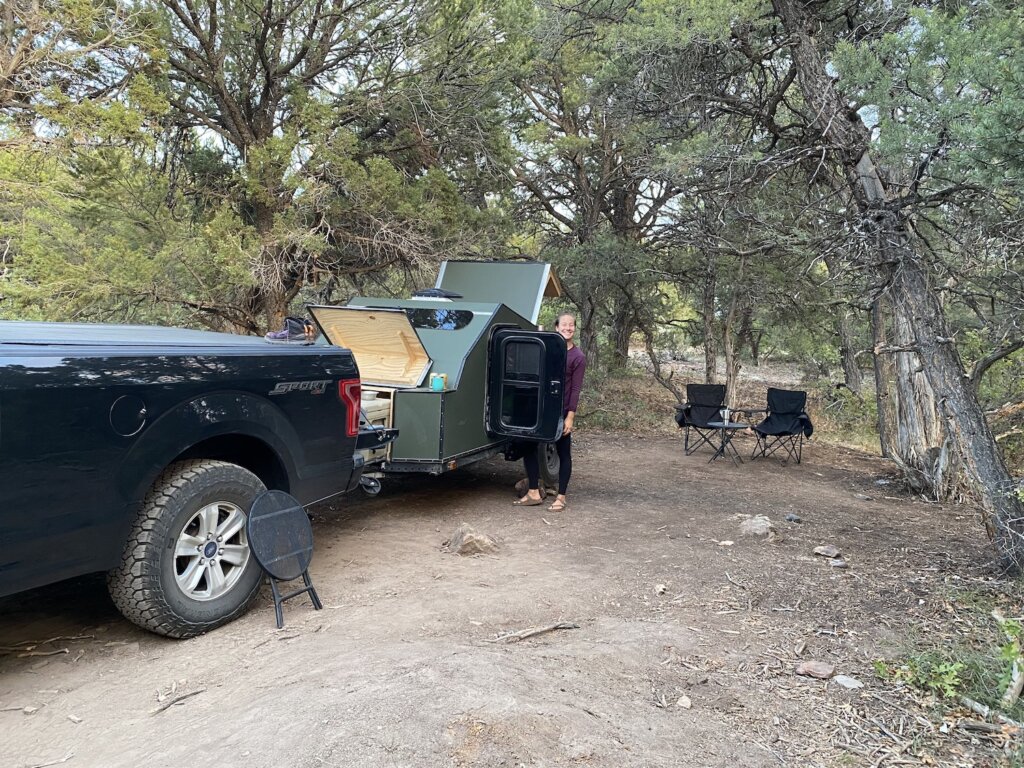
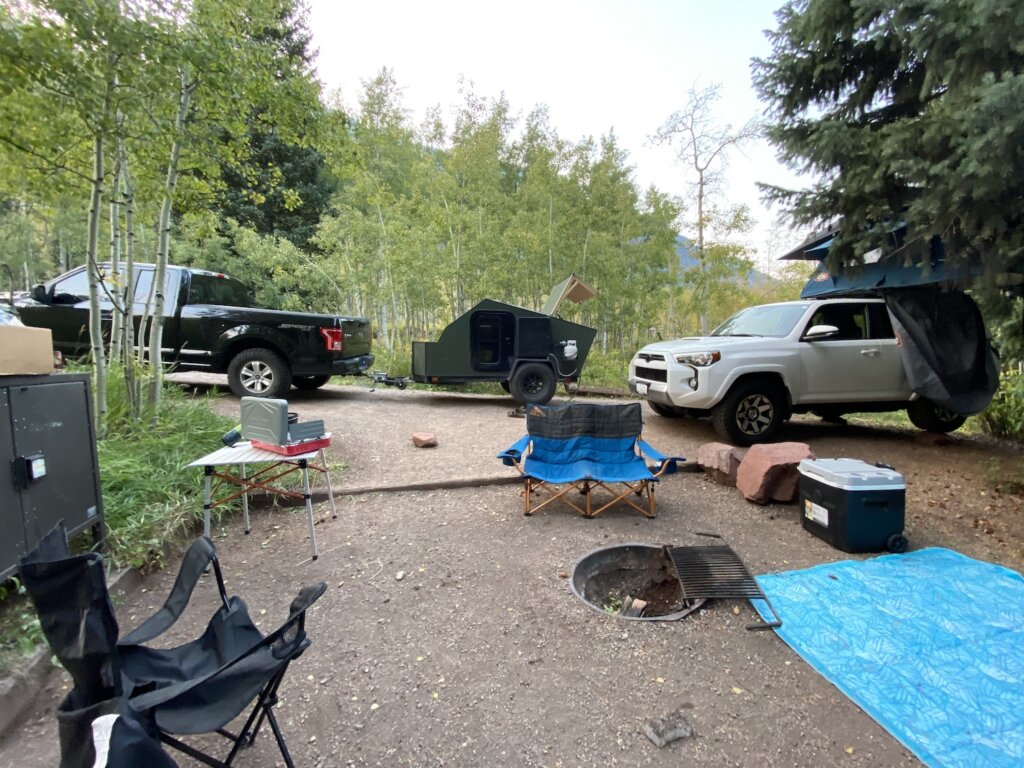
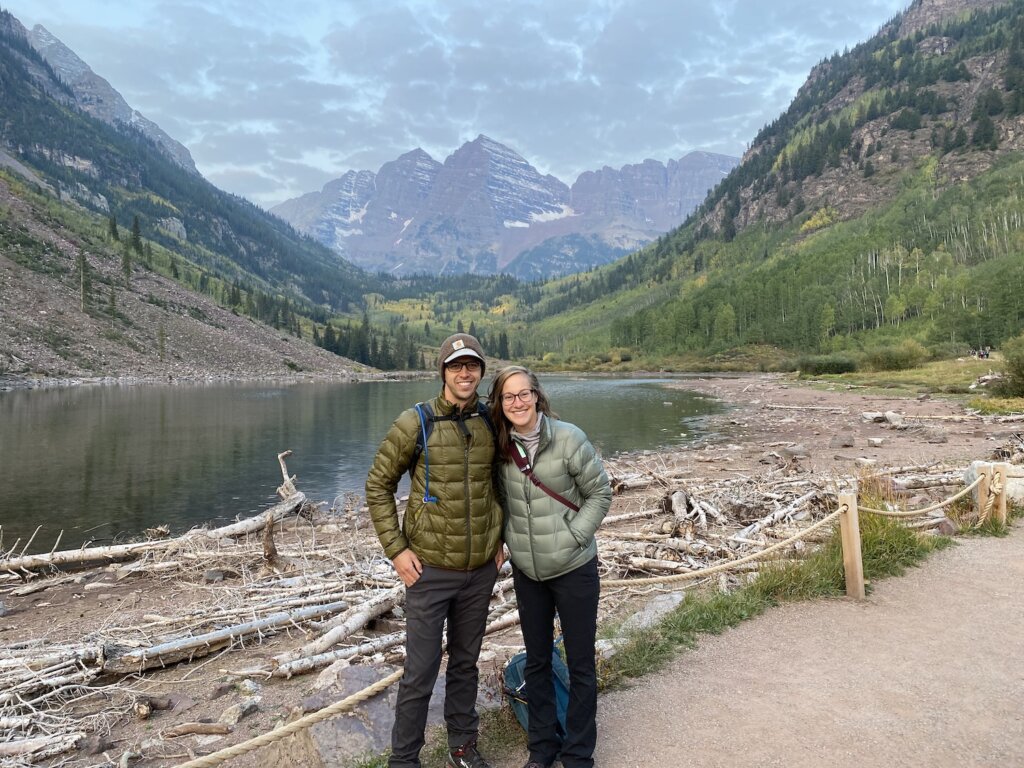
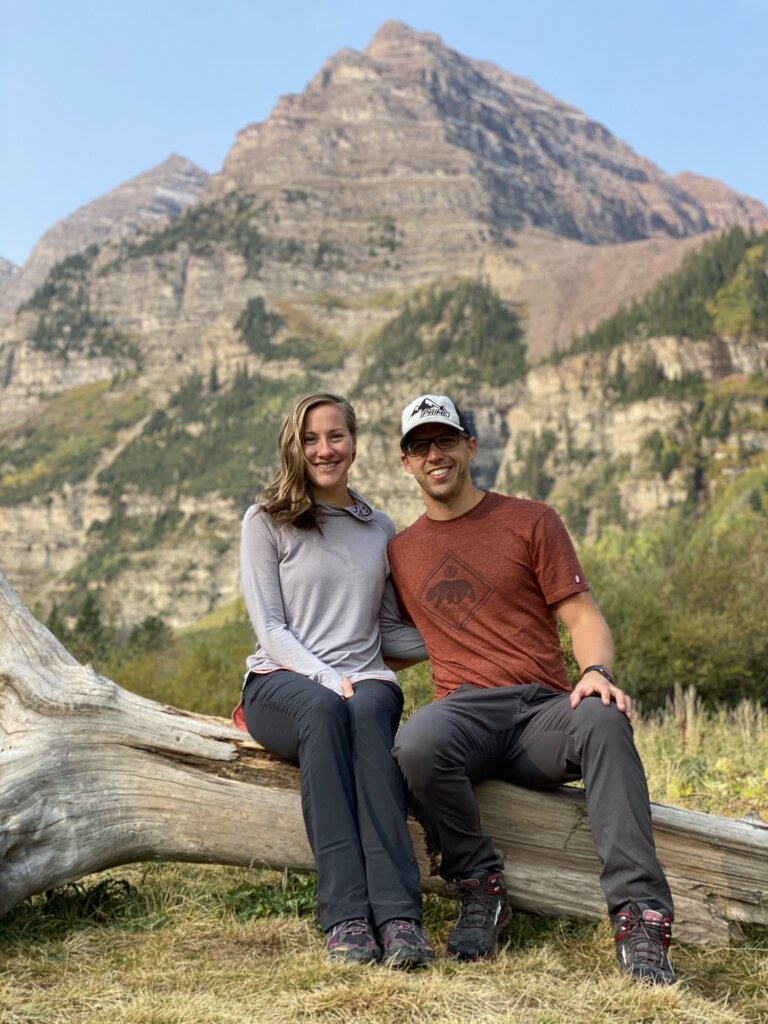
We were lucky enough that our friends had booked a campsite at Maroon Bells well in advance. You can start booking these campsites 6 months ahead of time, and we have been told you need to book early to get one! The sites are fairly small but we did fit our teardrop and truck and our friends SUV with a rooftop tent. There are plenty of trees in between the sites so you do get a good amount of privacy. From Aspen, there is one road into these campsites at Maroon Bells. During spring/summer and into early fall ( we were there in September) you do need a camping reservation to drive that road between the hours of 8 am and 5 pm. If you do not have a reservation you can take a bus from Aspen. Check out this website for more information: https://www.aspensnowmass.com/inside-aspen-snowmass/stories/maroon-bells-101-all-you-need-to-know
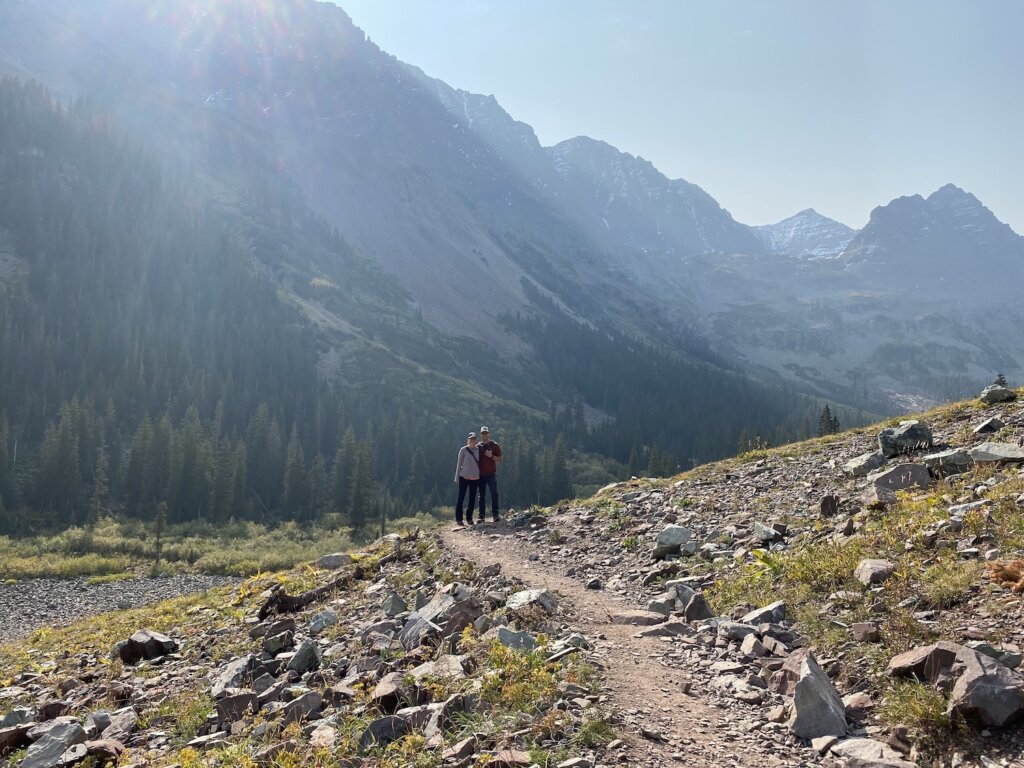
The greatest part about camping here was getting up and heading to see the sunrise hit the famous mountain peaks. This is a must-do! Definitely get to the parking area early as it does fill up (early in the morning you can without a camping reservation). After sunrise, we hiked from the viewpoint to the base of the actual Maroon Bells mountain. We did an out and back hike of about 3 miles, but there are multiple trail options if you’re more ambitious. The views along the way are awesome!
Other than that our time at Maroon Bells was spent just relaxing and hanging out with our friends at the campsite. We did have one bit of excitement when a black bear walked right through the camping area. There are bear boxes at each site to keep food locked up so do use those as you never know what you might encounter!
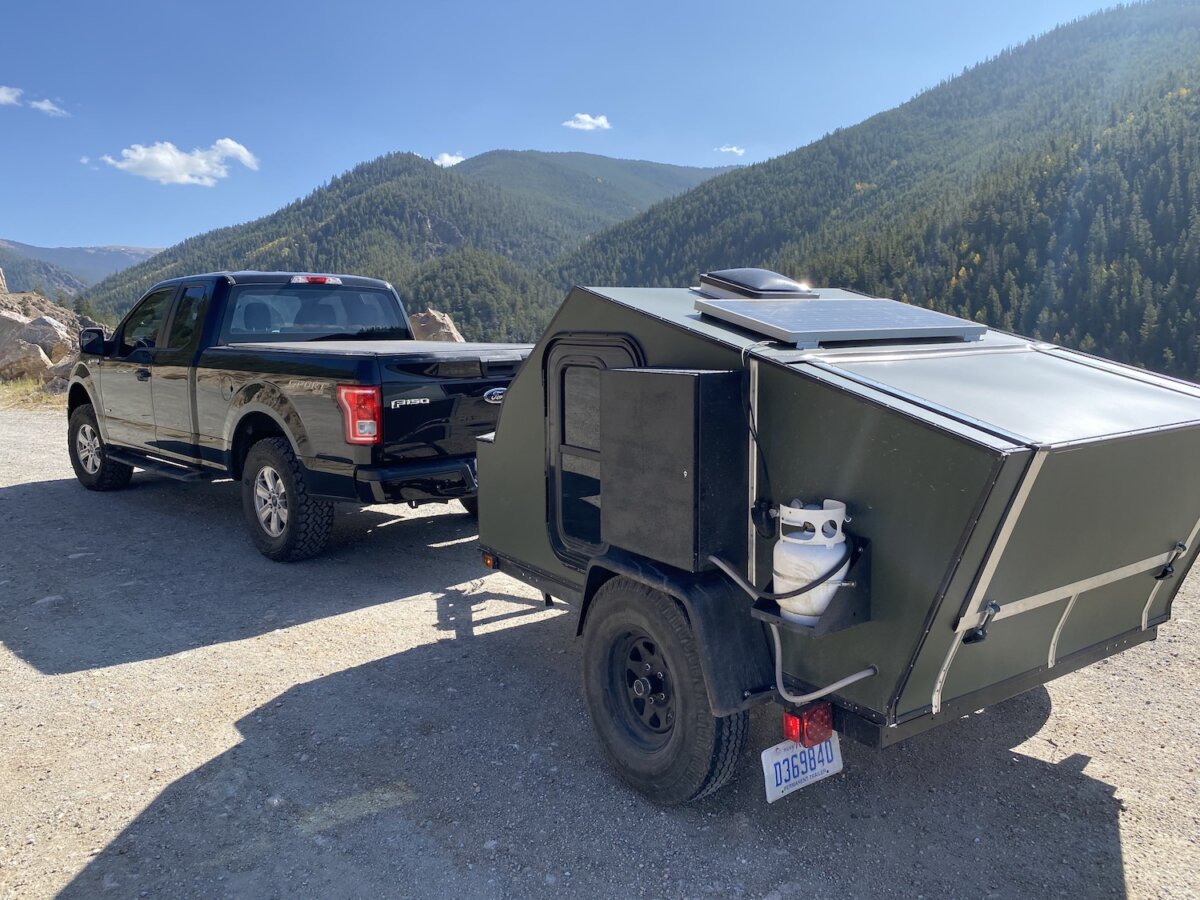
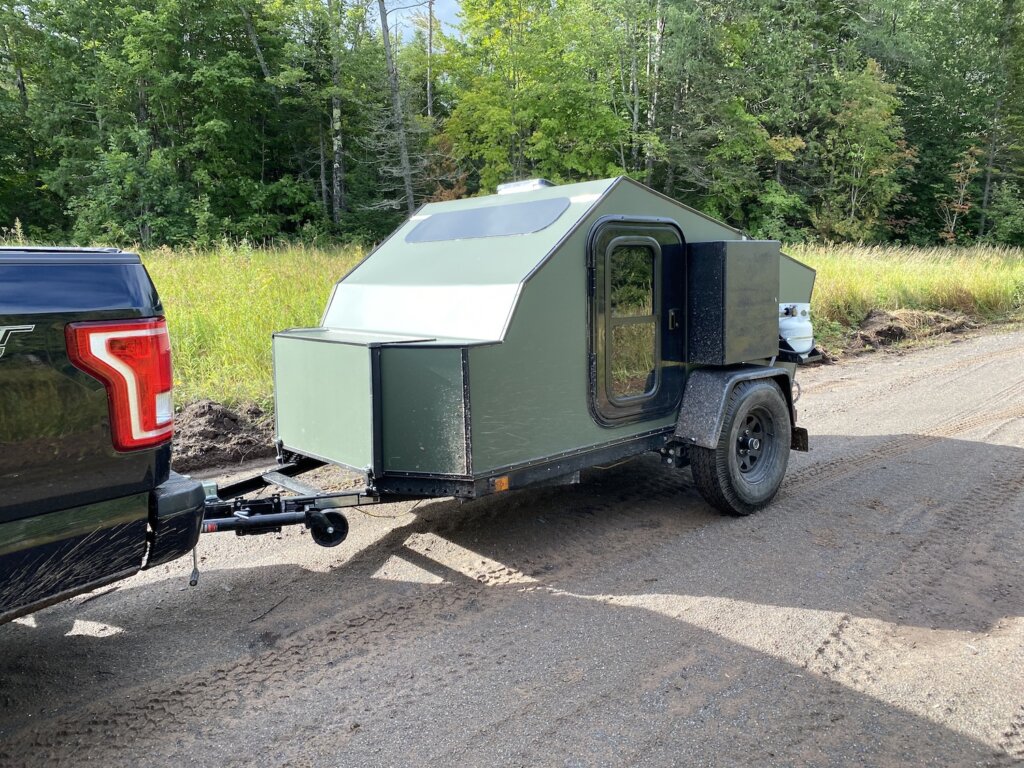
One last note on Aspen/Maroon Bells. It was recommended by our friends that we take Independence Pass to get into Aspen from Denver vs going around the mountains. This road isn’t always open and you do need to make sure your total length (for us meaning the truck and trailer) is less than 35 ft. We measured ahead of time, with our trailer we are 32 ft and we had no trouble driving this pass.
The road does have several switch-backs, some without guardrails and some are pretty narrow. There were lots of signs warning vehicles beyond that length to turn back, there was nobody enforcing this rule but it would definitely be a bit sketchy to drive if you were over 35 ft. The road is beautiful, it winds up the mountains to the peak which is at 12,000. There is a parking lot you can park and take in the views at the top, we did not since we were following our friends to the campsite but we would have loved to stop and take it all in!
Gunnison:
From Maroon Bells, we headed to the Black Canyon of the Gunnison. We got there about 2:30-3 pm and were told there were still campsites open but when we drove through we couldn’t find one. The sites are mostly set up for you to parallel park along the outside and then set your tent up in the spot. For us with our teardrop trailer, the spots wouldn’t have worked well. They are also very, very close together so there is not much privacy. We would say that it is not worth it to camp in the park. The cost is $16 a night for no electric hook up, $22 a night with electric hook up.
There is a large area of BLM land approx 1 mile from the park entrance with a lot of spots available. The BLM land is well marked and easy to find. The spots are fairly spread out and the area is forested enough to offer privacy from others in nearby spots. We really enjoyed this camping area and would highly recommend it! And it is free!
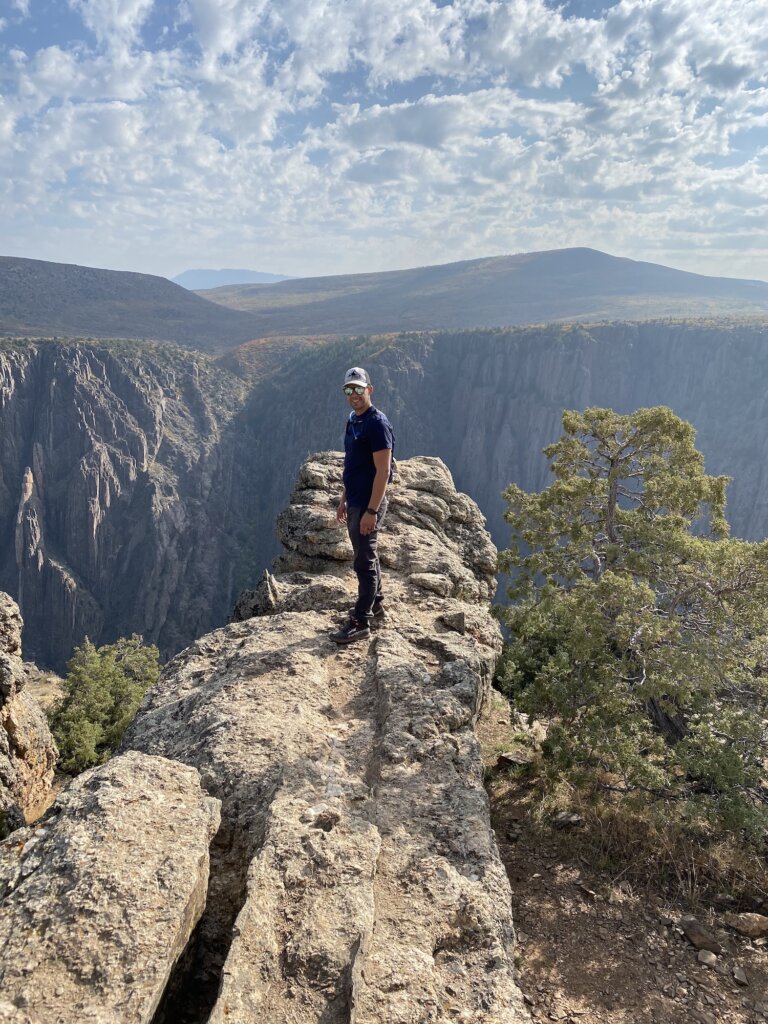
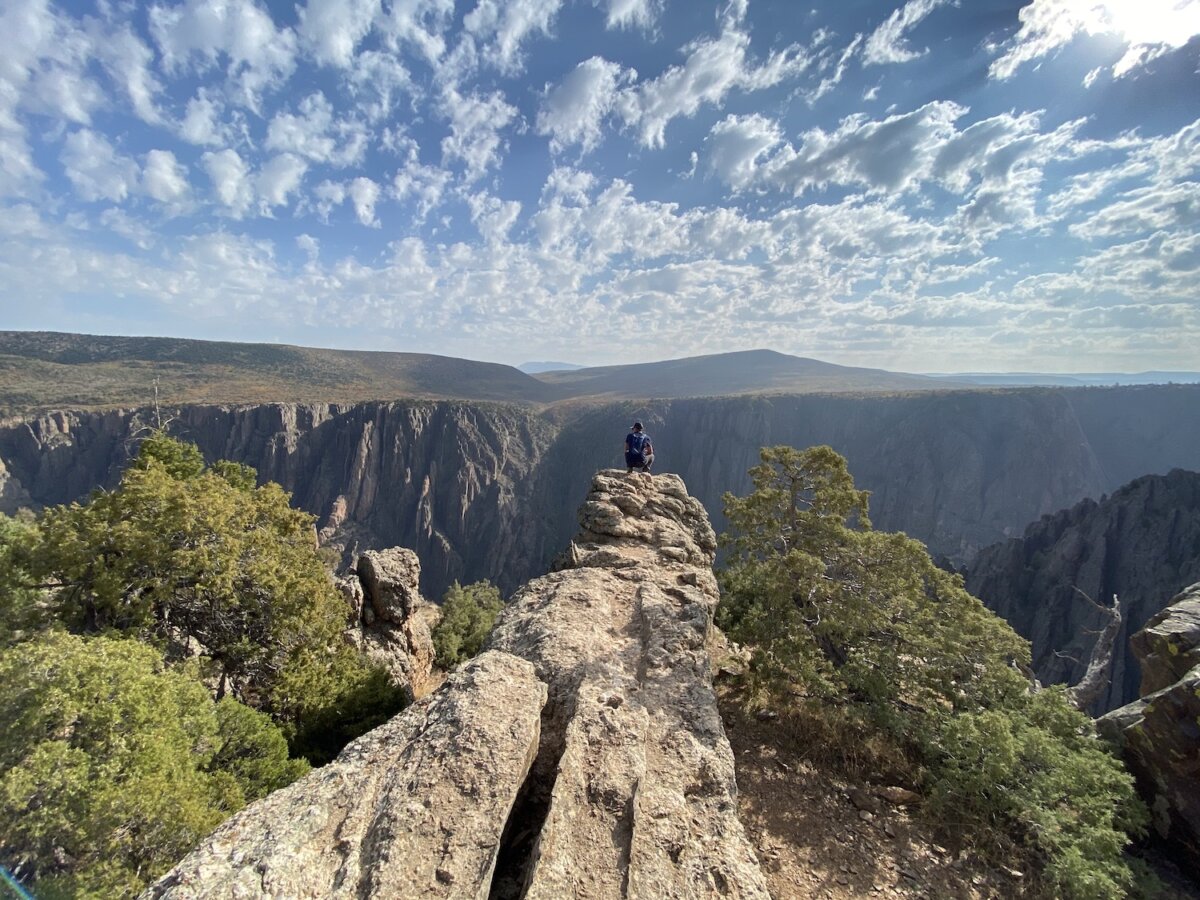
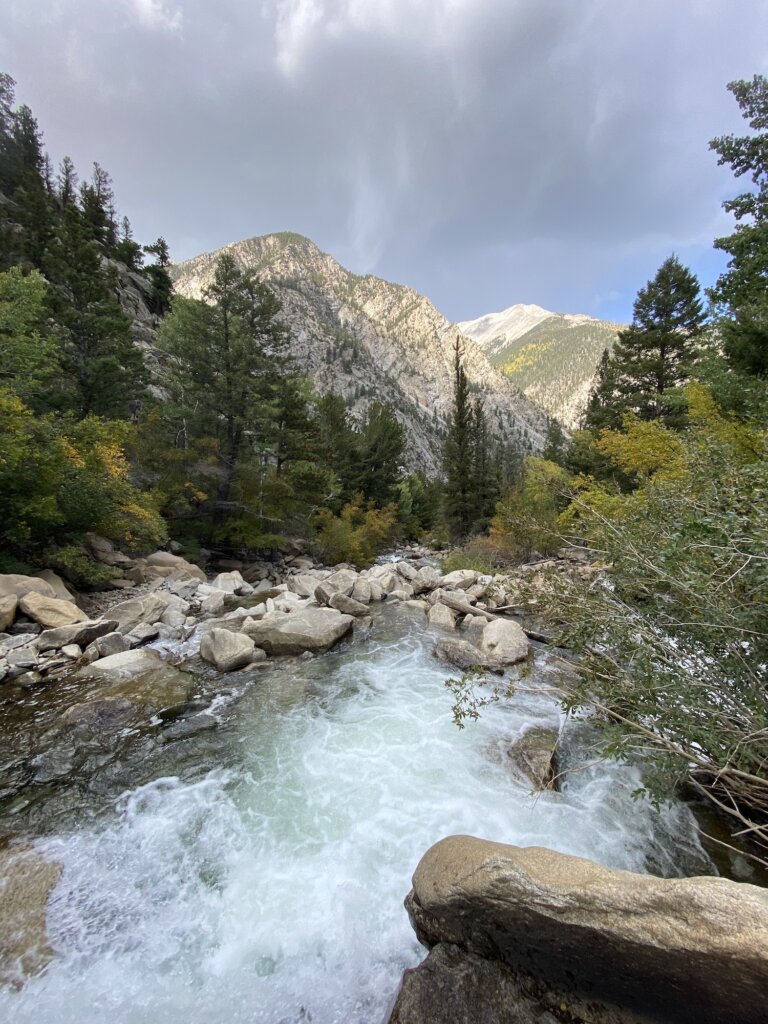
While you are in the park we would recommend driving along the rim and stopping off at the various viewpoints. Most of these are only a short walk from the road and you can easily stop at them all within one day. All the views are beautiful! There are several trails in the park, our favorite was the rimrock trail which follows the rim and offers spectacular views along the way!

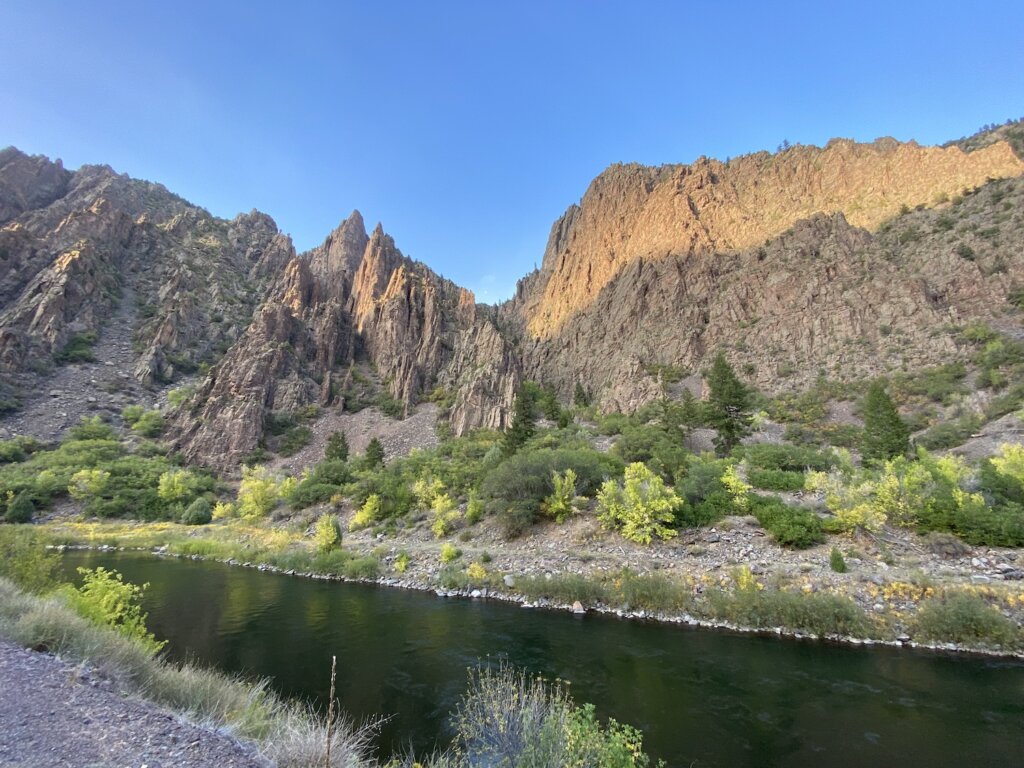
Our other favorite activities were driving down the east portal road to the base on the canyon. There is a length maximum of 22 feet to go down the East Portal due to the steep switchbacks. Once you are down there, you can walk along the river. If your plan is to do some hiking and just take in the views in the park as we did then you really only need one full (busy) day, maybe a day and a half here to get a good experience. We stayed at the BLM camping area for two nights. The first evening we just set up camp and then drove down the east portal road and explored a bit. Then the following day we got up and really explored the entire park.

Salida and Collegiate Peaks:
Our next stop was the town of Salida near the Collegiate Peaks. We found another great BML spot to camp. The road was pretty bumping getting to this area but the views were amazing! We had full 360* views of the mountains from our site! After dropping off our trailer we headed into downtown Salida for some lunch. We ate at Amicas pizza and brewery. We really enjoyed the food and beer.
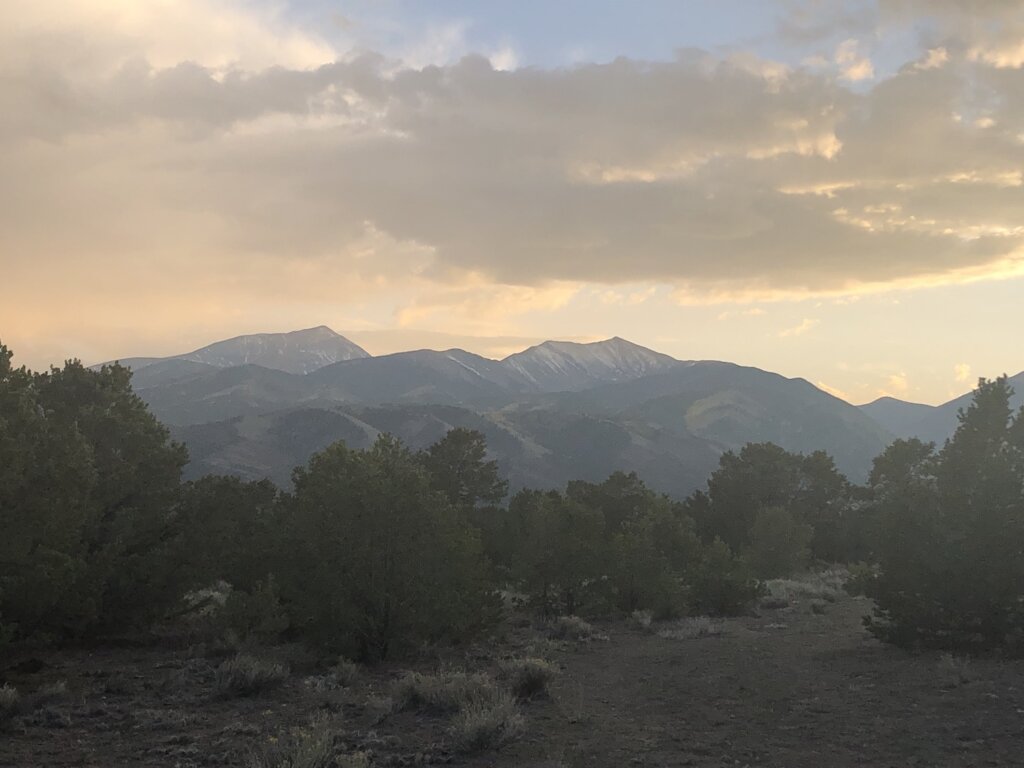
From lunch, we decided to drive up into one of the mountains nearby. From highway 285 we took Chalk Creek Drive, which led us right past the chalk cliffs and past some really pretty views. There is an alpine lake which we did drive past but it is, unfortunately, private property. We enjoyed the views of the lake while driving past but couldn’t get out and walk around the lake as we hoped.
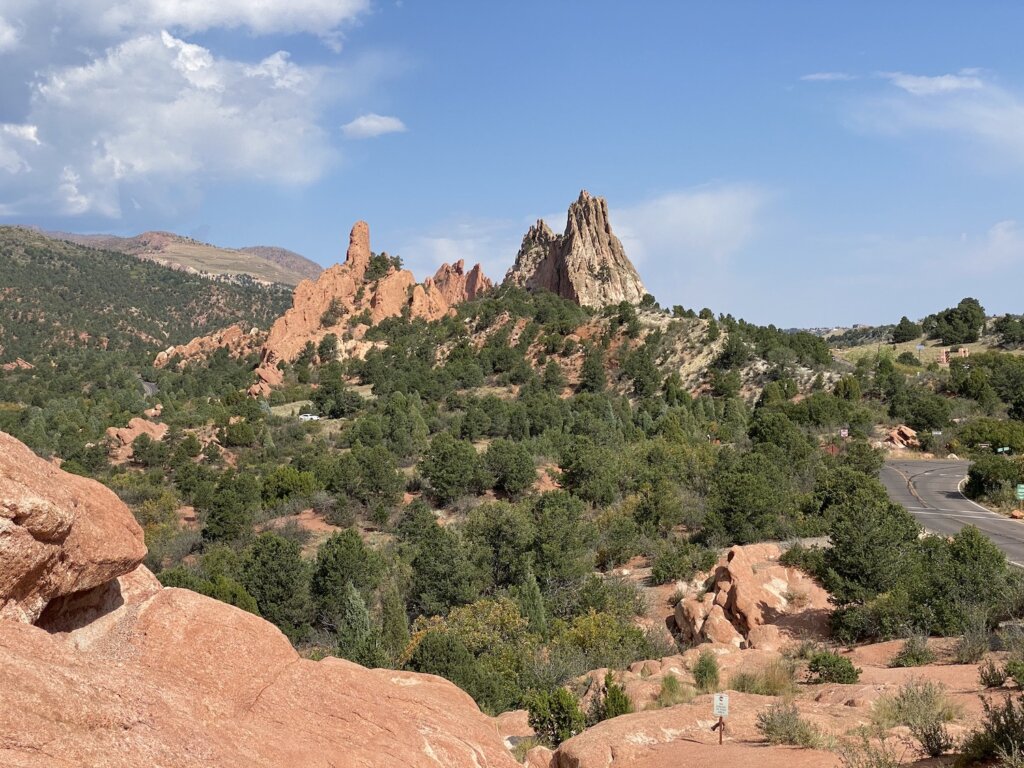
The next morning we began our drive back to Michigan. We did stop at the Garden of the Gods in Colorado Springs and did a little bit of driving/walking around that park before leaving Colorado. We would have loved to spend more time at the Garden of the Gods hiking around the rocks. It is really a beautiful park!
To find all our free campsites we used the Dyrt app and Gia GPS. We found both to be accurate in regards to the location of the BLM land. The Dyrt also has reviews from users on the camping areas to help you decide which sites you want to stay at. We loved this road trip and can’t wait to get back to Colorado to do some more exploring!
For more on what we learned from our first travels in our DIY teardrop trailer check out our post here: Teardrop Trailer Shakedown trip: What we Learned
Tell us your favorite areas in Colorado! What did we miss and where should we go next time?

We took our first trip with our DIY teardrop recently. We drove up to the upper peninsula of Michigan all the way to Copper Harbor. Quite the shakedown trip, it totaled about 1500 miles. The trailer overall worked well for us but we definitely ran into some issues. We came home with a new project list of things to fix/adjust before heading out again.
Here is what we learned:
1. Weight
Adding all your gear and food and water will add more weight than you might realize. This additional weight will affect how the trailer sits and pulls behind your truck or car. Seems obvious, we know! Before our trip, we did a quick trip around the block and then drove the trailer at speeds up to 70 miles per hour, everything went great. But we did this trial without anything in the trailer. Our suggestion- fill your water tank, add all your gear to the trailer then take it on the test drive around the block. You may find you have a suspension issue…
2. Overbuild Everything
We bought a suspension that was rated for up to 1,200lbs. The next option up cost approx $200 much more and was rated for us to 2,000 lbs. We didn’t think we needed that option. Maybe we didn’t and it was just a fluke but we ended up blowing out the right side of our suspension before we even left the driveway. Must have happened when we loaded everything into the trailer, adding a bunch of weight. The other side didn’t fail the whole trip, which was good, so maybe it was a product issue. Either way, the tire was rubbing the fender so we had to remove the fender early in the trip.
3. Check for water leaks before you leave
Again obvious we know! We sealed everything very well and we were fairly confident it would be sufficient. We also checked the weather forecast which looked dry – no rain forecasted when we left. We had intended to put the trailer in the driveway and shower it with the hose before leaving to check that it was watertight but life got busy and we ran out of time. It ended up raining alot during our trip and we found several small leaks. Small leaks are enough to make your stuff very wet if it is raining hard. We were able to stop and buy some silicone and repair some of our leaks along the way. Our suggestion- Actually do what we planned to do, shower/hose everything down and really check that it is water tight before you leave 🙂
4. Water use was about what we expected
We have a 20-gallon water tank (we dumped some of it at the beginning of the trip to reduce weight). It still lasted us 5 days, being very conservative with our water use. We used the water for dishes, showers, and drinking every day. We did stay at some campgrounds that had showers this trip with more rustic/dispersed camping sites mixed in. When showers were available we used them. In total, we used our water tank for three very short showers. Everyone’s rate of water consumption will be a little different but this will at least give a general idea of how long water will last you.
5. Solar power is awesome
We have one solar panel on the top of our trailer. This was plenty of power to support our water pump, rooftop fan (turned on most nights), small bedside LED lights, and charging our phones. That is really all we used our power for.
6. Propane for cooking
Originally we planned to hook our 5 lb propane tank we have for our shower water heater and use that for cooking as well. We changed our mind and used the small green 1lb canisters which ended up being much easier. Using those allowed us to move our camp stove and grill to wherever was most convenient around our campsite and the small propane canisters are very easy to store away when you are not using them. Also they can be purchased at a variety of stores so if you run out you can easily purchase another one during a longer trip as needed.
7. Have a plan for rain
This was always in our minds as something we needed to do but we didn’t have a plan in place when we left for this trip. We intend to buy some type of rain shield/cover that we can put up so that if it is raining we can still cook in our kitchen and sit outside to eat without getting wet.
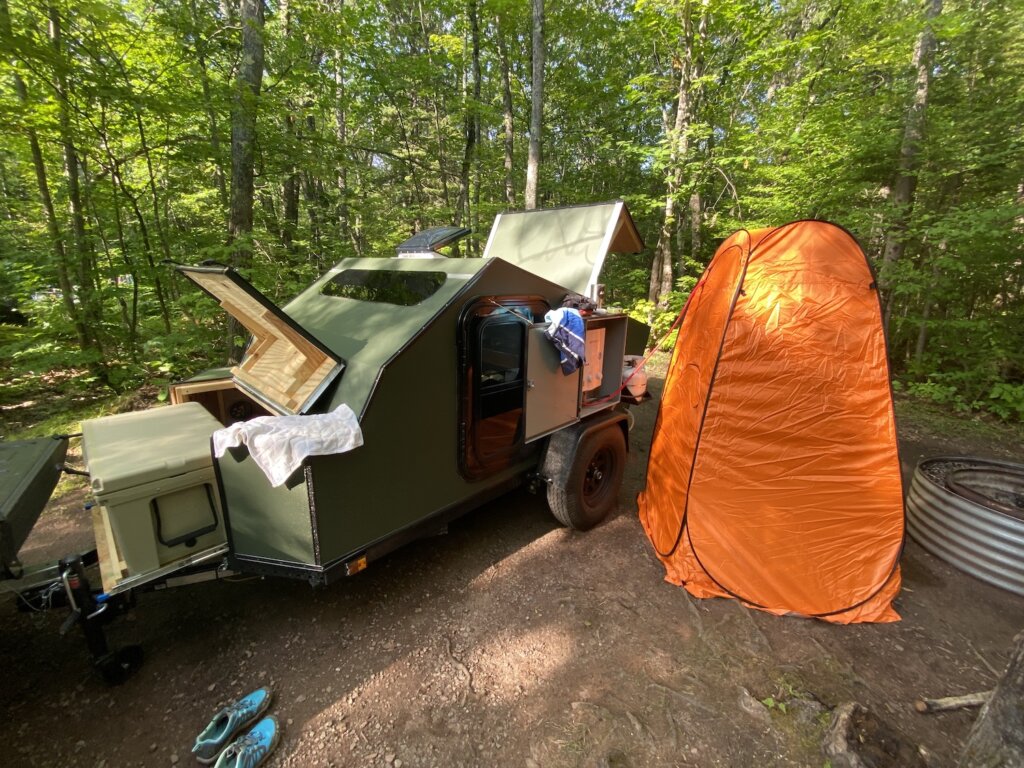
8. Showers
We have a propane water heater mounted to the side of our trailer, a 20-gallon water tank and a pop-up shower “room”. This set up did work well for quick showers during our trip. We would recommend getting some type of bath mat or grate to stand on since the pop up “room” doesn’t have a floor. If it has been rainy at all you could be standing on muddy ground as you shower (bring flip flops).
9. Bring tools/spare pairs you think you might need
Save yourself some stress and bring some simple things you may need if you have to fix something. Even with the best-built equipment stuff happens on the road that you might not expect.
10. Throw your trash out every night
This was a lesson we learned on our second trip in the teardrop. We were running low on trash bags so we had a very full bag in our back kitchen area. Well a clever little mouse got into our trailer somehow. We woke up to mouse droppings throughout our kitchen and multiple holes chewed threw our trash bag. Try to get rid of your trash each night and keep no food items in the trailer.
11. Take time to Relax
You have a teardrop and part of the allure of that, at least for us, is that you don’t have to pack up a tent before you leave in the morning. You can wake up, make breakfast, and drive away. That makes road-tripping all over and staying in new places each day very easy. We are always trying to get in as much as we can during our trips since we are still working full time and have limited time off. But we would recommend at least for part of any trip, stay in one location/camp spot for more than one-two nights and take some time to just relax and enjoy the location! We are working to be better at this ourselves.

What tips/suggestions for overland travel do you have? Anything we missed? Leave us a comment below!