When we looked at buying a boat, we had some specific criteria. We knew we would need to make several upgrades for cruising, but wanted to make sure we had a good foundation. After a lot of research we set up the following criteria:
Requirements:
- Freshwater only (Great Lakes)
- ‘blue-water’ capable
- We weeded out a few, but not all production boat brands
- 36-42 feet – large enough to live on for an extended period, but within our price range
- Draft of no more than 6’
- Functional layout
- Easy to sail short-handed
- Large tankage for fuel/water
- $45-65k – This seemed to be the sweet spot for older boats in good condition.
Not required, but would need to have a discount if they were missing/in poor condition
- Good sails with a lot of life left in them
- Self-tailing winches
- Dodger/Bimini
- Good running/standing rigging
- Electric windlass
Bonus items – we’d upgrade if they aren’t included
- Stack pack
- Modern anchor
- Full canvas enclosure
- Updated electronics
- Reliable autopilot
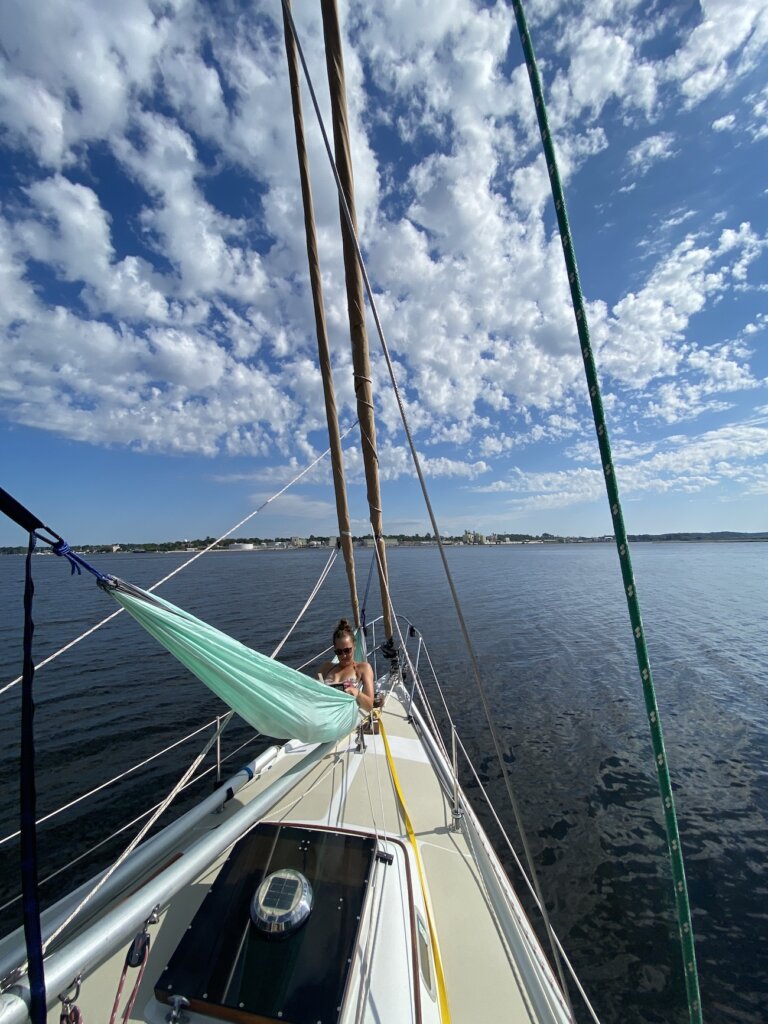
When we purchased Resande (learn about our boat here!), we immediately knew she checked a lot of these boxes. She even had some of the bonus items listed. Still, we knew it was going to require a long list of upgrades to take her from a Great Lakes cruiser for short trips to one that could handle a trip to the Atlantic and down to the Caribbean. We are continuing to refine this list, prioritizing some items sooner than others. The previous owner had spared no expense maintaining and updating many of the items above. Below is a list of the upgrades for cruising we currently have put together. These will be listed by area/system, and I will include an Excel file for people like me that think in spreadsheets.
Boat Projects
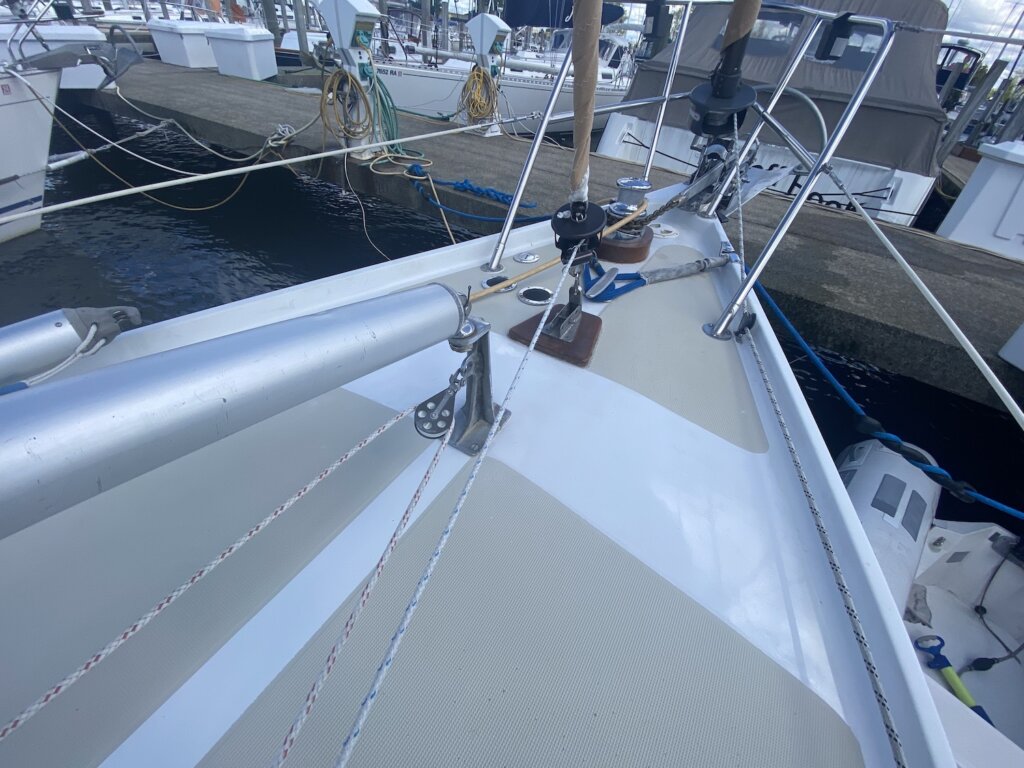
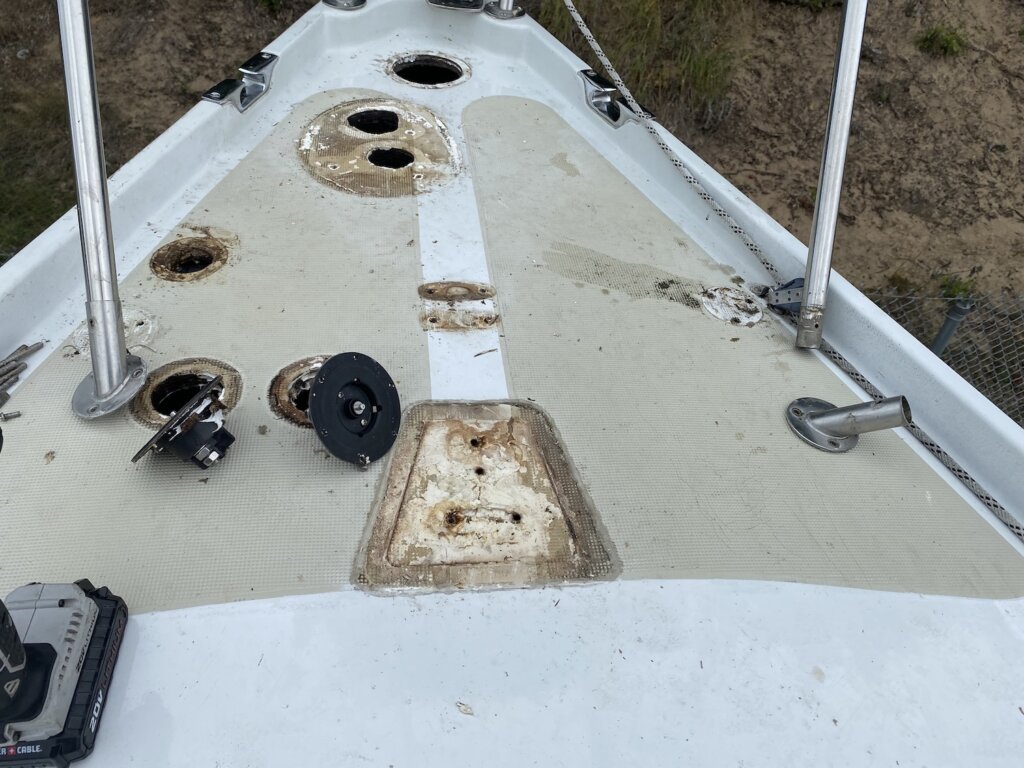
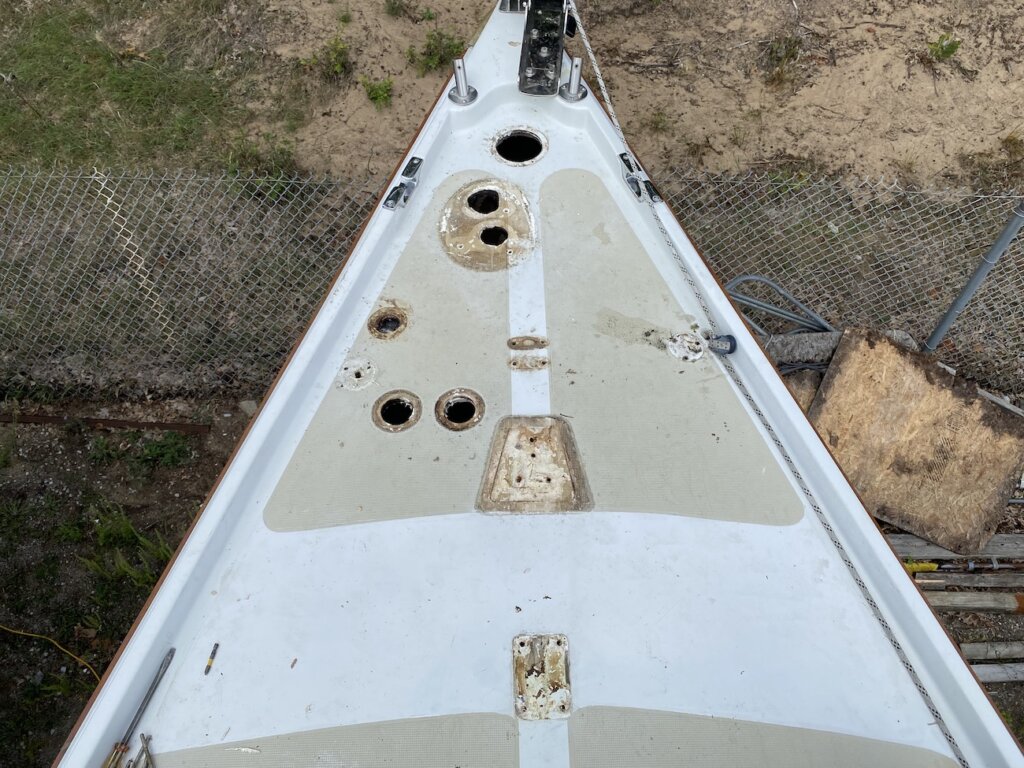
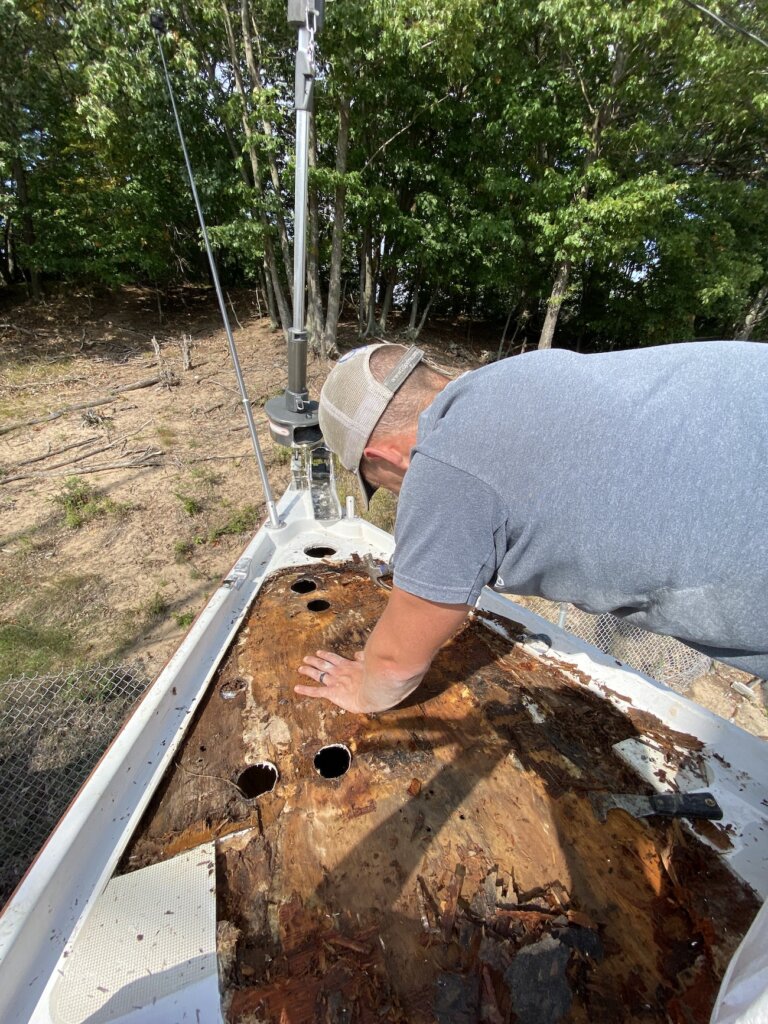
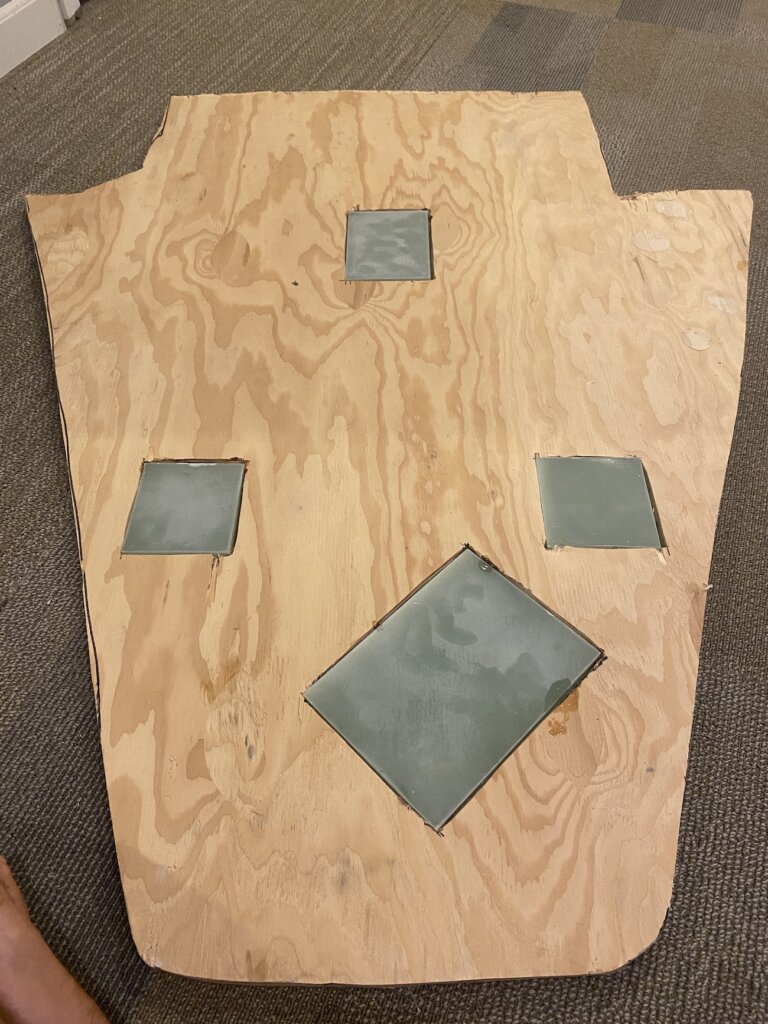
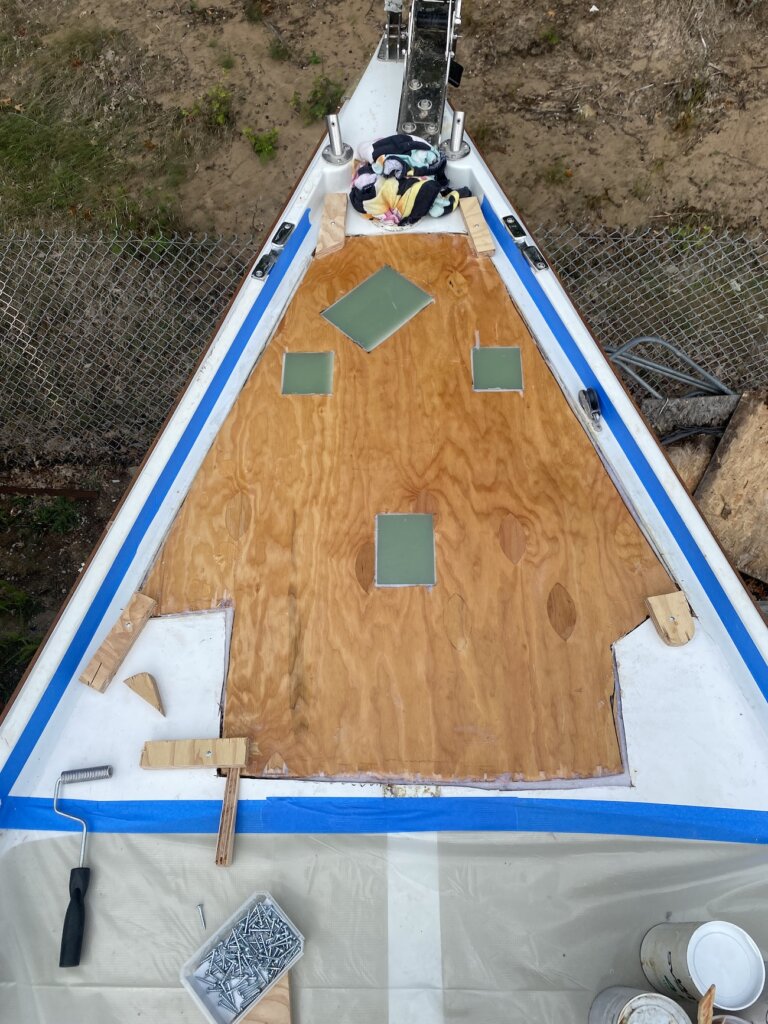
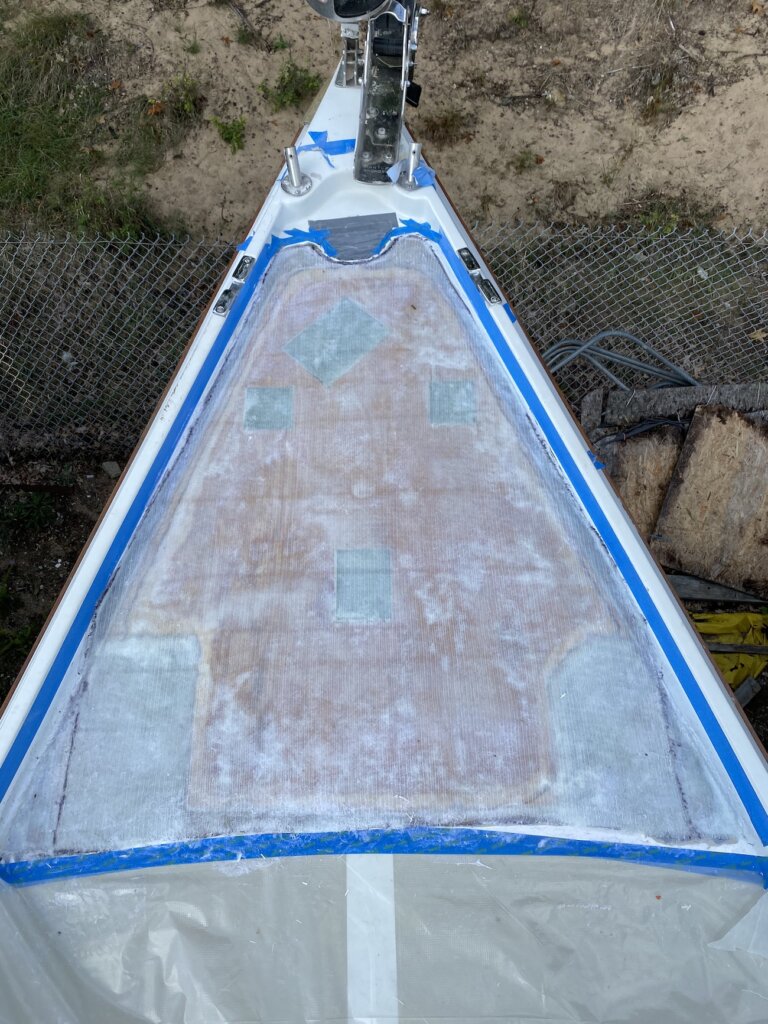
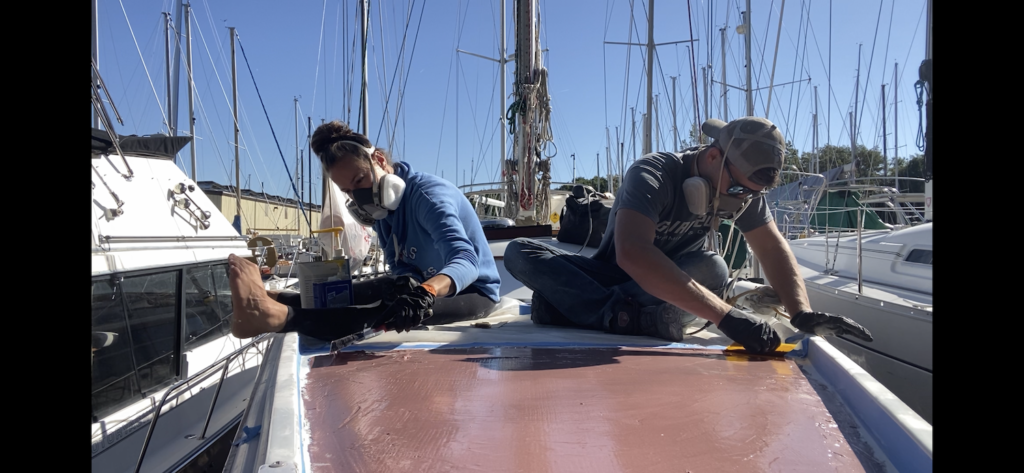
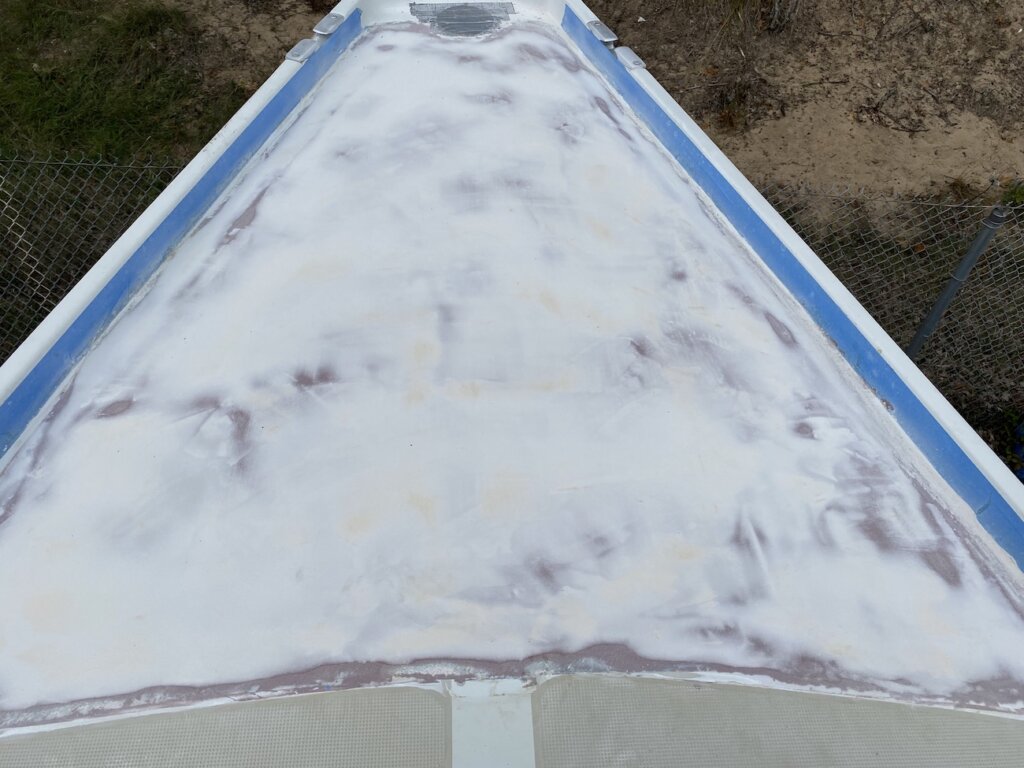
- Fix de-lamination in foredeck (re-core)
- Tower in a box or davit system for Dinghy
- Replace one head with a composting toilet
- New lifelines
- New halyards (main, headsail, staysail)
- New under-deck autopilot
- Add reverse osmosis water maker
- Seal mast step with engine paint or other (known corrosion issues with these boats, probably not an issue for years since it’s always been in fresh water, but worth getting it right now)
- Put together “spare parts” list/kits
Electrical System: overall is in decent condition, the DC system was professionally redone in 2009, but there are some areas for improvement:
- Battery Charger upgrade – right now the old charger is ancient, and the surveyor recommended upgrading it
- Inverter – be able to run small appliances, water maker
- Battery bank – right now our house bank is only about 100 AH, and one of the batteries was leaking/bad when we bought the boat. We are looking at upgrading to Firefly Carbon Foam AGM batteries unless a better lithium option comes on the market in the next few years. We are thinking around 350 AH in the house bank
- DC – USB outlets. Small project, but makes a big difference being able to plug a phone cable directly into the wall without AC power.
- Solar Panels – need to work out the sizing (will post calculations on here) but likely 2 X 175 watt panels on a tower, with 2-3 more flexible 80-100 watt panels on the dodger
- Replace all outlets w/ GFCI
LED Lighting to Replace any Incandescent or Fluorescent bulbs to reduce current draw
- Navigation Lights
- Spreader Lights
- Mast head light
- Mast head navigation light
- Nav station lights
- Cockpit lighting
- Fluorescent replacements:
- Aft
- Both heads
Ground Tackle
- Mantus 45lb M1 anchor
- 150’ of chain
- Mantus bridle w/ chain hook
- Mantus swivel
- Mantus dinghy anchor
I’m sure we will be adding to this list and updating it with more details, specifics, and in-depth explanations of why we went with certain products. We don’t have any affiliations or with these products or companies, we try to research products to find the best value.