Categories
sailing

Lessons Learned From Our Fist Big Sail

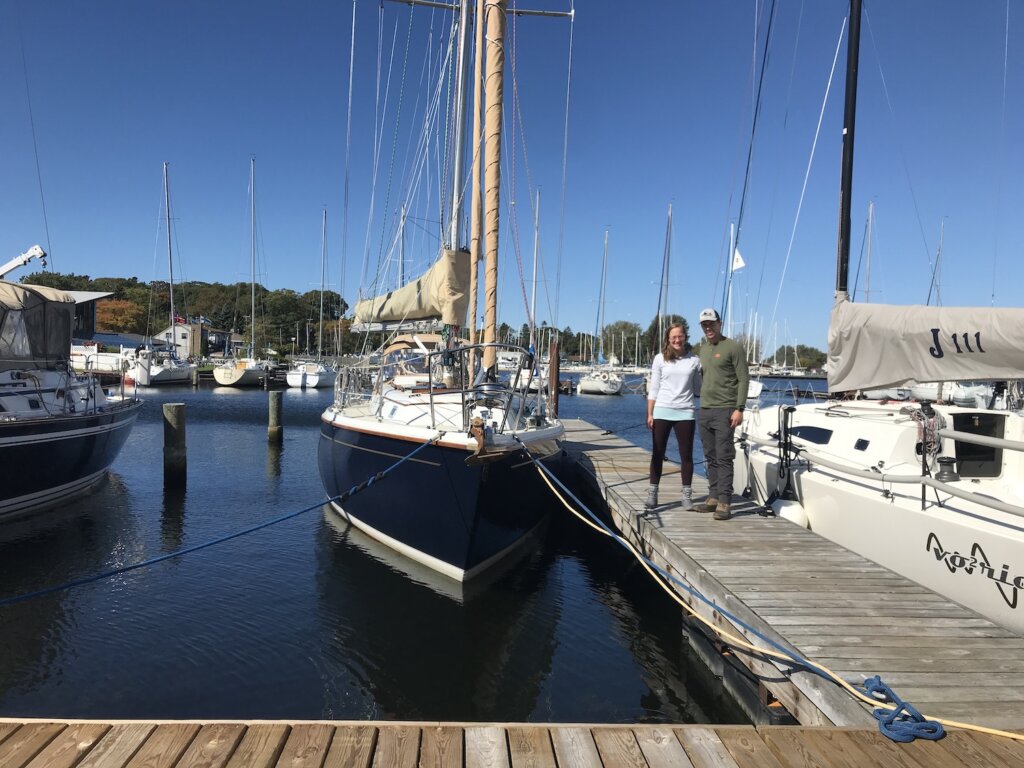
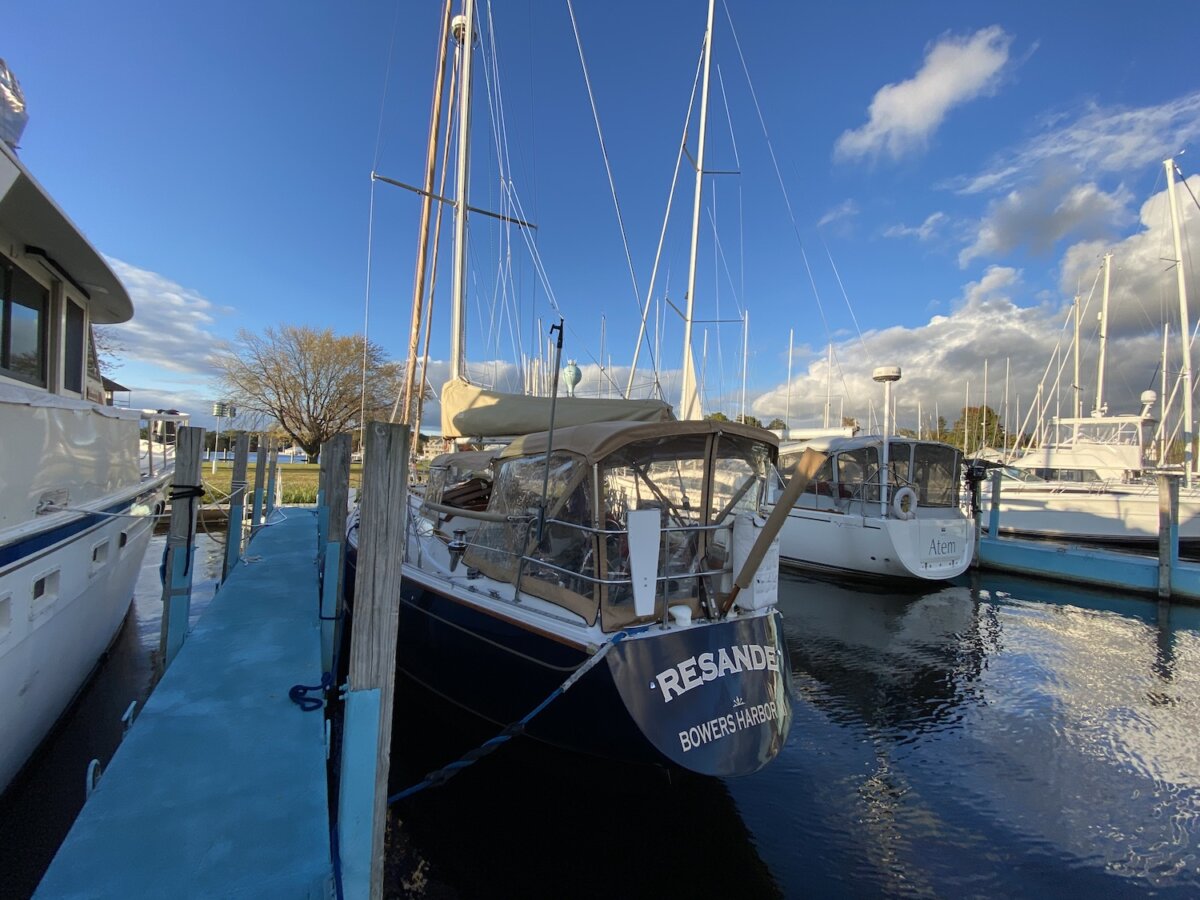
We bought our boat in Bower’s Harbor, on Old Mission Peninsula near Traverse City Michigan but we live near Grand Rapids Michigan. So once the purchase was complete we needed to get the boat closer to home. Our timing wasn’t perfect since we officially owned the boat at the end of September. But we decided to sail down the first weekend of October. We went from Bower’s Harbor marina to Muskegon which is approx 176 nautical miles. 


For more details on how our first big sail went check out our post here: Sailing Bower’s Harbor to Muskegon 


This is the post where we tell you all the lessons we learned so you can learn from our experience and our mistakes:) We do not claim to be experts right now but here is what we learned: 

1. Communication is critical 

You need to make sure everyone is on the same page, especially when you are learning or have a crew on board. You may want to start planning a tack or jibe several minutes before you need to. Make sure everyone knows the goal of the maneuver, their specific job, and what needs to happen before we can start it. It is better to over-communicate to minimize confusion.

 
2. Make time to talk about what went well, what didn’t, and what we could try to do differently in the future. 

This is a new boat for us, so everything is a bit foreign. Every time after docking, I want to know what the crew’s perception was of the approach, speed, fender location, etc. so we can improve it in the future. It helps to approach it constructively, not critically: “how can we improve X” instead of “we messed that maneuver up” 

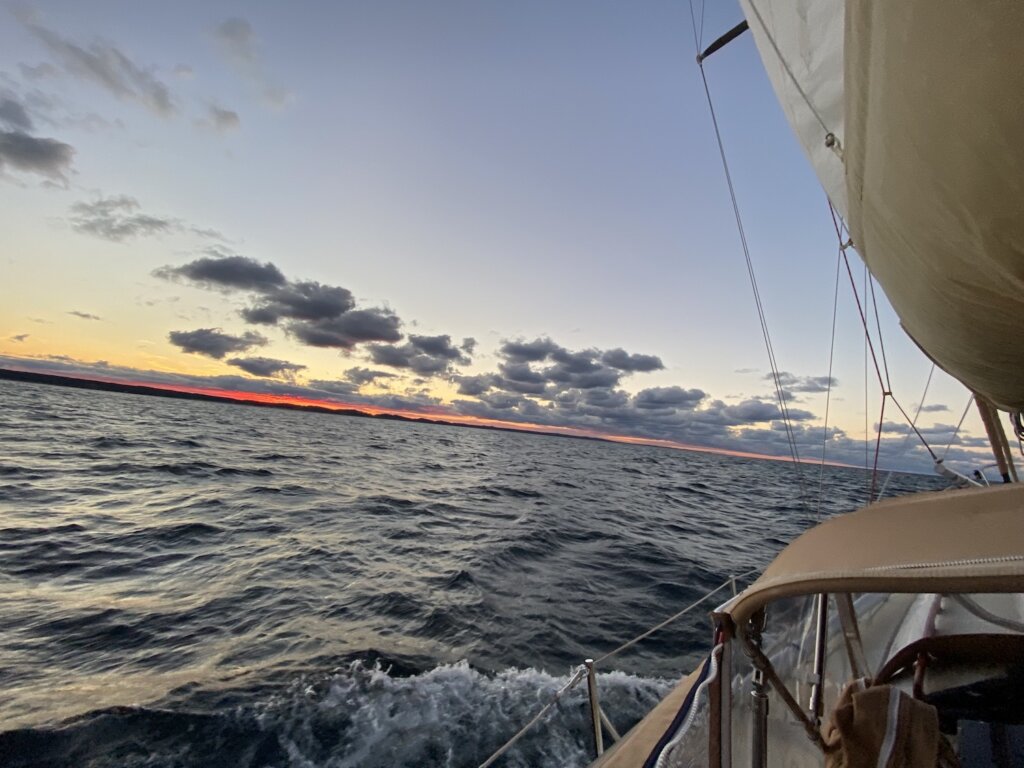
3. Using a preventer line is super helpful when on a run 

We would have had several accidental jibes while on a run on day 2 without that on

4. Take your time

As new sailors, tasks aren’t second nature yet, if you try to rush and get anxious you won’t be thinking as clearly. For example, I tried to pull the halyard as you do when raising the mainsail as I was trying to lower it. I was exhausted from the day and I could not at that moment figure out that I just needed to ease the line out to lower the sail.  


5. Having an extra set of hands can be helpful but be mindful of who you invite.

We would recommend someone you know and are comfortable with (especially if you are going on a longer trip). If you are new to sailing it can be stressful and frustrating at times so having someone you know can handle that and not take things personally is helpful. Someone who has any on the water experience or sailing experience is also great. You want someone who will be willing to take on jobs, learn new skills and be helpful to you. 


6. Explaining sailing to your guests

Some people will want to learn more than others. Even if your guests aren’t interested in learning to sail they still need to know a few things. Telling them in general what the lines that are in the cockpit do is helpful so they know at the very least to stay out of the way of those lines and not to pull on them or adjust them. 

7. It is exhausting at first

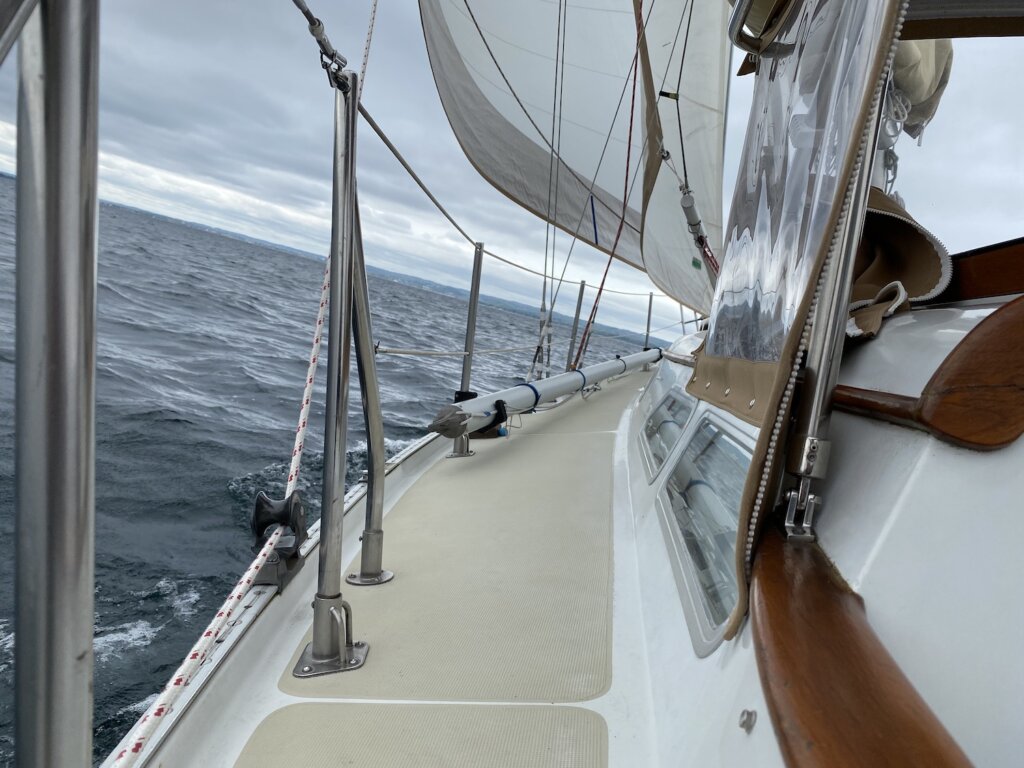
We had a great time on this trip but we will not deny that it is very tiring to sail for 12+ hours at a time.  As you gain more experience it likely gets easier but at first, as we have said, things aren’t second nature so you are thinking through every move. We knew this was a huge undertaking for one of our first sails but we had to get the boat back to where we live. 


8. Autopilot is a necessity!

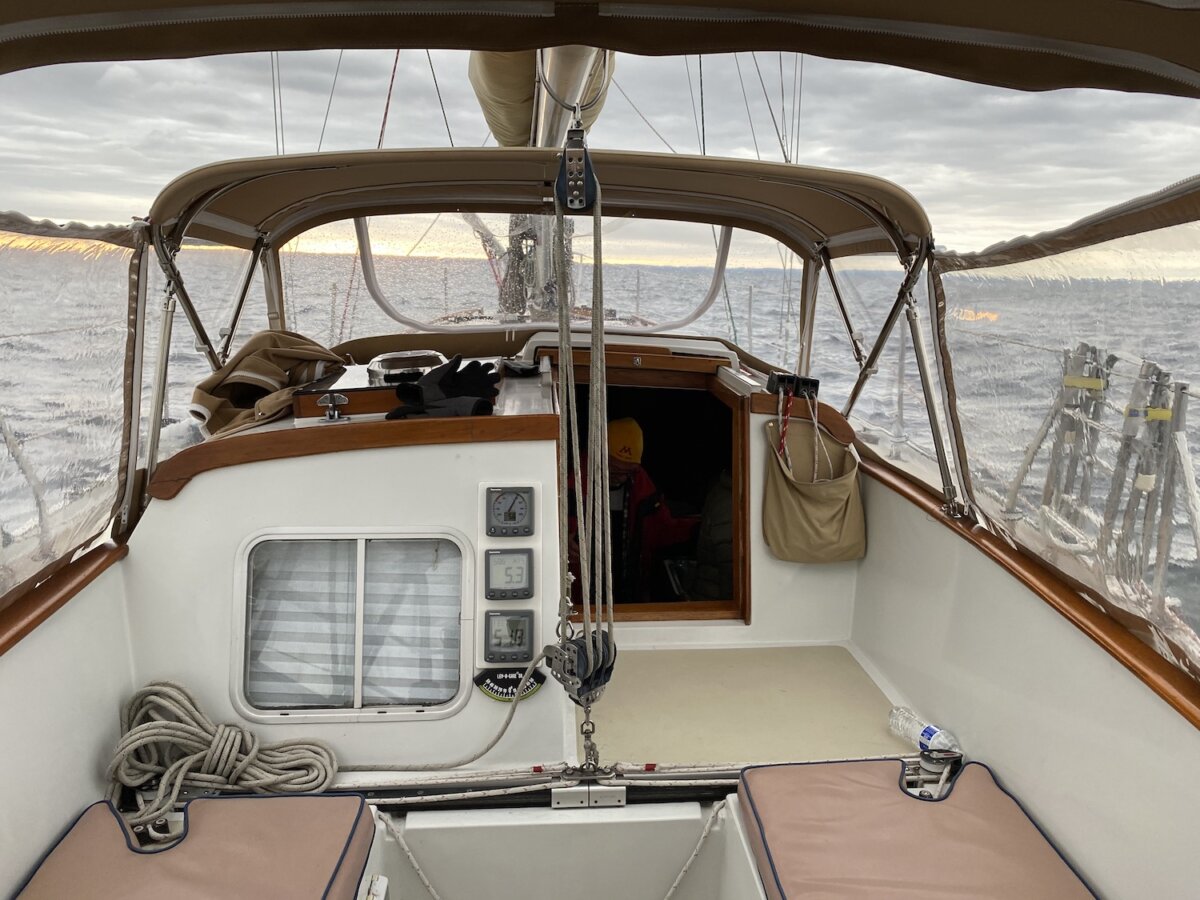
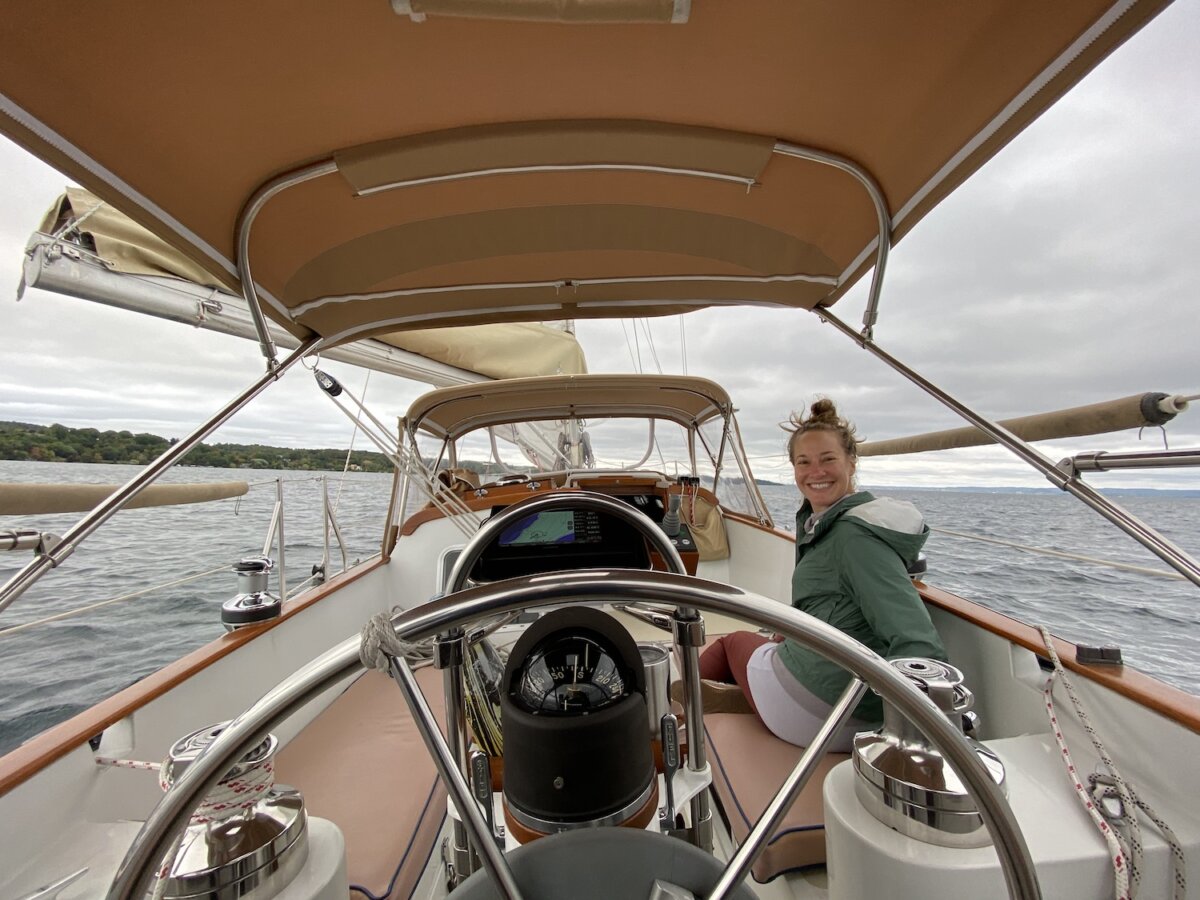
We have an old ray marine steering wheel-mounted autopilot that we have named “Old Ray”.  Old Ray worked okay when we were motoring on day one with no wind or waves. With wind and waves, our autopilot couldn’t keep up so we had to hand steer. Hand steering is very tiring in the wind and waves, it takes more effort than you might think to keep the boat going straight. We are planning to upgrade our autopilot in the next year before setting off on our next big sailing trip. 


9. Boating/on the water experience is beneficial 

We were power boaters before we bought our sailboat. We had experience in waves and changing conditions in lake Michigan. We also had two sailing lessons with friends on their boat in Lake Michigan. It is crazy how much you can learn and pick up on in a few lessons if you are really motivated to learn. On top of our lessons with friends, we did buy the ASA 101, 103, and 104 books. The additional reading helped everything sink in. Our point here is even if your on the water experience isn’t specifically sailing experience it will still help you. Your overall comfort on the water and understanding of water, waves, and weather is something. 

10. Don’t psych yourself out

Sailing, specifically taking a long journey on a boat for the first time is daunting. It can be really scary and make you anxious. It is easy to psych yourself out! But stay calm, plan your trip ahead of time, review the steps and any necessary obstacles that you know about. When you are on your trip, take it one step at a time, think about what you are doing at each given moment instead of the big picture. Once you are out there and the only things that matter are the boat and the water and where you are going it is honestly really nice! The rest of the problems and stressors you have in your life on land all fade away. 


11. Don’t be afraid to try new things

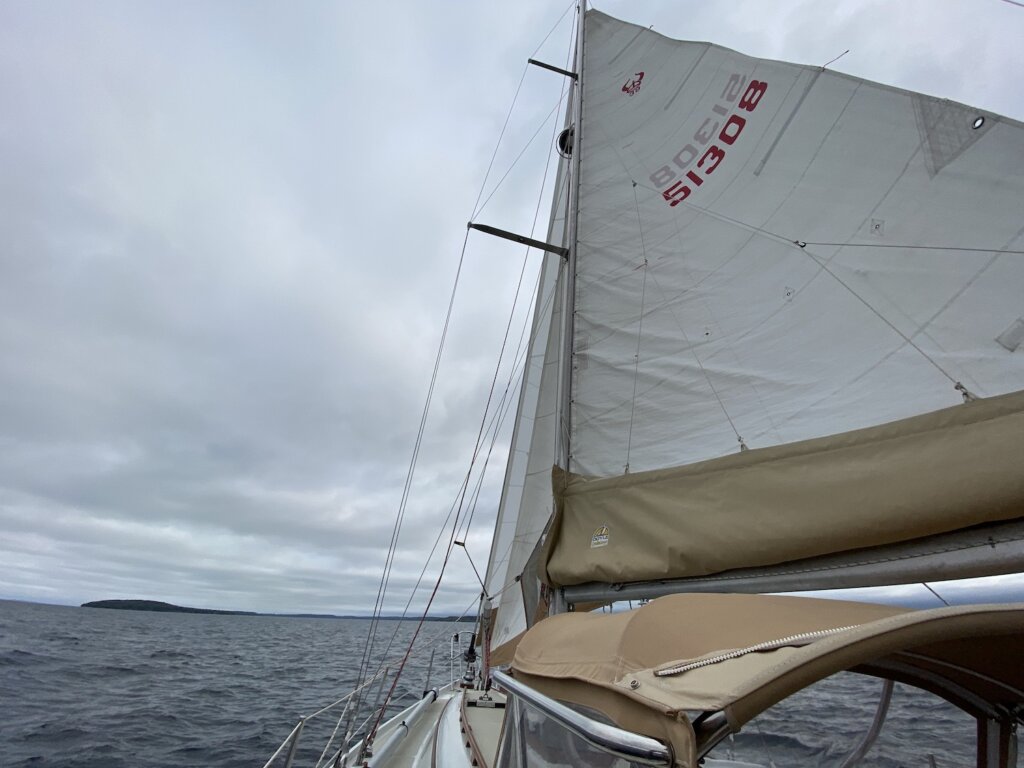
Sailing on our own was new to us on this trip. On day two we were on a run all day, going as close to directly downwind as we could. The wind was too high for the asymmetrical spinnaker so we tried to sail wing on wing. We tried twice throughout the day and both times we just couldn’t get it to work. So we retrimmed our sails and just kept going. Yes, it didn’t work, and we still aren’t 100% sure what we should have done differently to make it work. But you never know until you try and you can learn a lot from mistakes and things that didn’t go well. As long as you know you can keep yourself, your crew, and the boat safe it’s okay to try!


12. Pack food that is easy to eat

When the water is flat and there is no wind it is easy to eat whatever type of meal you want. When the water is wavey, the wind is stronger and the boat is heeling over it makes relaxing for a snack or a meal a challenge. It might be going along okay and you may think you have some time. But you might have an accidental jibe or you may need to tack or jibe or do something to adjust the sails at any point. Bring food that can be prepared quickly and that you can easily set down and pick back up as needed. 
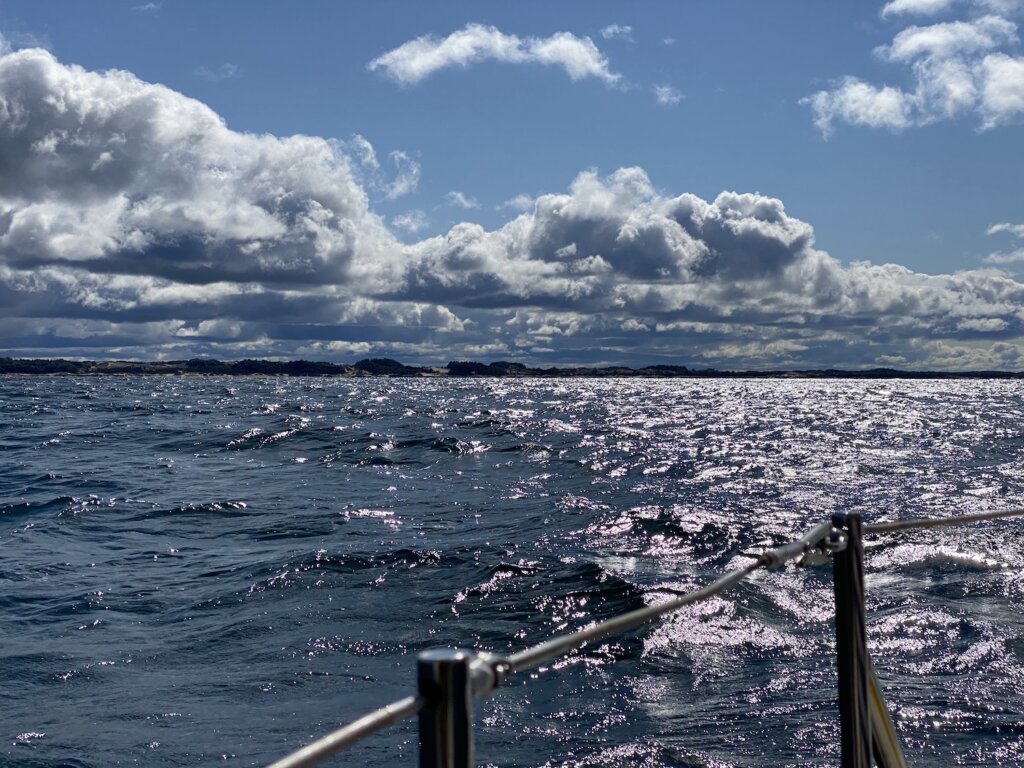

One of the best things a long trip like this can give you is confidence in yourself and in your boat. After three days of living on  SV Resande, we feel way more comfortable! After all, the best way to learn is to get out there and do it! You will never know everything and there will always be something to fix on your boat. At some point, you just have to go!


Any tips/tricks you have learned from your sailing experience? Questions? comments, leave them all below!
Categories
sailing

First Big Sail: Bower’s Harbor to Muskegon

When we bought our boat (SV Resande), we knew it was the end of the season and about 180 nautical miles from where we wanted to store her for winter. We bought the boat in Bower’s Harbor, near Traverse City Michigan but planned to store it in Muskegon for the winter. We closed on the boat on September 25th, and at that time we had never sailed on our own. The goal was to get the boat to Muskegon before they pulled the docks for winter in Bowers Harbor on October 10. We decided to sail down the first weekend of October.

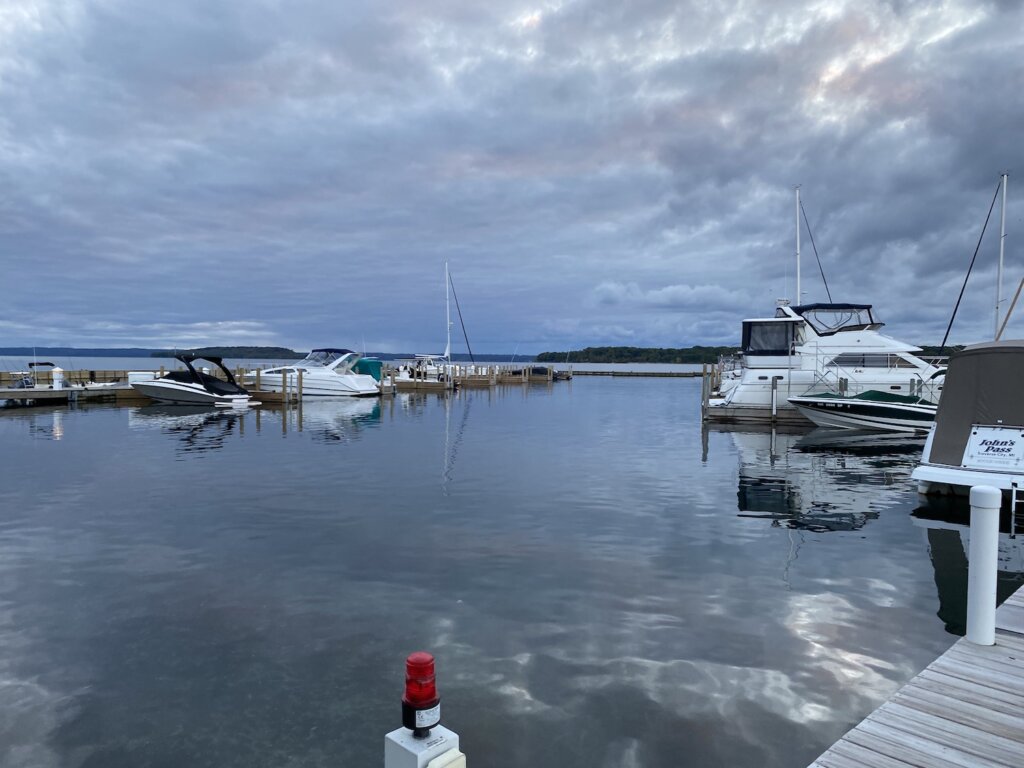
Bower’s Harbor Marina, our starting point

Before this trip, our sailing experience included two sailing lessons with friends on their boat, a day sail on our boat with the previous owners, and one day sail on our own. In total maybe 7 hours of experience. In preparation, we had also been reading and researching as much as we could. We found the American Sailing Associations books to be helpful (ASA 101, 103).  We had previous boating experience on Lake Michigan with the powerboat we owned prior to buying our sailboat. While we were nervous about the length of the trip, we felt we could safely make the passage despite our limited experience. 

The Route

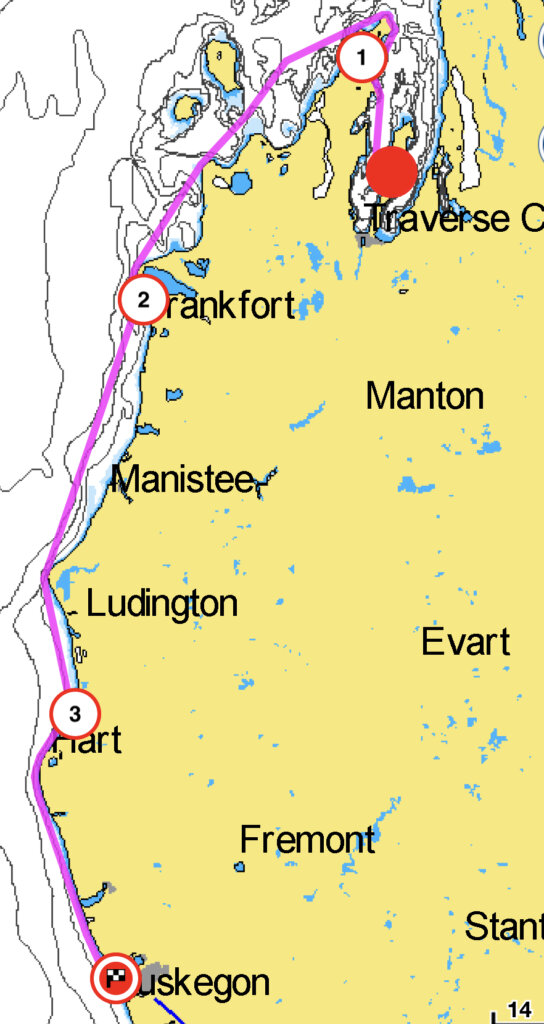
Bower’s Harbor is about halfway up Old Mission Peninsula so it is located in the West Arm of Grand Traverse Bay. The bay is between Old Mission and Leelanau Peninsula. We first had to go around the Leelanau Peninsula, so we could start heading south down the Lake Michigan coastline to Muskegon. Assuming 5.5 knot average speed, we estimated this trip would take 32 hours of sailing.

Bowers Harbor to Muskegon sailing route
Our Route: Bower’s Harbor to Muskegon

We checked the weather forecast repeatedly the week before we left. We planned to leave Bower’s Harbor early on a Saturday morning. By Monday we were expecting to see gale-force winds from directly out of the south (on our nose). We planned to complete our trip in three days, which would get us into port at Muskegon before the weather turned. Given the weather, we decided to push a lot of miles the first day to set us up for a shorter day on Monday to beat the gales.

  • Day 1 Bower’s Harbor to Frankfort: 77 nautical miles ~14 hours
  • Day 2 Frankfort to Pentwater: 55 nautical miles ~10 hours
  • Day 3 Pentwater to Muskegon: 44 nautical miles ~8 hours


Day 1: Bower’s Harbor to Frankfurt, 77 nautical miles 

We woke up super early to get this day started. This was our longest day and we were anxious to get going. We pulled all the dock lines and were off the dock by 5 AM. From Bower’s Harbor, we had to navigate past a few shallow spots near the small island just outside the marina. Once we were past those we could easily navigate north up the Leelanau Peninsula, working our way out of the Grand Traverse Bay. We made a quick detour to Northport, near the top of the Leelanau Peninsula to top up our diesel. 

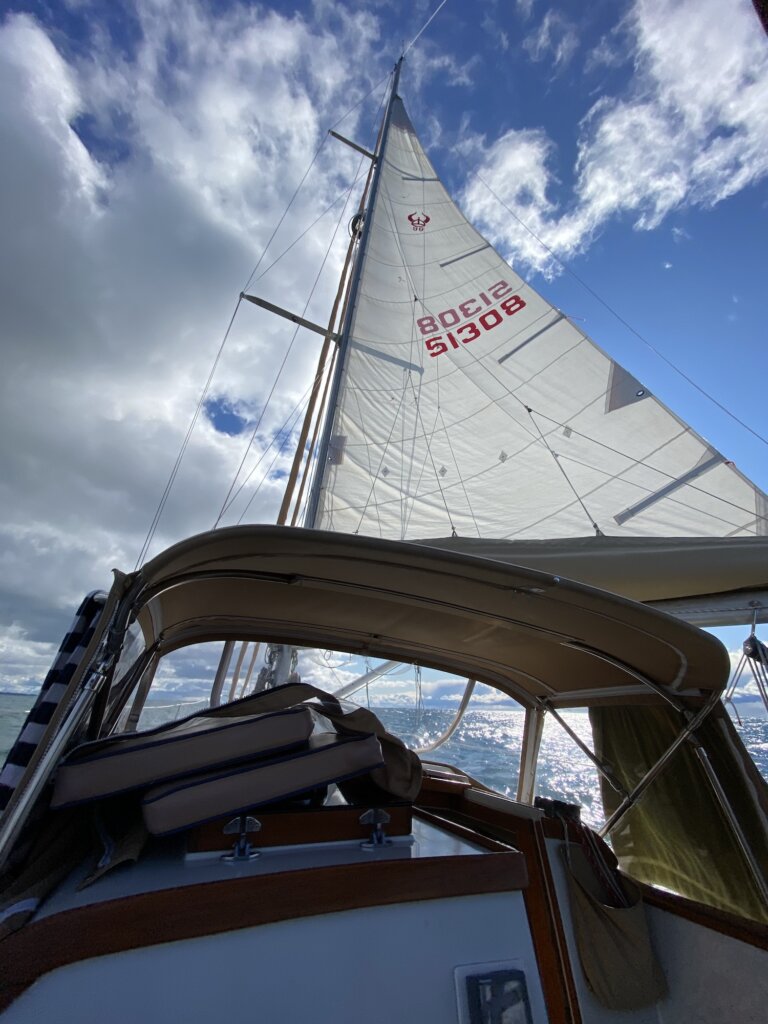
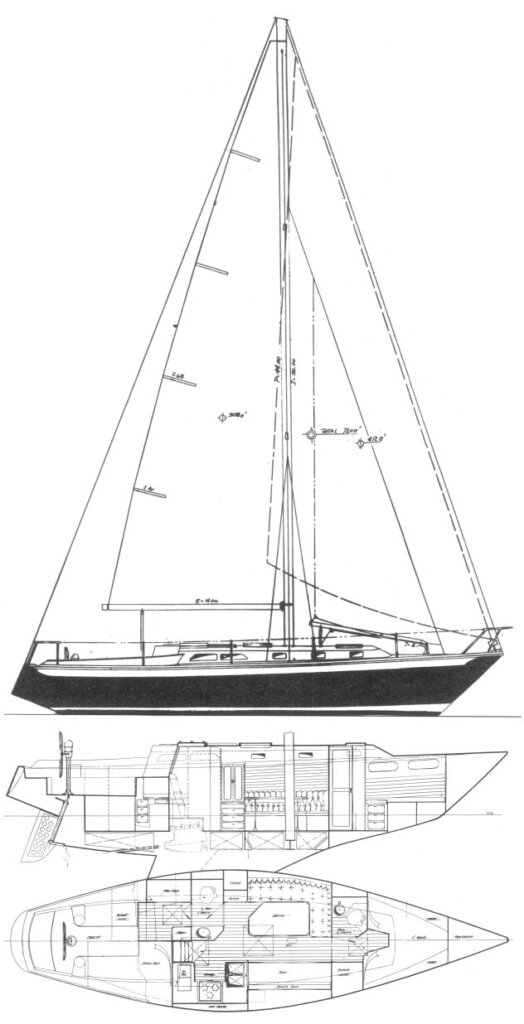
Ericson 39B
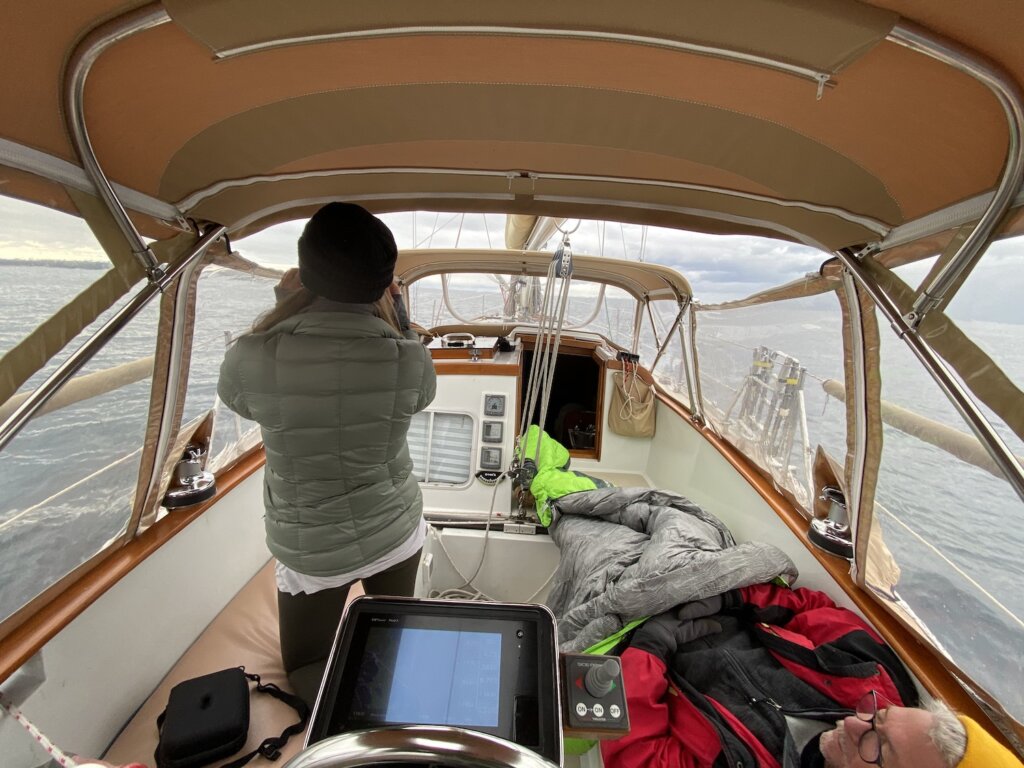
Ryan’s dad – our crew, sleeping on the job!

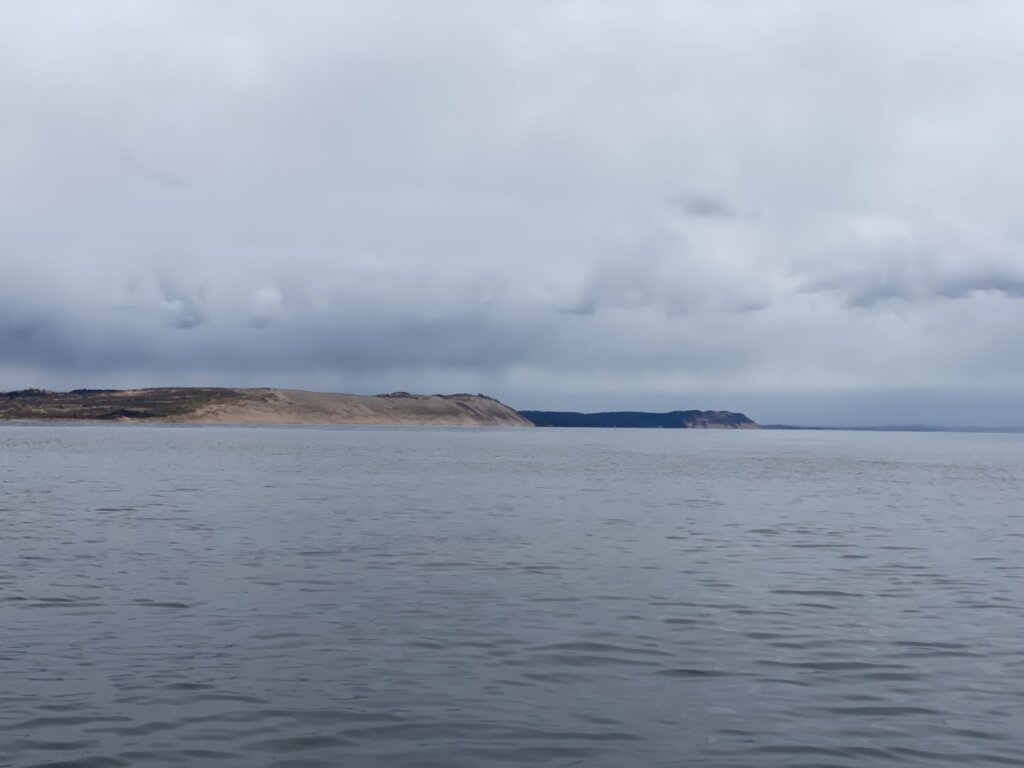
 The entire day there was pretty much no wind. We had about 10 knots for about 10-15 minutes but other than that we motored all day. It was a cold and cloudy day with some sprinkles of rain along the way. We passed the Manitou Islands and the Sleeping Bear dunes, getting some beautiful views along the way. Since we were just motoring this was a very easy day. We were able to set ‘Old Ray’ (our autopilot) on a bearing and move about without too much intervention. We were relaxed, we cooked breakfast and lunch underway, using both our oven and our stove.
In total it took us about 14 hours to reach Frankfort. We arrived just before sunset so we were able to dock before dark. Once we were docked we enjoyed a warm shower at the marina and then closed ourselves in down below to stay warm and out of the rain. We cooked dinner on the boat and went to bed early. 

Day 2: Frankfurt to Pentwater, 55 nautical miles 

We slept in a little bit this morning, we were off the dock by about 7:30 AM. The wind was out of the north/northeast at about 10-15 knots at the start of the day, building to 15-20 knots. Since we were heading south, we could sail on a run/broad reach most of the day. 

We hooked up a preventer line to keep from accidentally jibing. Due to the coastline, we had to jibe several times since we couldn’t keep the sails full on a true run. We would sail with the waves for a while then have to head out further from the coastline going parallel to the waves for a bit. The waves started at 3-5 ft and built to 5-7 ft as the day went on. The boat handled the waves really well. It was another mostly cloudy day, we did get some sun but it was still cold. In total, this stretch of the trip took about 10 hours. We had great speed over ground most of the day but probably added 8 nautical miles due to having to jibe.

We had to hand steer this entire day. ‘Old Ray’ couldn’t handle the weight of the boat under sail and the belt that drives it was slipping. We bought a replacement belt that will hopefully fix it, but for this trip, he was pretty much useless unless we were motoring. We also discovered our house battery bank had a bad battery. When we stopped the engine to sail, the Autopilot (which was barely working) only lasted about 20 minutes before flashing ‘low battery’.

 Again we arrived before dark so we could dock with some light. We were physically and mentally exhausted from all the sailing. Since we are new sailers, everything isn’t second nature to us yet. We still have to really think about each step and each time we have to jibe or adjust the sails. After two long days, we were ready for a little time off the boat. We walked into town and enjoyed a beer and a burger at the Brown Bear pub. It felt great to be inside and to be warm at least for a little while! 

Heading into Pentwater

Day 3: Pentwater to Muskegon, 41 nautical miles 

Our final day! We had been checking and rechecking the forecast. The gales were supposed to hit Muskegon at about 2-3 PM. So in order to beat the weather we left Pentwater in the dark at 5 AM. The wind started off out of the west at about 10-15 knots so we comfortably sailed south on a beam reach for a few hours. We had a full moon and clear skies so we could easily see. Between the cold and the wind we were freezing this entire day! We had a beautiful sunrise and mostly sunny skies but it was still very cold!


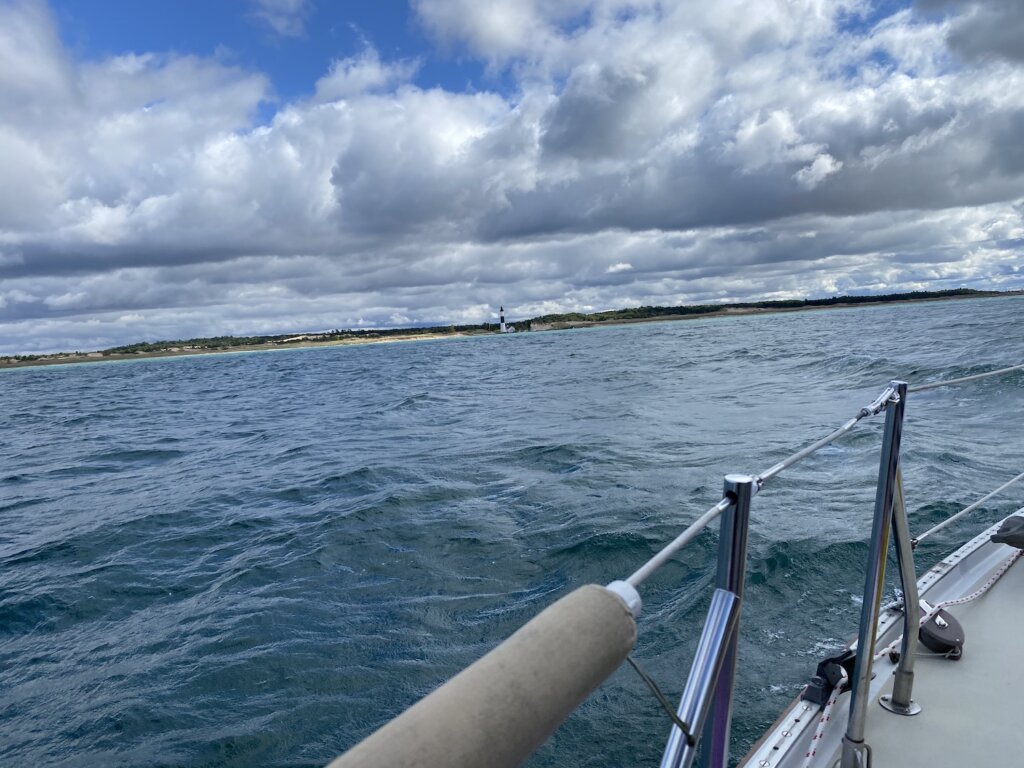
Shortly after sunrise the wind shifted to more straight out of the south and picked up a bit. We continued sailing a bit longer then motor sailed on a tight close reach the rest of the way to help make time and get in before the high winds. We heeled to about 20-25 degrees most of the sail. Once we got used to it this became more comfortable. The heeling was something that made Erika nervous before the trip but by the end she barely noticed. We had 3-5 ft waves on our beam most of the day. They began building in the last hour of our sail and we could feel the wind picking up more.  In total this day was about 8 hours. 

It was such a great feeling when we finally made it! We gained a ton of experience on this three-day trip! We know that we still have a lot to learn! But we feel like we can officially call ourselves sailers! 

Docked in Muskegon, we made it!

We have more on our lessons learned from this sail on our post here

What resources have you found helpful in learning to sail? Any advice? Leave us a comment below!

Categories
sailing

SV Resande

In September 2020 we purchased our Ericson 39B Resande and sailed her from Bowers Harbor down to Muskegon Michigan. Since then we’ve been gaining sailing experience and working on projects to get her cruising-ready. We’re starting with a great foundation, but we have several systems we want to build upon to get cruising ready.

 
  • Model: Ericson 39B
  • Year: 1976
  • Hull type: Fin with rudder on skeg
  • LOA: 39.00 ft / 11.89 m
  • Rigging Type: Cutter
  • Beam: 11.33 ft / 3.45 m
  • LWL: 30.00 ft / 9.14 m
  • Draft: 5.92 ft / 1.80 m
  • Displacement: 19,000 lb / 8,618 kg
  • Ballast/Displacement: .50
  • Ballast: 9,500 lb / 4,309 kg
  • Capsize Screening Formula: 1.70
  • Comfort Ratio: 35.4
  • First Built: 1975
  • Last Built: 1978
  • Number Built: 20
  • Designer: Bruce King
  • Builder: Ericson Yachts (USA)
Resande Master Project List
 
For more information on our boat:
 
Original Documents
Sales Brochure e39b_color_brochure
Plumbing Diagram: E39B plumbing diagram
E39B Laminate Schedule: E39B_Laminate_Schedule
 
Ericson 39B
Categories
Journal

The Secret to Becoming a Millionaire – Guaranteed

Yes, I know that is a clickbait headline, but a modified version would probably be “The least exciting and sexy way to become a Multi-Millionaire – Guaranteed”. Becoming a millionaire is actually quite simple. It’s nothing more than a basic math problem that requires two things: time and discipline. You don’t need to earn a ton of money to get started. Building wealth is like planting a tree – “The best time to plant a tree was 20 years ago, the next best time is now” – Chinese Proverb. The combination of time and discipline is the secret to becoming a millionaire.

If you are under 30 (or even 20!), this is one of the most important things you will ever read. The sooner you start investing, the more the magic of compounding interest will work in your favor. 

Compounding Interest

Compounding Interest, The secret to becoming a millionaire

What is compounding interest? It’s what creates the exponential growth chart above and really the special sauce when talking about growing wealth. It is basically the concept of earning interest on your interest. For example, if you earn 5% interest on a 5 year bond worth $1,000 that is compounding annually that means you will be granted the interest after the first year of $50, but you don’t get the money out – it adds to your investment. The good news is that it’s the new basis for next years’ interest, so your next interest payment will be ($1,050*0.05=52.5) which brings your new balance to $1,102.5, and over the course of the five years you will end up with $1,276 vs. $1,250 with just simple interest (just getting an annual $50 interest payment and your principal back at the end)

This example may seem small, but as you start to use longer time horizons you see it really have an impact. In the chart below, you will notice that over 30 years of the same example, you would have $1,822 more using compounding interest than simple interest. It is a snowball effect known as exponential growth!

Years Compounding Interest Simple Interest Difference
5 $1,276 $1,250 $26
10 $1,629 $1,500 $129
15 $2,079 $1,750 $329
20 $2,653 $2,000 $653
25 $3,386 $2,250 $1,136
30 $4,322 $2,500 $1,822

The Rule of 70 (or 72)

You don’t want to get me started talking about how beautiful powerful exponential growth is. But what you need to know is that it allows us to take modest contributions and turn them into a fortune! One tool you can use to let your imagine start running wild is what we call the rule of 70 (some people use 72 – its an approximation so use either one). The rule of 70 is basically that you can divide 70 by your anticipated (compounding) rate of return, which will tell you how many years it will take your investment to double!

If we used the above example of $1,000 at 5%, you can take 70/5=14 years. You can see in the table above at 15 years we had over doubled the initial $1k investment. The best part is that you just added a layer to the snowball, which will double again in another 14 year (from $2k to $4k). 

So to recap that – your investment is accelerating in value over time. It takes you 14 years to get $1k in interest, then just over 7 years past that you get another $1k of interest. What happens is that over time your initial investment is dwarfed by the compounded interest – which is why you don’t need a huge $ investment if time is on your side.

How to apply it to your ‘wealth accumulation’ plan

Side note- I don’t like the term ‘retirement’ because it sounds like an exit strategy. Financial independence and wealth accumulation are worthy goals whether you want to work a traditional job and have a traditional lifestyle or want to support a long term alternative lifestyle like sailing the world.

I’m not the first person to suggest you should be setting aside at least 10% of your gross earnings toward ‘retirement’. I created a super simple interactive spreadsheet you can use to see what your specific scenario would look like. The point of this spreadsheet is to illustrate the long-term view of how these variables impact the future. A few notes to get you started:

  • Rate of return – I recommend sticking to market index funds (like the Vanguard S&P 500). They have extremely low expense ratios and consistently beat the so called ‘pro stock pickers’ over the long run. I have it set at 9% to start with. Why? over the last 90 years the S&P 500 has averaged 9.8%. Averages aren’t perfect predictors of the future, but it’s the best we have.
  • In the spreadsheet, you can fill in the yellow boxes, everything else will automatically populate
  • Be aware of your time horizon. If you are 40 years old you have a different time horizon (years left until retirement) than a 20 year old
  • If you’ve played around with the tool for a bit, try deleting all contributions after year 15. Did you notice anything? Your ending balance really doesn’t drop that much. That is because at this point, your snowball is already greatly outpacing your annual contributions. You planted the tree 15 years ago, and it’s got its own roots now so it can grow without watering it.
    • You can also do the opposite, and ‘delay’ saving for the first ten years. How much does your balance drop then?
    • These are examples the of time value of money – we’ll get into that in a different post though

Below is the Excel spreadsheet I made to illustrate this. It’s a simple, but powerful calculator to estimate wealth accumulation over a long term:

Setting Goals & Milestones

There are two more profound milestones I want to point out. This is because even though I intellectually understood them, it took me to actually achieve them to realize their power. There is a point where your annual growth from capital gains is greater than the contributions you made that year. This is a big psychological win as you will realize your account really has legs of its own now. The second is when your annual capital gains exceeds your annual salary – I am not there yet, but I see that as another profound milestone. If you look at the spreadsheet, you should be able to see both of those points.

You will find that, if you have time, it doesn’t take any crazy assumptions to end up with a multi-million dollar net worth. I get it – this is not the sexy get rich quick scheme you may have been hoping for. It’s really the “build wealth slow method”. Remember that wealth that is acquired quickly is often disposed of just as quickly. Just read the statistics on lottery winners and recipients of large inheritances. 

Time is much more valuable than money. I’ll let that sink in for you to digest as a much more philosophical statement than just wealth accumulation. How are you planning your life around the time you have left?  Whether it’s 100 years of 20 years, we all have a finite amount of time-wealth left, and even less of it in our ‘youth’. 

Wealth accumulation isn’t a goal in itself, financial freedom is what that wealth buys you. You will need to make sacrifices in the short term so you can earn your freedom in the long term. It’s incredibly simple, but not always easy. Otherwise everyone would be a millionaire.

Getting Started

I learned in High School that the sooner you get the ball rolling (investing early), the more times you will ‘double up’ your net worth. When I started investing at the age of 16, I needed to first convince my parents to help me open a custodial account since I was under 18. I also started investing in 2007 right before the great recession hit (a good time for a lesson, not the best time to go all-in on a REIT…) I always looked at my early investing as a way to guarantee myself a modest, comfortable retirement. Over the years, my goals have changed, but the strategy has been steady. I no longer consider it a ‘retirement’ plan, but a ‘wealth accumulation’ plan.

The point is you need to get started – right now. Open a brokerage account if you don’t have one already. I use E*Trade, but there are a lot of newer brokerage firms like Robinhood, Cashapp, etc. that you can easily get started.

**Before you go too far on brokerage accounts, you need a tax strategy. There are tax-advantaged accounts like a 401(k), 403( b), Roth IRA, Traditional IRA. Or if you want to be able to touch it before retirement age you can get a normal brokerage account. I think a good strategy involves both. I’ll go into the options in another post, but you should understand your tax goals and strategy for this account.

Step by Step

  1. Open a brokerage account (or increase contribution of your tax-advantaged account)
  2. Fund the account with money you have available – whether it’s $100 or $50k
  3. Start with index funds like the Vanguard S&P 500 ETF (VOO). Don’t get distracted by individual stocks or cryptocurrency until you have a diversified base to start from
  4. Set up automatic deposits and automatic investing in the fund you choose, have it automatically invest
  5. Reinvest dividends
  6. Continue for 30-50 years

Recommended Books & Resources

Books and Resources to cultivate your financial mindset:

What do you think about the secret to becoming a millionaire? It’s simple but powerful. Do you have the discipline it takes to gain your freedom? Leave a comment below!
Categories
Travel Lifestyle

Step One: Purge your House

Something happened after we got back from spending almost three weeks in Northern Spain. It was the first time we got to travel for a longer period (more than ten days) since we both still work full time. It was also the first time we had somewhat of an itinerary but didn’t really have firm plans. We wanted to just spend time in the places we went to and see what we could find. Since we had more time, this trip was a lot less “go, go, go” trying to see as much as possible.

We have found that, when you take more time to travel, and not just take a week vacation, there is something that shifts in your way of thinking. We had all this time to just exist and to think about what it is that we wanted to do in life. A huge underlying theme with us is that we love to travel and we want to be able to do more of it. We will have more on what we are doing to transition from full-time jobs to a travel lifestyle in future posts. This post is focused on step one for us, which was (and still is!) getting rid of the things we don’t need – or as we have come to call it purging our house!

We have been living your typical American lifestyle which means having a big house with a lot of stuff. We asked the question “if we wanted to, could we move out in 3 months?” which provoked a lot of anxiety.  So as soon as we got back from Spain, we decided that step one was going through our house- room by room and purging all of the stuff we don’t need. We’ve sold a ton of stuff on Facebook Marketplace, and what we couldn’t sell was donated. We are working towards a modified form of minimalism in our house. We have come up with these general guidelines for ourselves when thinking of what we need/want and what we can get rid of:

1. The Three Month Rule

Have you used the item in the past three months? or are you going to use the item in the next three months? (for seasonal items, did you use last season? or are you going to use it next season? If the answer is no, get rid of it

2. Abandoned Hobbies

Do you have hobbies that you don’t spend time on anymore? You don’t have to keep everything, you can always get back into a hobby at a later date. If you are not spending time on it now, get rid of the items you have accumulated.
For example, Ryan used to play guitar and our house had at least 6 guitars he hadn’t played in years, we sold all except for one.
Another example: We make wine and cider at home and have accumulated a ton of equipment and bottles. Since we plan to travel more, we have sold some of our equipment and are recycling most of our bottles, keeping only enough to do 1 or 2 small batches of wine or cider a year if we want. These remaining items will have to be sold before we can travel full time.

3. The Happiness Test

You don’t have to go crazy minimalist. If something makes you happy, keep it. We aren’t the most sentimental people so we don’t have a problem getting rid of most things. But if you have something that is really important or special to you, you don’t have to get rid of it. General rule- if you need it OR if it makes you happy or is important to you, keep it!

4. Would it Move?

Ask yourself the following question: “If I were to move, would this item come with me?” This question can help you if you are struggling with your decision making 🙂

5. Eyes on the prize

Don’t fall back into old habits. Before you buy something, think about all the things we said above: do you really need it, will it really make you happy, if you move would it come with you.

6. Consumable Christmas

When it comes to the holidays, tell your family you want consumable items only so you don’t collect stuff. Last Christmas we did a liquor/wine gift exchange with our family. Other gifts included were mostly food items. This way people can still shop for you and feel that they are giving you a nice gift but it doesn’t have to be additional stuff – they don’t know what to buy you anyways! Another idea would be suggesting to your family that you could do a family trip or activity as the ‘gift’.

The other last but also really important thing with this is the money you can make! We promise- you don’t realize how much stuff you have that you don’t use and won’t miss after it is gone. AND these items can make you money which you can then save and put towards funding the lifestyle you really want! Small items that you are selling for under $20 all the way up to bigger/more expensive items you have- sell anything you can. We have a list of everything we have sold since we started purging our stuff. The grand total is up to over $11k! That did include two stand-up jet skis which sold for quite a bit each. But backing those items out we still have a total of $3k we have made by selling fairly common items that we just didn’t need to keep any longer.

Once you start to purge your unnecessary stuff it will become addicting! You will also feel much lighter and freer. You are giving yourself the freedom to focus your time and energy on what you really want.

What steps have you taken to allow more travel or more of what you want in your life? Leave us a comment below!
Categories
Overlanding Travel

Road Trip through the Western Upper Peninsula

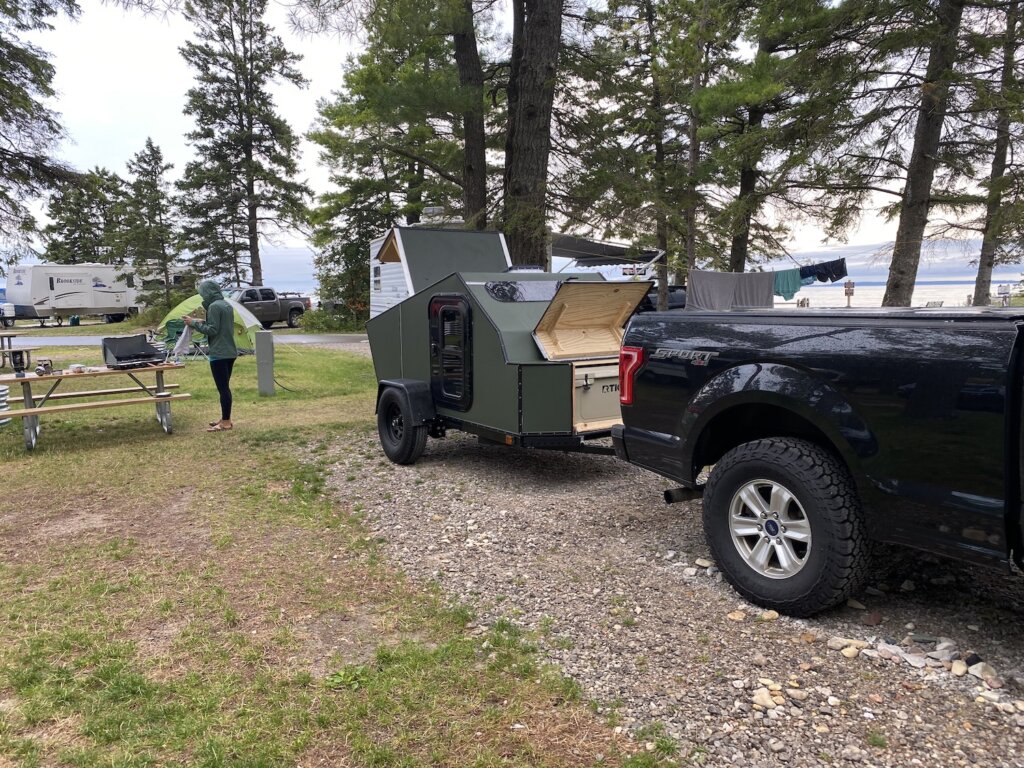
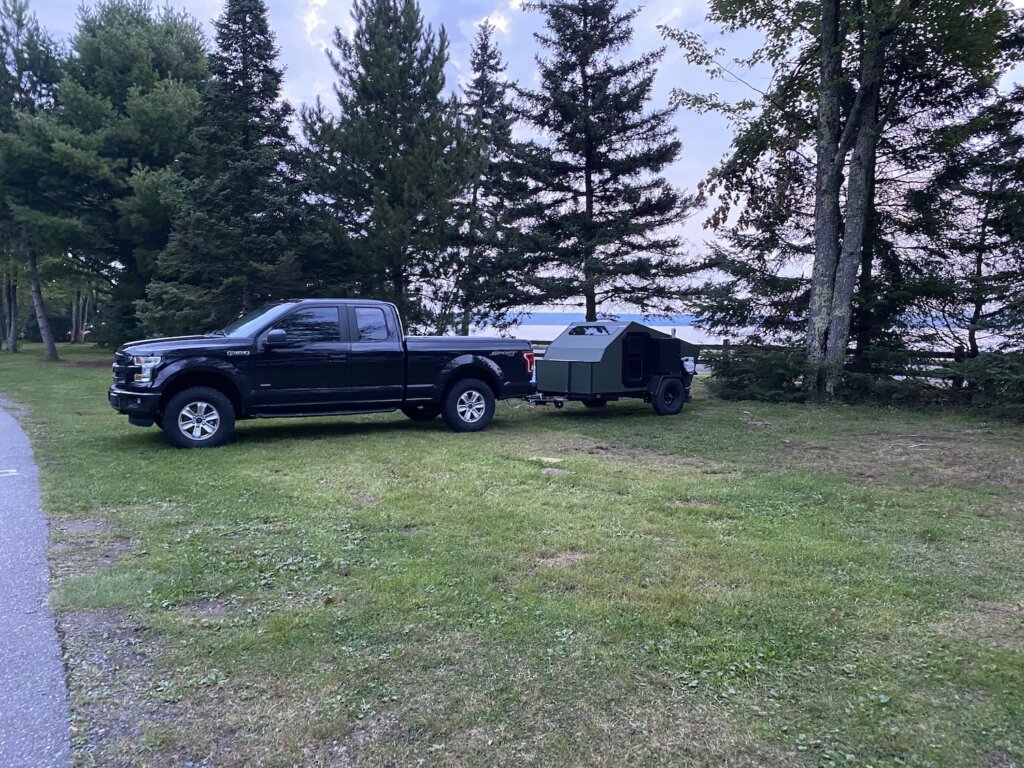
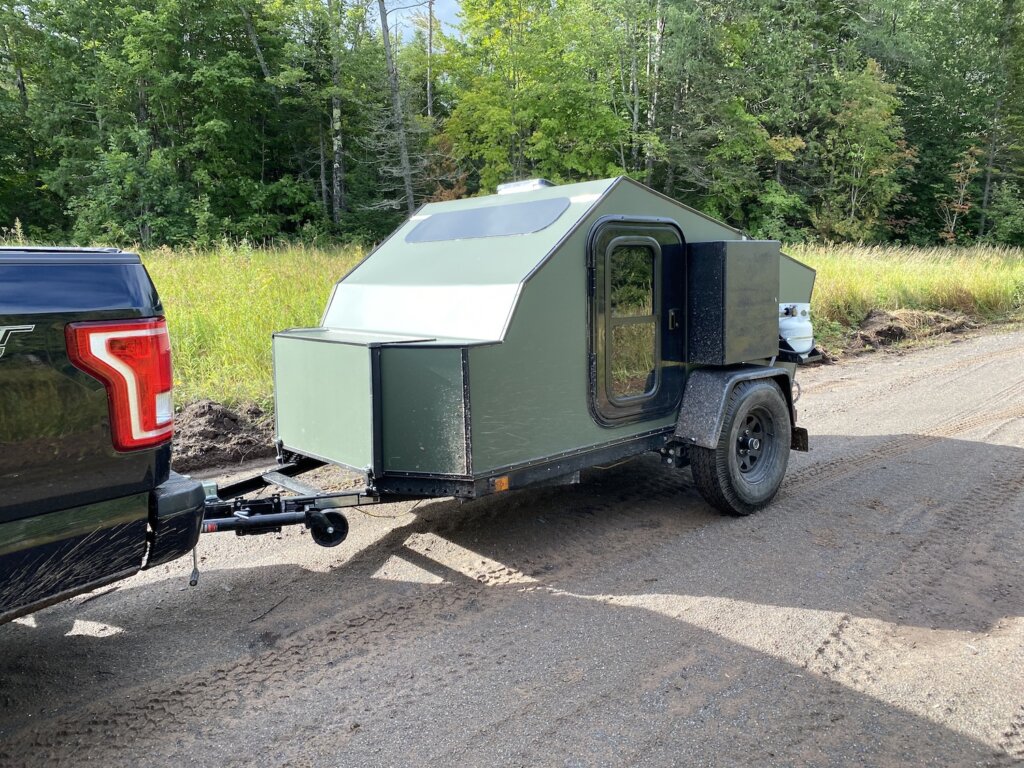
The first time we went to Michigan’s upper peninsula we saw pictured rocks and Tahquamenon falls and that was about it. So this time we decided to go further and see more of the western part of the peninsula. This was our first trip with our home built teardrop trailer- check out our post for lessons learned about the teardrop on this trip. Our intent going forward with our teardrop is to do more dispersed camping away from crowded campgrounds. But since this was our first trip out we did stay at campgrounds each night just in case something went wrong with the trailer. To reserve your campsite at any Michigan park go to this website: https://www.midnrreservations.com


We headed north after work and made our first stop at Wilderness State Park just south of the Mackinac bridge. We got there after dark and departed in the morning so we didn’t spend much time here. The facilities were nice and we did have a spot close to the water which was nice. It is a standard campground so spots are pretty close together. There is a dark sky viewing area in the park. We enjoyed a great night sky view even just from the campground area. 

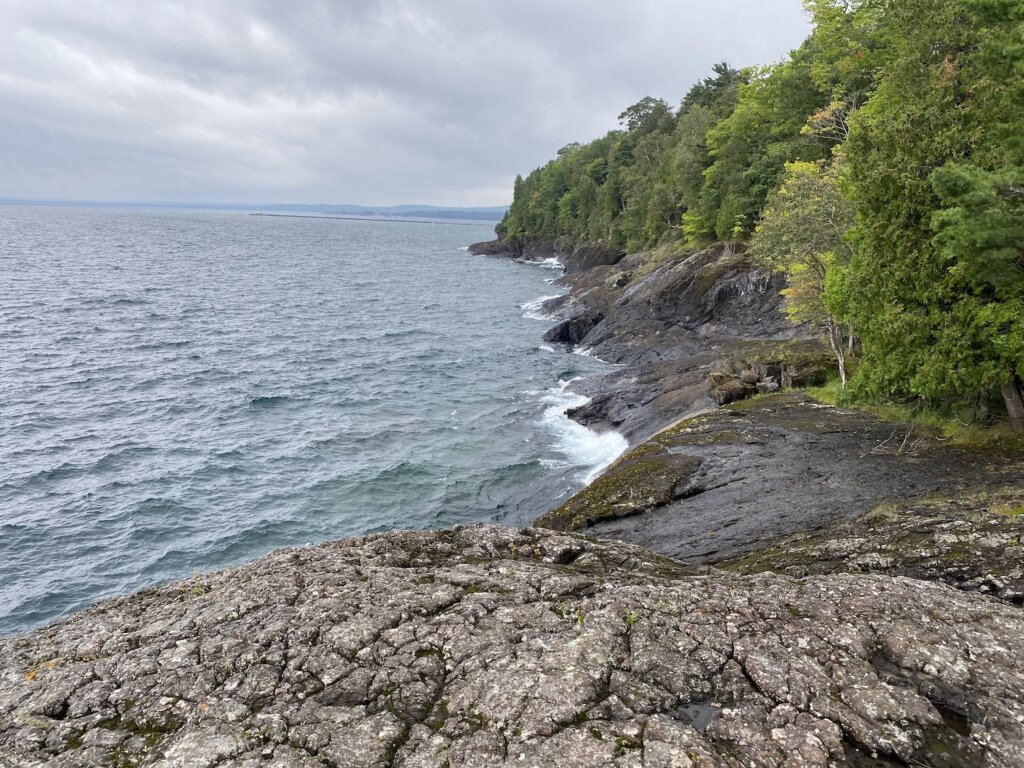
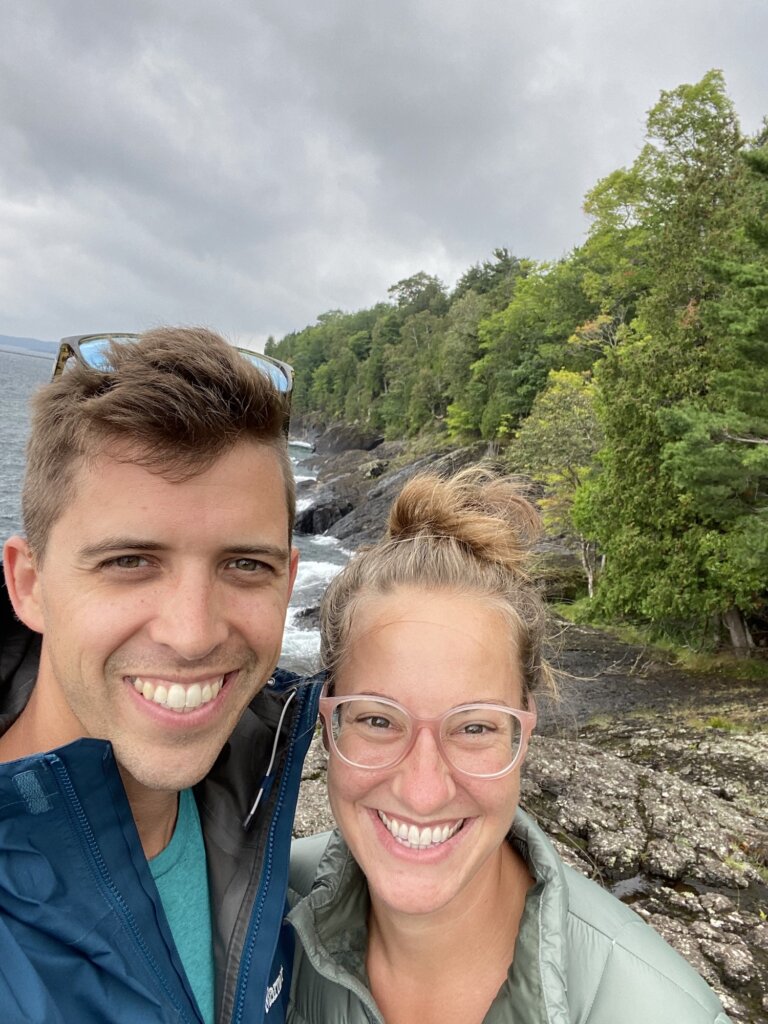
The next day we crossed the Mackinac Bridge and into the upper peninsula. Our first stop on this road trip was Presque Isle Park in Marquette which was still a few hours drive away. We got to Presque Isle in the afternoon and enjoyed the short hike around the park. The hike isn’t that long but does offer some great views of the lake and the rocky cliffs as you go along. It was a worthwhile stop if you are driving through the Marquette area. While we did enjoy the hike and the views we did think that there would be more to this park. The hike around the park is really the highlight so if you aren’t passing through the area it probably isn’t worth a drive out of your way. 


That night we stayed at Baraga State Park. We picked a spot in the row closest to the water when we looked online. What we didn’t realize is that the park is just off a very busy road so all night we heard lots of cars (and logging trucks) going by. Other than that the camp spot itself was a bit more spaced out than at Wilderness state park and the showers were nice. Overall this was not our favorite park to camp in. 


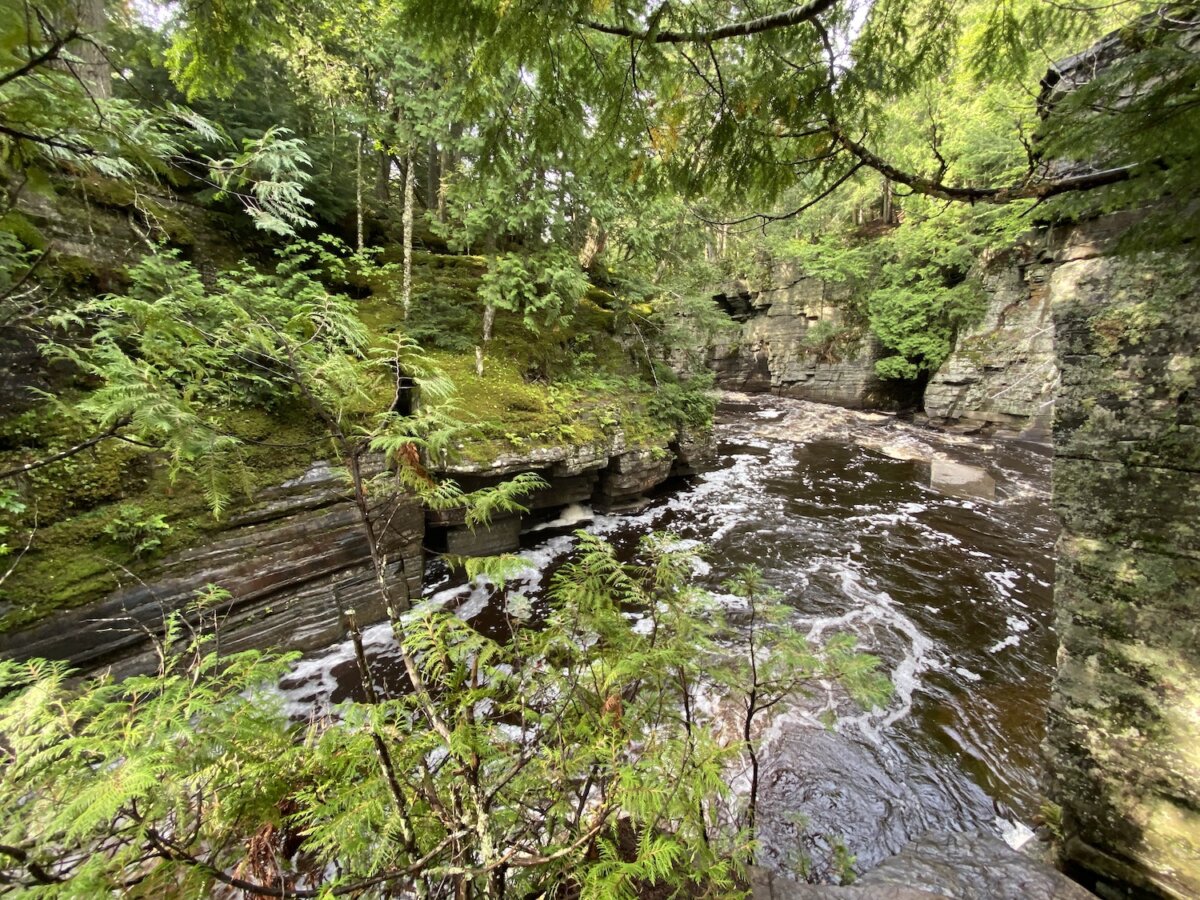
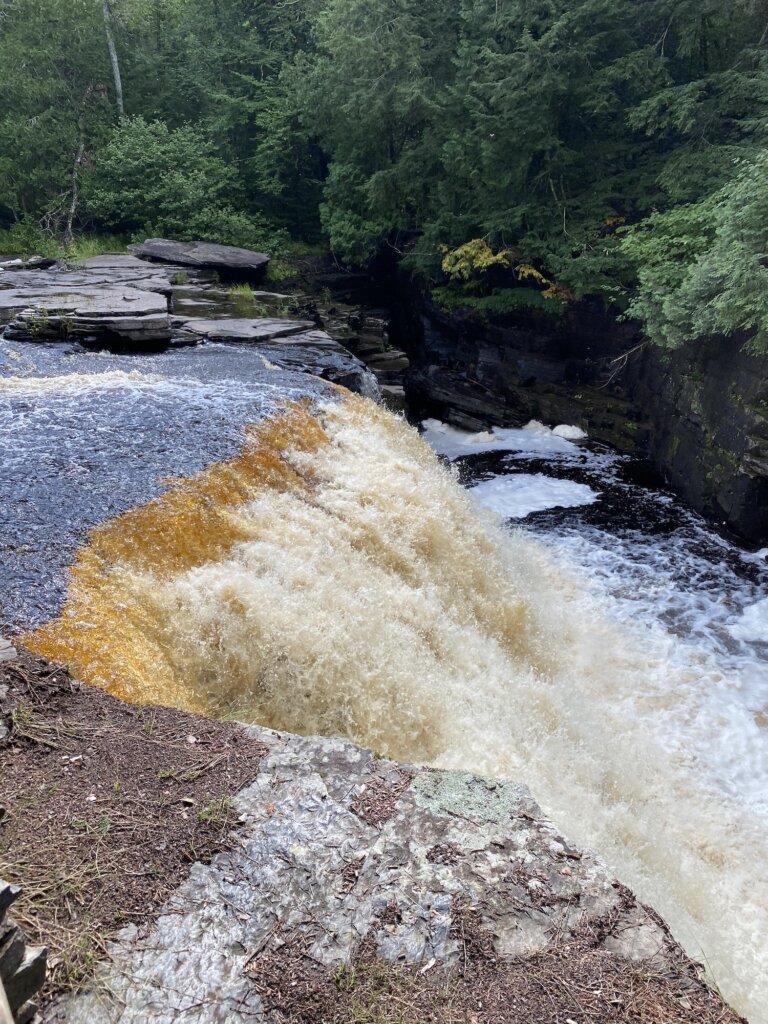
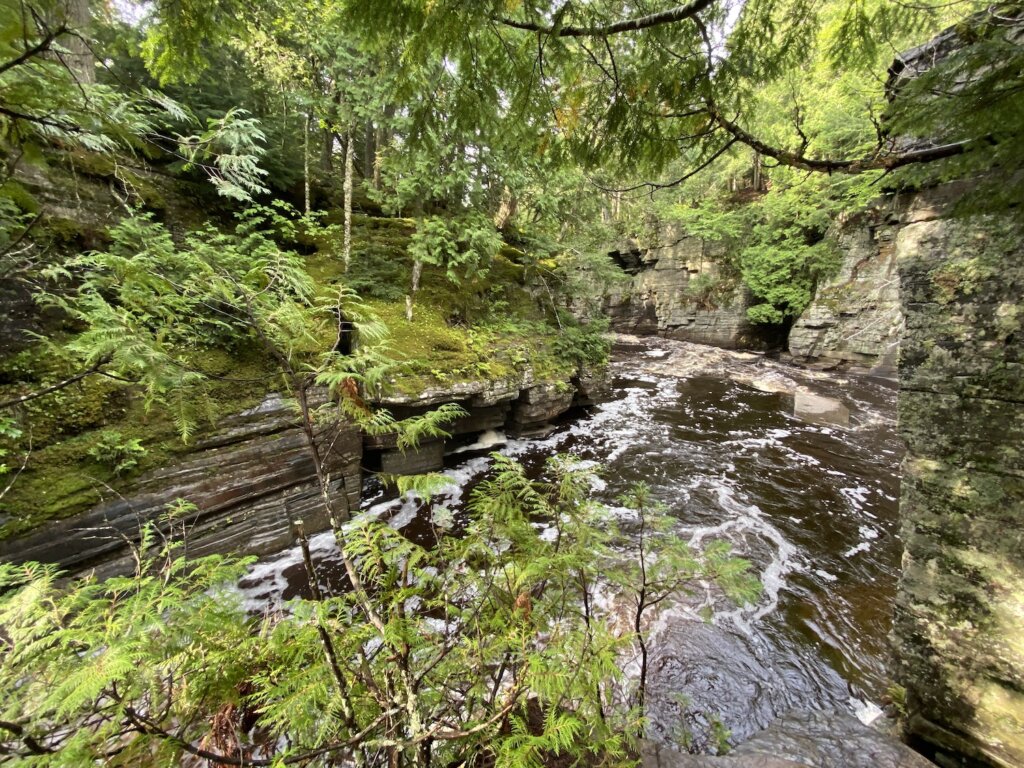
The reason we decided to stay at Baraga State park is that it was on our way to the Porcupine Mountains and it is close to the Canyon falls hike we wanted to do. The next morning we headed from Baraga to Canyon falls (only about a 15-minute drive). This hike is beautiful! You wouldn’t know it just by driving by. It is literally a roadside park. There are vault toilets and some tables for people to pull off the road for a break. But beyond that, you will start this hike along the river. It will take you to Canyon falls and then there will be a sign that says the path ends. But the hike isn’t over! The hike continues and gets way better as you follow the river into the actual canyon. Look for the blue markings on the trees and that will lead you up a hill where you can then continue the hike. You will follow the river as it flows through a small canyon and will see several smaller falls and beautiful spots along the way. We highly recommend this hike! 

Porcupine Mountains

After Canyon Falls we drove west to the Porcupine Mountains. Here we stayed at one of their more rustic camping spots. If you prefer you can camp at a site with showers and real bathrooms. We stayed at the white pine extension outpost. We had a vault toilet available near our site, no other bathroom facilities nearby. Our site had a picnic table and a fire pit. There are less than 10 sites in this outpost and all are fairly spread out.


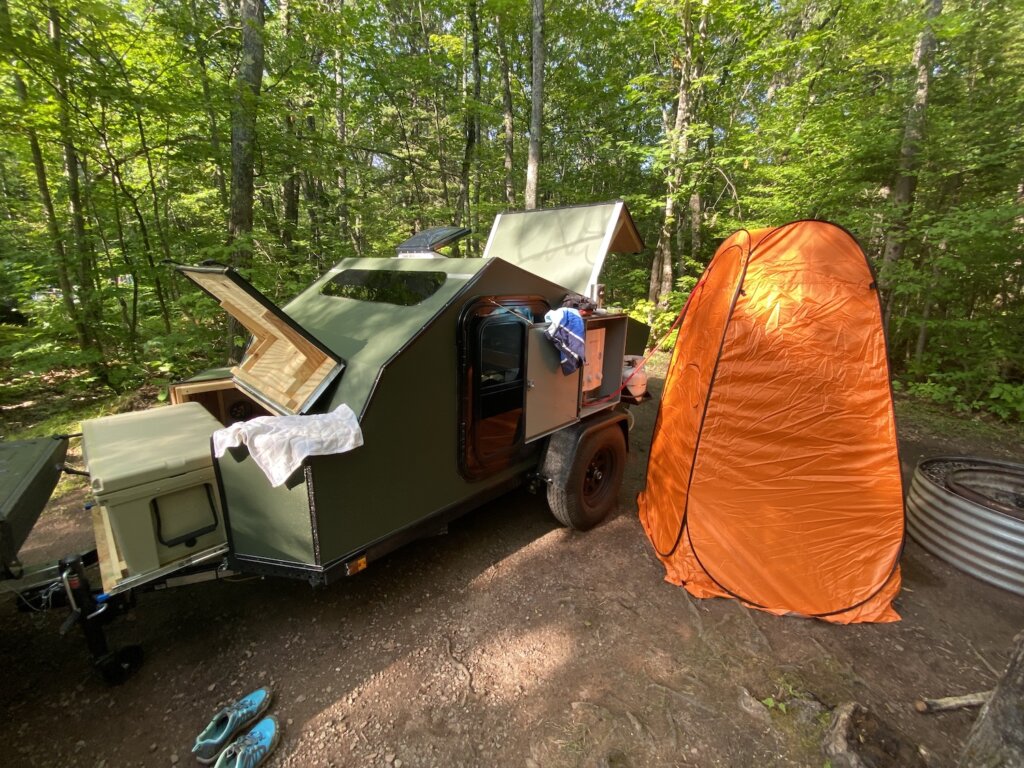
Our outpost camping site was very buggy so definitely bring bug spray, a mosquito net, or some kind of protection for when you are hanging out at camp. It was nice to switch it up and stay in a less crowded area of the park. We also got to test out our propane heated shower and pop up shower room- check out our post, linked above on lessons learned from this trip for more on the shower set up. 

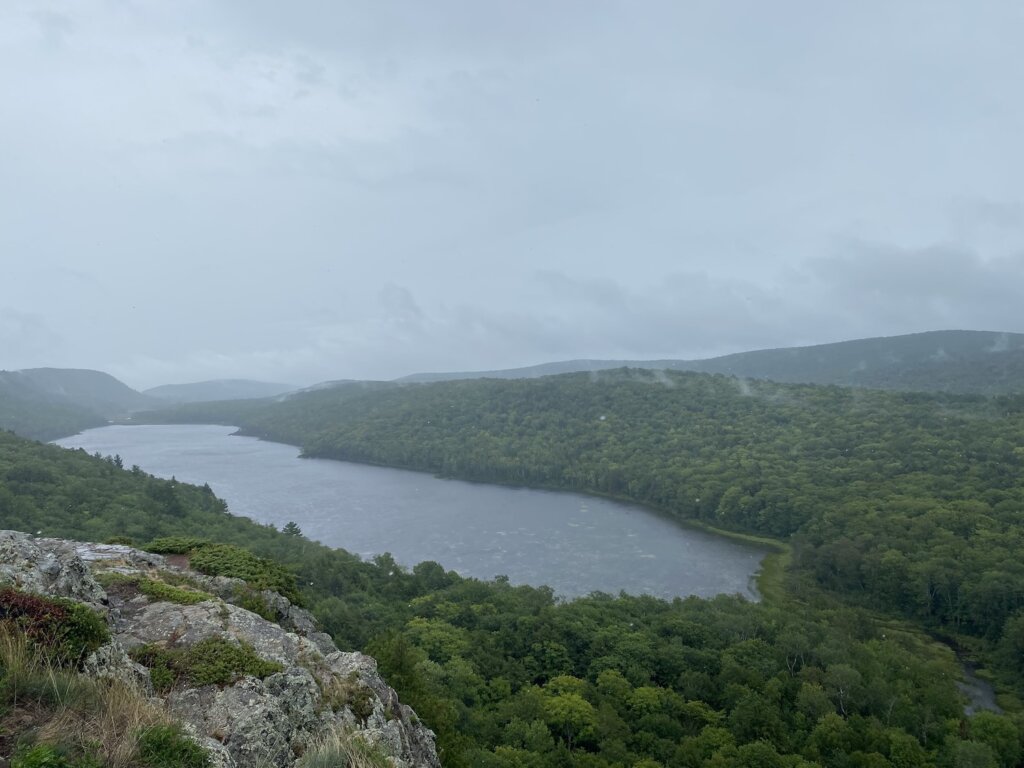
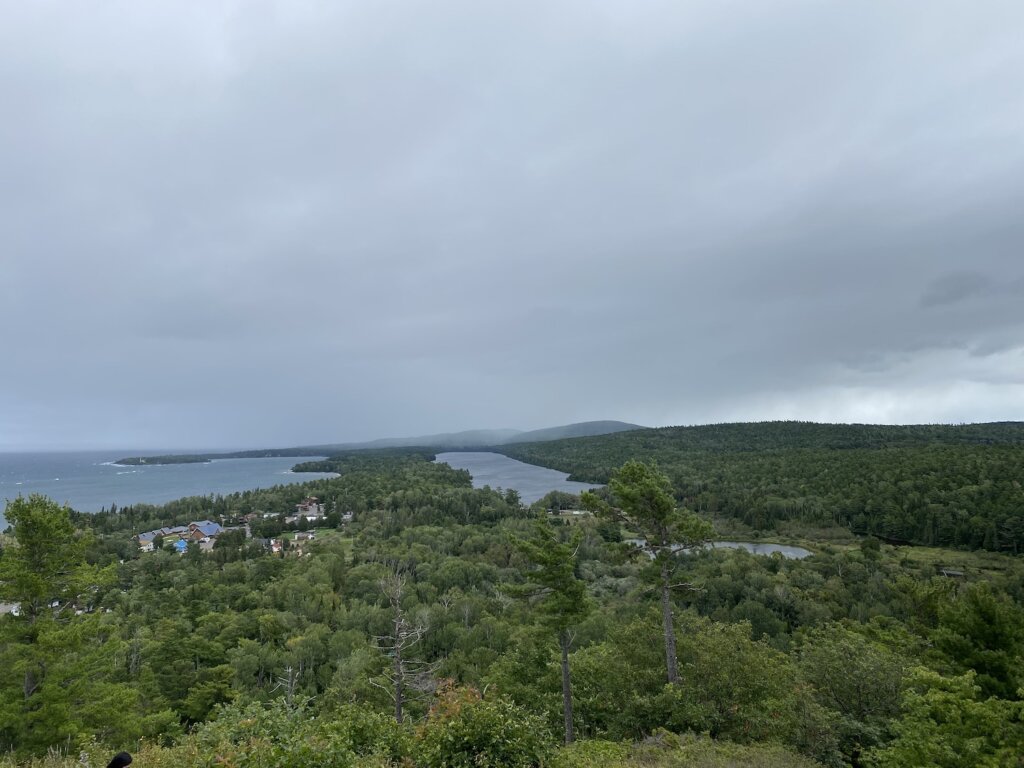
The day we arrived in the Porcupine Mountains it was beautiful and sunny but the next day it rained all day. The highlight of the park is definitely seeing Lake of the Clouds- so do that when you have a sunny day! We went on our second day in the park in the rain and wind. The views were still great but it would have been much more enjoyable had the weather cooperated. We also hiked along the Presque Isle River. That was a beautiful area that led out to a small rocky beach. There are a lot of hiking trails here but really that is the main attraction in the park. The rain did put a damper on our time here but unless you are an avid hiker who wants to do multiple long hikes all over the park, you can probably see the highlights in one day. Maybe a day and a half, one to two nights in the park would be ideal. 

The Bill Nichols Trail

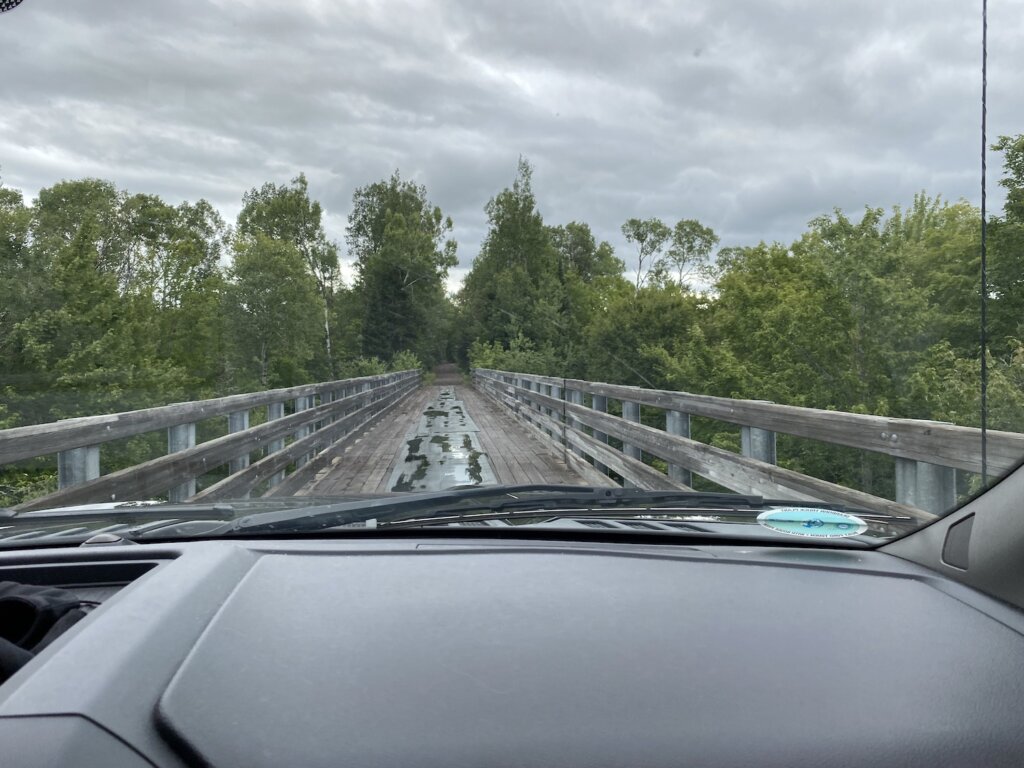
We left the Porcupine Mountains and drove up the Keweenaw peninsula in the morning. That got us to Copper Harbor around lunchtime. We took the Bill Nichols trail for part of the drive and then got back onto the main road. On the trail, you cross over several old railroad bridges. Just a side note, we have read that there are some old railroad spikes that have been known to puncture tires (we didn’t have issues). The portion of it that we drove was mostly like a dirt road, with no huge bumps or obstacles to get through. We had no trouble driving it with the trailer.

Looking back, we would have loved to spend more time in the Copper Harbor area! We stayed at Fort Wilkins State Park in the west end campground as the eastern side was closed this year. The park sits along Lake Fanny Hooe. We got a great sunset on the lake in the evening. Again the showers and facilities were very nice. The spaces are fairly close together here. We dropped our trailer off, made lunch, and headed out to explore the area. We had a few great stops that we would highly recommend! 


Brockway Mountain Drive

This drive is about 9 miles long. The views along the way are awesome! There are several pull-outs so that you can stop and take photos. We also saw a TON of mountain bikers. There are trails all over and of varying degrees of difficulty. We are not mountain bikers so cannot speak to that experience. What we can say is that it appears to be the thing to do here! 


Estivant Pines:

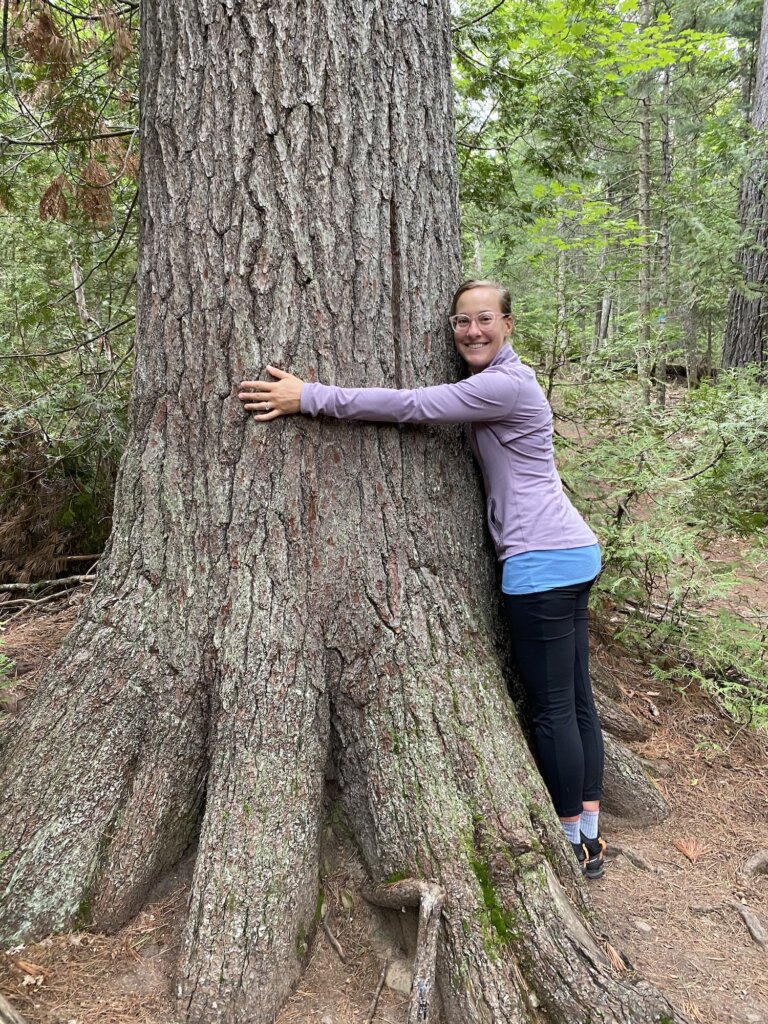
These pines are over 500 years old. There are a couple of short hiking trails you can take that loop around the park. It was a nice hike and some of the pines were very large. Worth it to stop if you have time but it wasn’t our favorite hike we took on this trip. 


Hunter’s Point Park South/North Beach Trail Hikes:

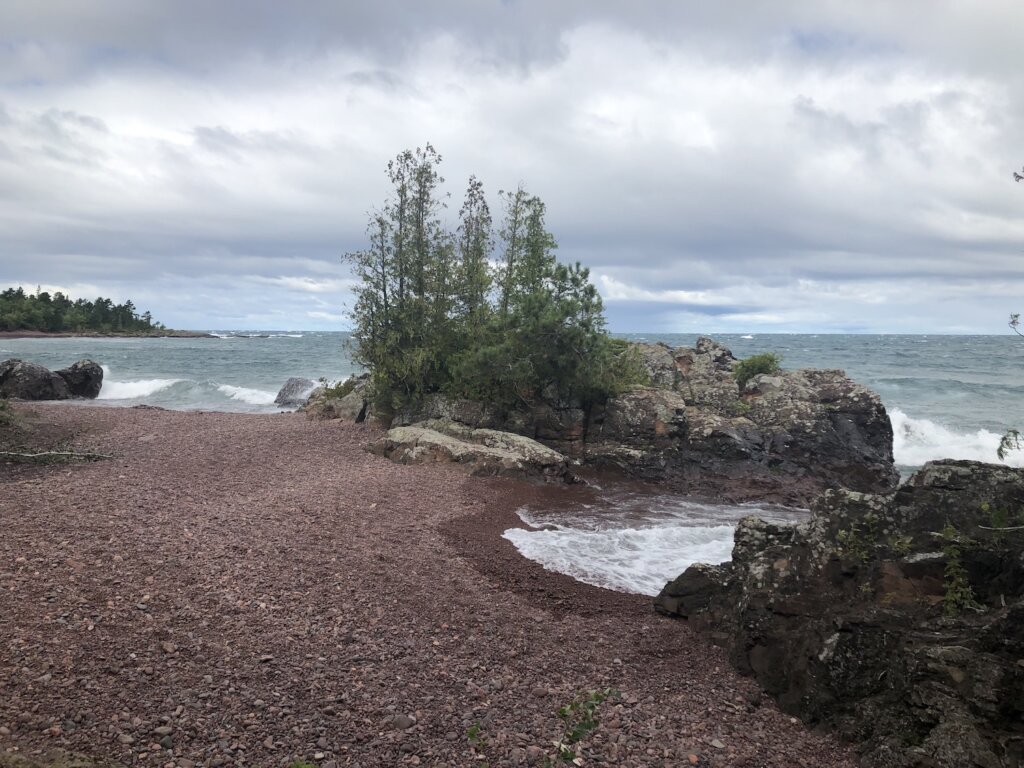
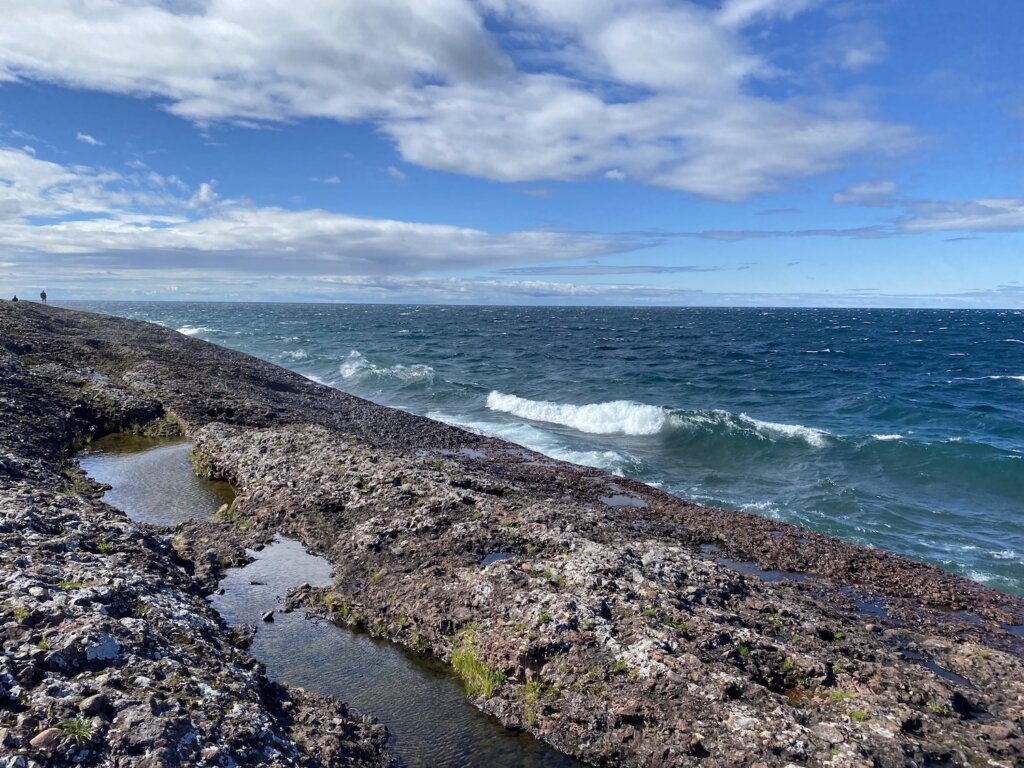
This hike was one of our favorites! We are certainly drawn to the water and this hike is along the lakeshore so that is our own personal bias! This is a short hike out the point where this small strip of land ends, forming the calmer waters of the harbor. It was a very windy, wavy day when we visited. It was amazing to see how much of a difference this small area of land makes in calming the waves and protecting the boats in the harbor. The north trail follows lake superior and the south trail follows the calmer side of the water in the harbor.


Off-road driving/hiking to HorseShoe Harbor:

Another one of our favorite spots in Copper Harbor. Just shortly past Fort Wilkins State Park, the pavement ends. You then end up on a seasonal, dirt road that gets narrower, becoming more of a two-track as you drive back. We turned left about a mile after the pavement ended. About another mile or two into the drive there is a small parking lot and you can park and walk out to the beach. The hike to the beach is very short and worth it for sure! There is a very large beach area. Along one end there are very large rocks that come out into the water. They are not easy to climb up but if you can get up on top of the rocks definitely do! It was a very windy, wavey day when we were there so we really enjoyed watching the waves crash from the top of these rocks! We did follow the road/two-track past the beach walk parking lot but it quickly became much narrower and difficult to drive. We ended up having to back up and turn around because we came to a pretty steep and uneven hill that we weren’t sure our truck could manage. If you have a real off-road vehicle this would be a great place to explore!


We had only one day in Copper Harbor before we had to start our long drive back home! We did alot in our day but as we said this was an area we would have loved to have more time to explore!  


Tell us your favorite UP destinations, what did we miss? Where should we go next time? 

Categories
Overlanding Travel

Colorado Road Trip: Maroon Bells to Gunnison

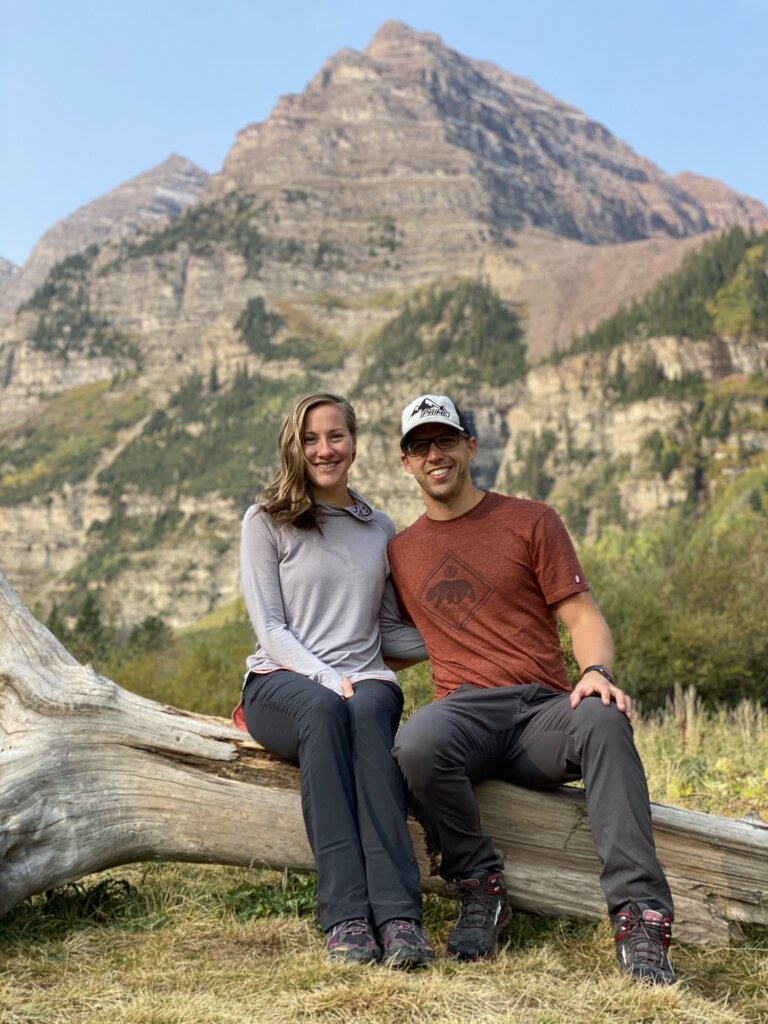
In all of our travels together, Erika has never been to the Rocky Mountains. It’s about an 18-hour drive from where we live in Grand Rapids to Denver. After getting two smaller trips with the trailer under our belt, we felt we had most of the kinks worked out for a longer trip. We decided on Colorado since we have some good friends there and it’s a manageable drive with the trailer. In total, we had about 5.5 days in Colorado, plus two days of driving. We started at our friend’s house in Denver and headed out, into the mountains from there. 

We found this itinerary to be very manageable with the time frame we had. From Denver, our first stop was Maroon Bells near Aspen. After that, we headed about 3-3.5 hours to the Black Canyon of the Gunnison National Park. From there we went to Salida which was about a 2-hour drive. Our last stop was in Colorado Springs. We really enjoyed our time in each of these locations.


Maroon Bells:

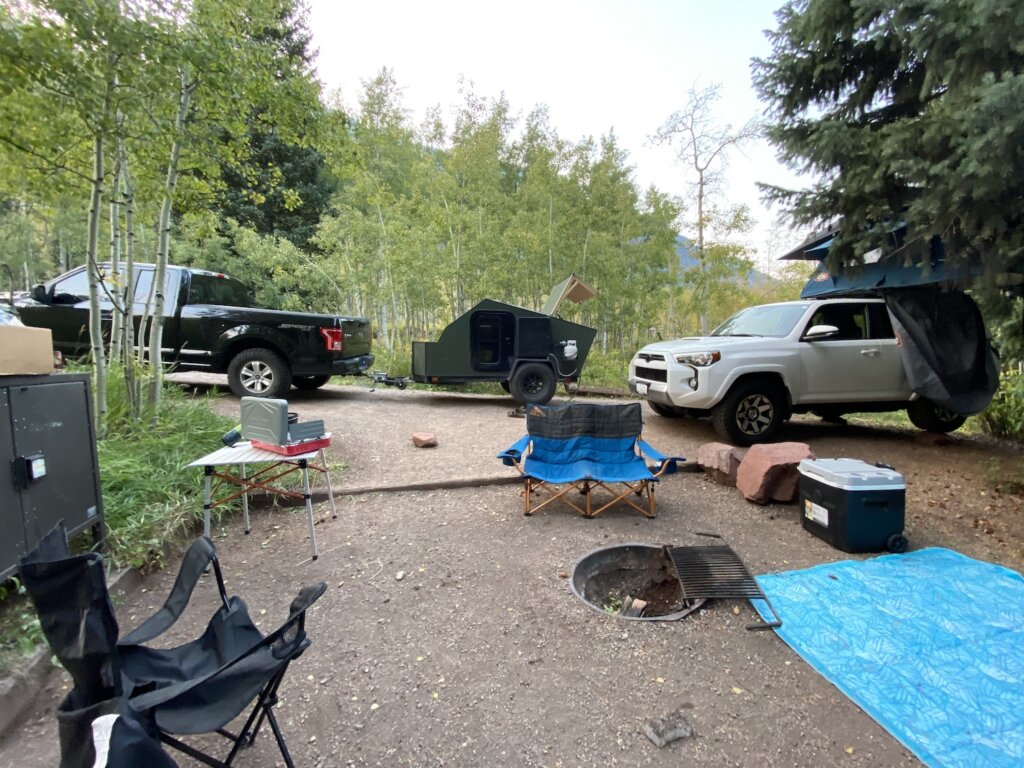
We were lucky enough that our friends had booked a campsite at Maroon Bells well in advance. You can start booking these campsites 6 months ahead of time, and we have been told you need to book early to get one! The sites are fairly small but we did fit our teardrop and truck and our friends SUV with a rooftop tent. There are plenty of trees in between the sites so you do get a good amount of privacy. From Aspen, there is one road into these campsites at Maroon Bells. During spring/summer and into early fall ( we were there in September) you do need a camping reservation to drive that road between the hours of 8 am and 5 pm. If you do not have a reservation you can take a bus from Aspen. Check out this website for more information: https://www.aspensnowmass.com/inside-aspen-snowmass/stories/maroon-bells-101-all-you-need-to-know


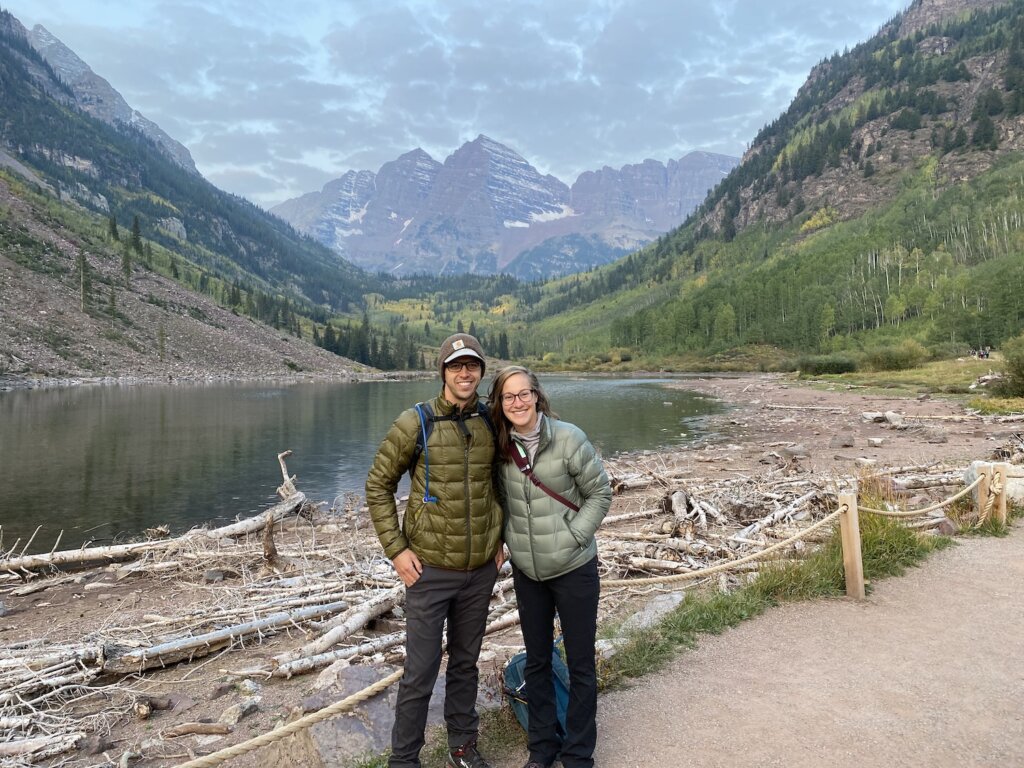
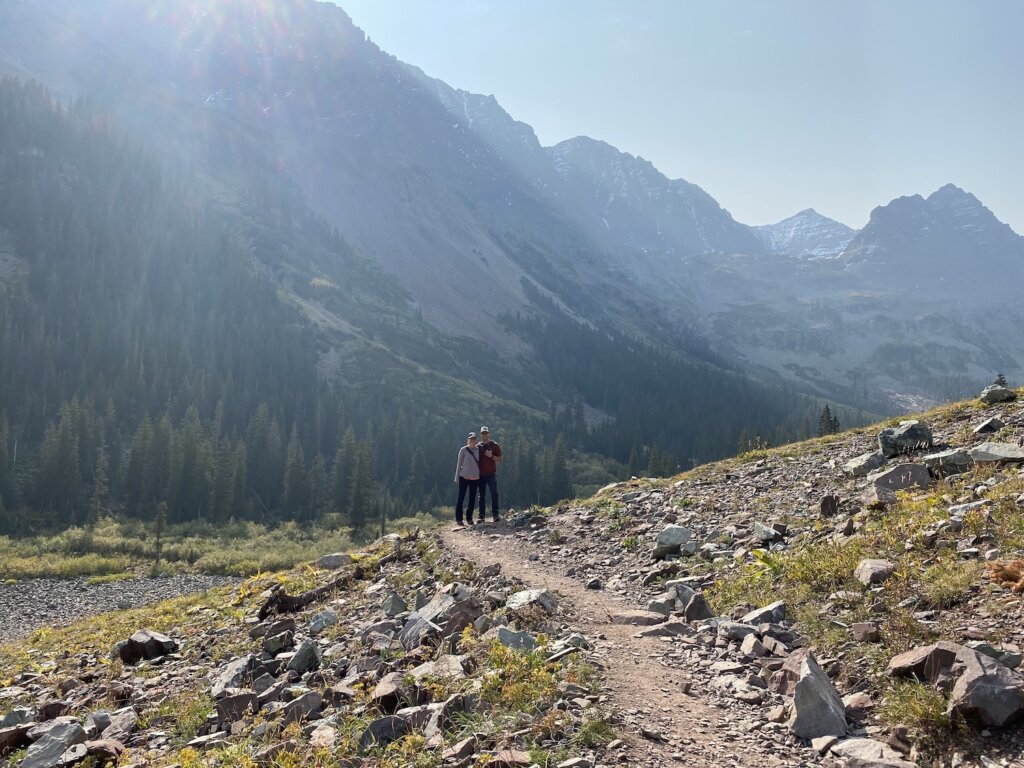
The greatest part about camping here was getting up and heading to see the sunrise hit the famous mountain peaks. This is a must-do! Definitely get to the parking area early as it does fill up (early in the morning you can without a camping reservation). After sunrise, we hiked from the viewpoint to the base of the actual Maroon Bells mountain. We did an out and back hike of about 3 miles, but there are multiple trail options if you’re more ambitious. The views along the way are awesome! 


Other than that our time at Maroon Bells was spent just relaxing and hanging out with our friends at the campsite. We did have one bit of excitement when a black bear walked right through the camping area. There are bear boxes at each site to keep food locked up so do use those as you never know what you might encounter! 


One last note on Aspen/Maroon Bells. It was recommended by our friends that we take Independence Pass to get into Aspen from Denver vs going around the mountains. This road isn’t always open and you do need to make sure your total length (for us meaning the truck and trailer) is less than 35 ft. We measured ahead of time, with our trailer we are 32 ft and we had no trouble driving this pass.

The road does have several switch-backs, some without guardrails and some are pretty narrow. There were lots of signs warning vehicles beyond that length to turn back, there was nobody enforcing this rule but it would definitely be a bit sketchy to drive if you were over 35 ft. The road is beautiful, it winds up the mountains to the peak which is at 12,000.  There is a parking lot you can park and take in the views at the top, we did not since we were following our friends to the campsite but we would have loved to stop and take it all in!


Gunnison:

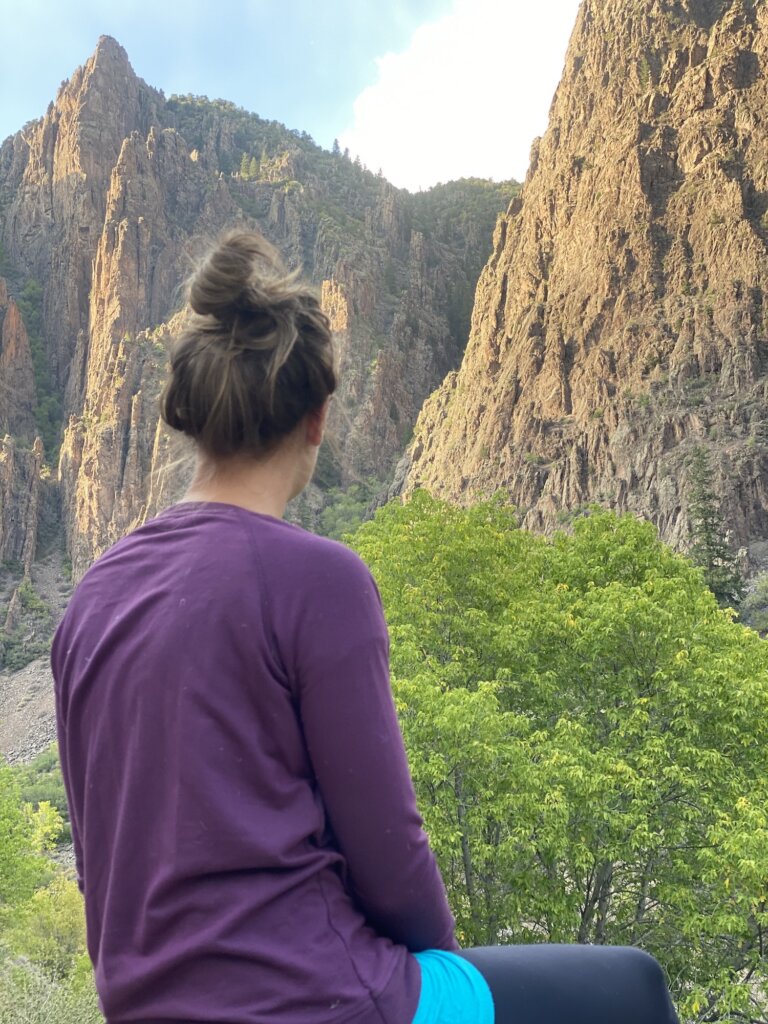
From Maroon Bells, we headed to the Black Canyon of the Gunnison. We got there about 2:30-3 pm and were told there were still campsites open but when we drove through we couldn’t find one. The sites are mostly set up for you to parallel park along the outside and then set your tent up in the spot. For us with our teardrop trailer, the spots wouldn’t have worked well. They are also very, very close together so there is not much privacy. We would say that it is not worth it to camp in the park. The cost is $16 a night for no electric hook up, $22 a night with electric hook up.

There is a large area of BLM land approx 1 mile from the park entrance with a lot of spots available. The BLM land is well marked and easy to find. The spots are fairly spread out and the area is forested enough to offer privacy from others in nearby spots. We really enjoyed this camping area and would highly recommend it! And it is free!


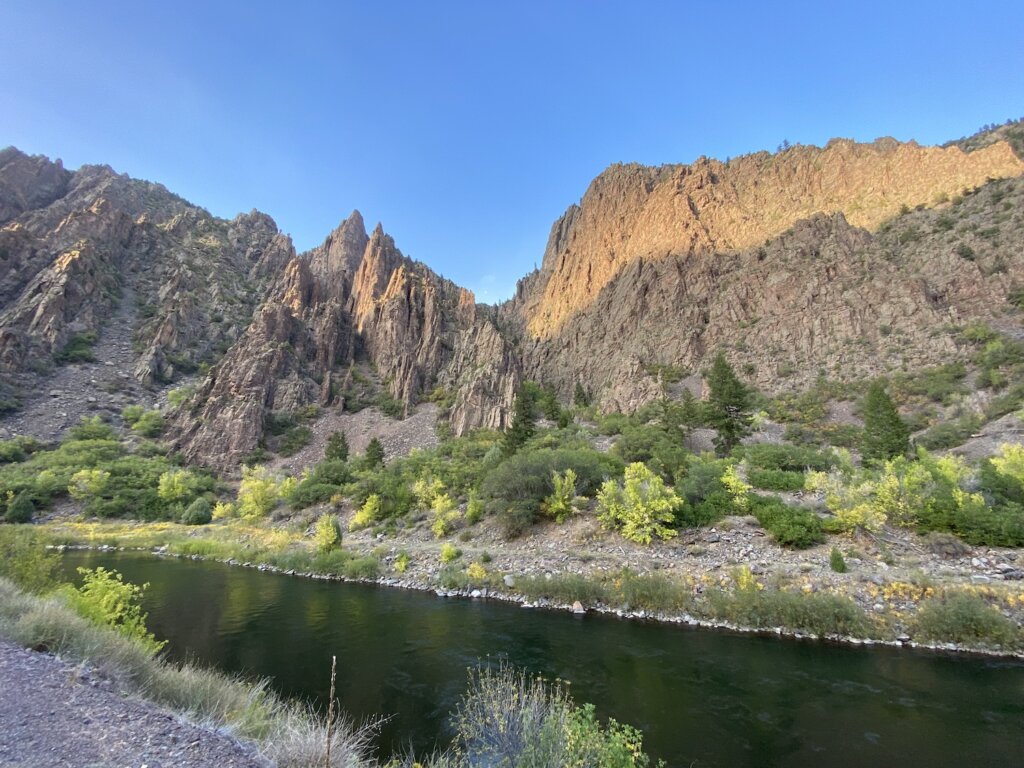
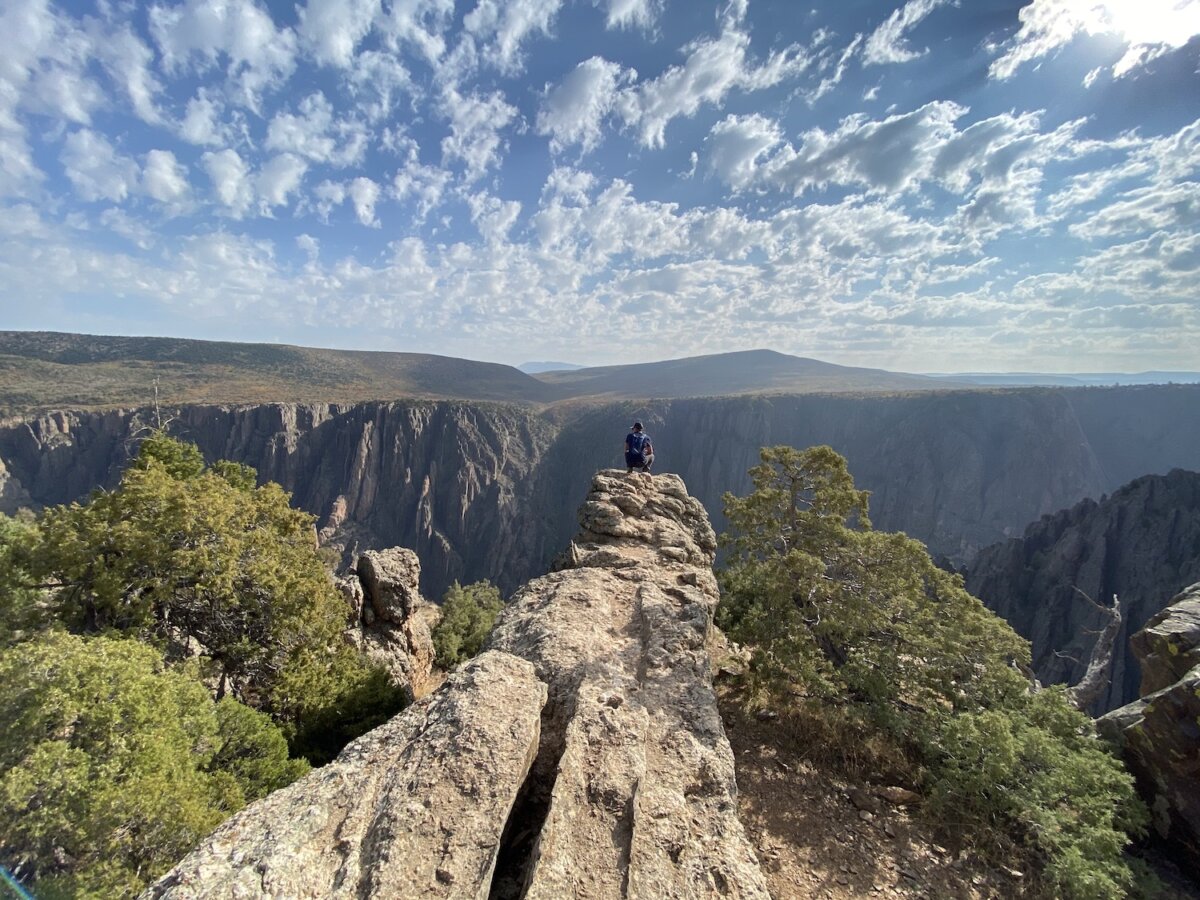
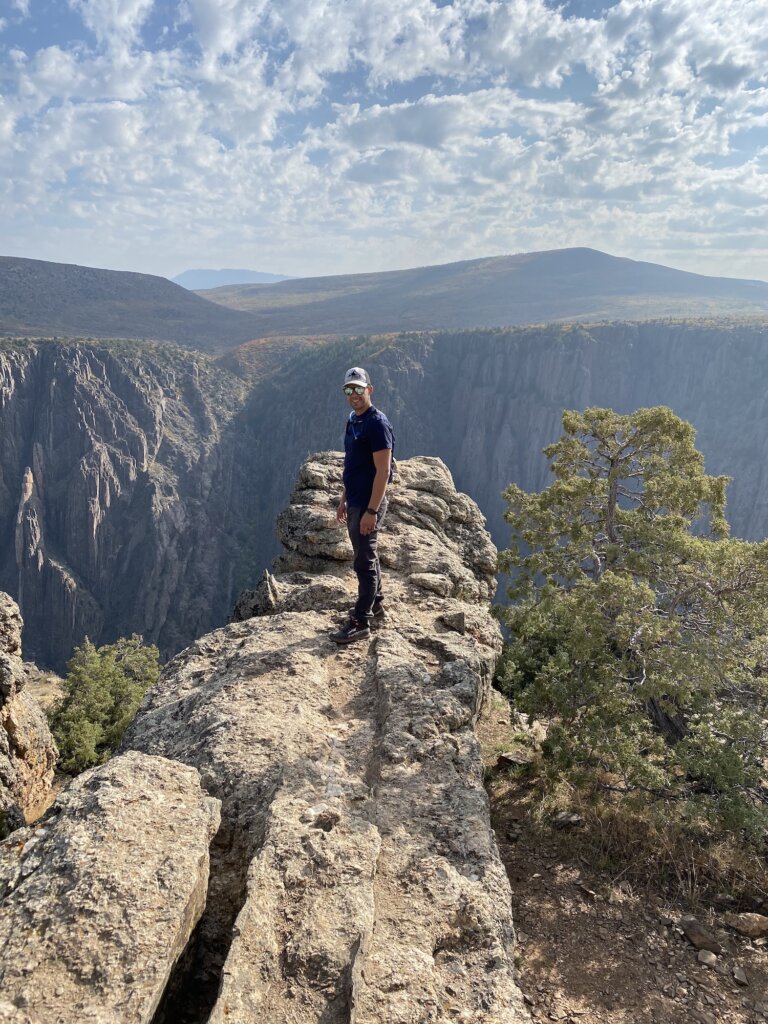
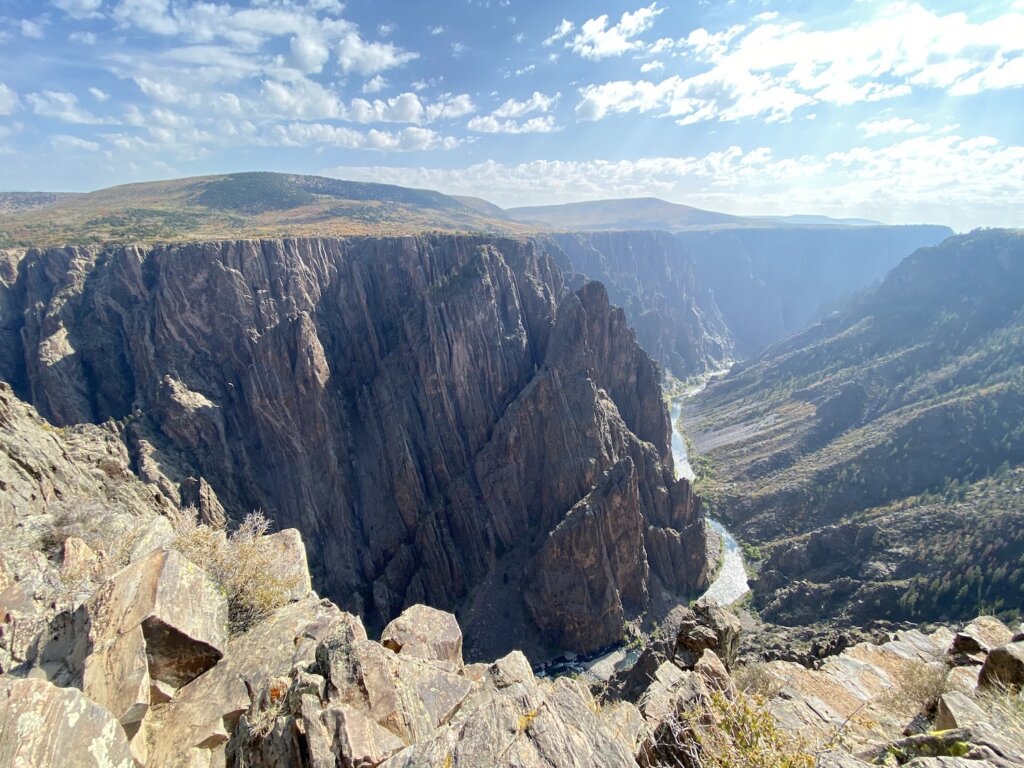
While you are in the park we would recommend driving along the rim and stopping off at the various viewpoints. Most of these are only a short walk from the road and you can easily stop at them all within one day. All the views are beautiful! There are several trails in the park, our favorite was the rimrock trail which follows the rim and offers spectacular views along the way!

Our other favorite activities were driving down the east portal road to the base on the canyon. There is a length maximum of 22 feet to go down the East Portal due to the steep switchbacks. Once you are down there, you can walk along the river. If your plan is to do some hiking and just take in the views in the park as we did then you really only need one full (busy) day, maybe a day and a half here to get a good experience. We stayed at the BLM camping area for two nights. The first evening we just set up camp and then drove down the east portal road and explored a bit. Then the following day we got up and really explored the entire park. 


Salida and Collegiate Peaks:


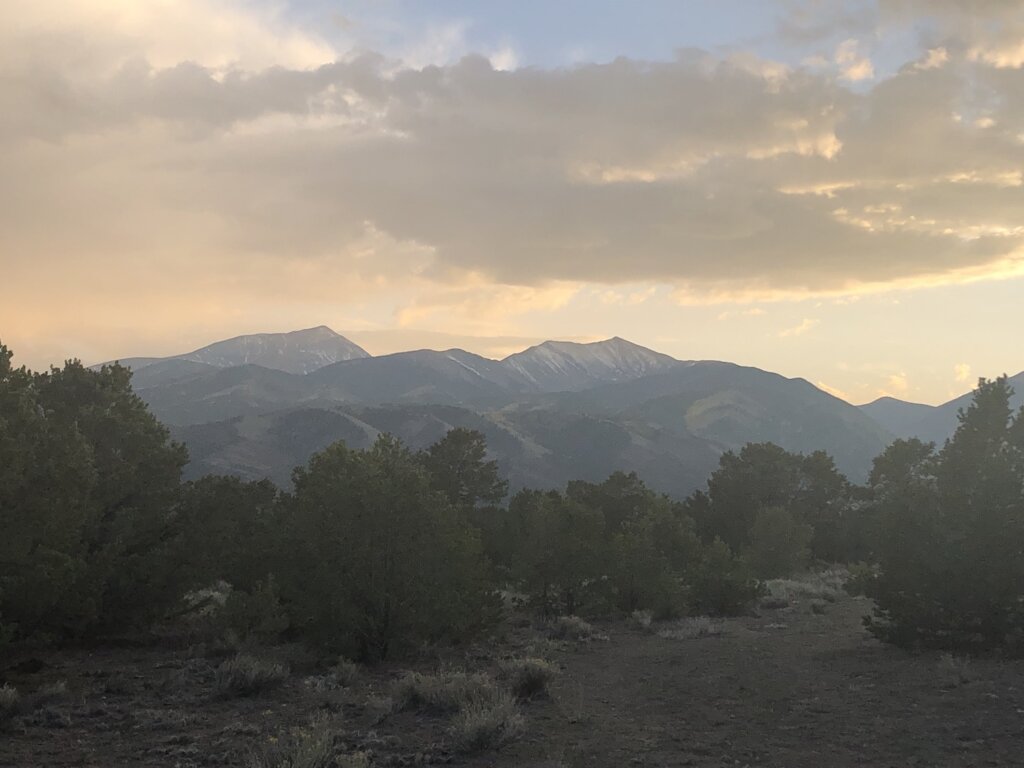
Our next stop was the town of Salida near the Collegiate Peaks. We found another great BML spot to camp. The road was pretty bumping getting to this area but the views were amazing! We had full 360* views of the mountains from our site! After dropping off our trailer we headed into downtown Salida for some lunch. We ate at Amicas pizza and brewery. We really enjoyed the food and beer.

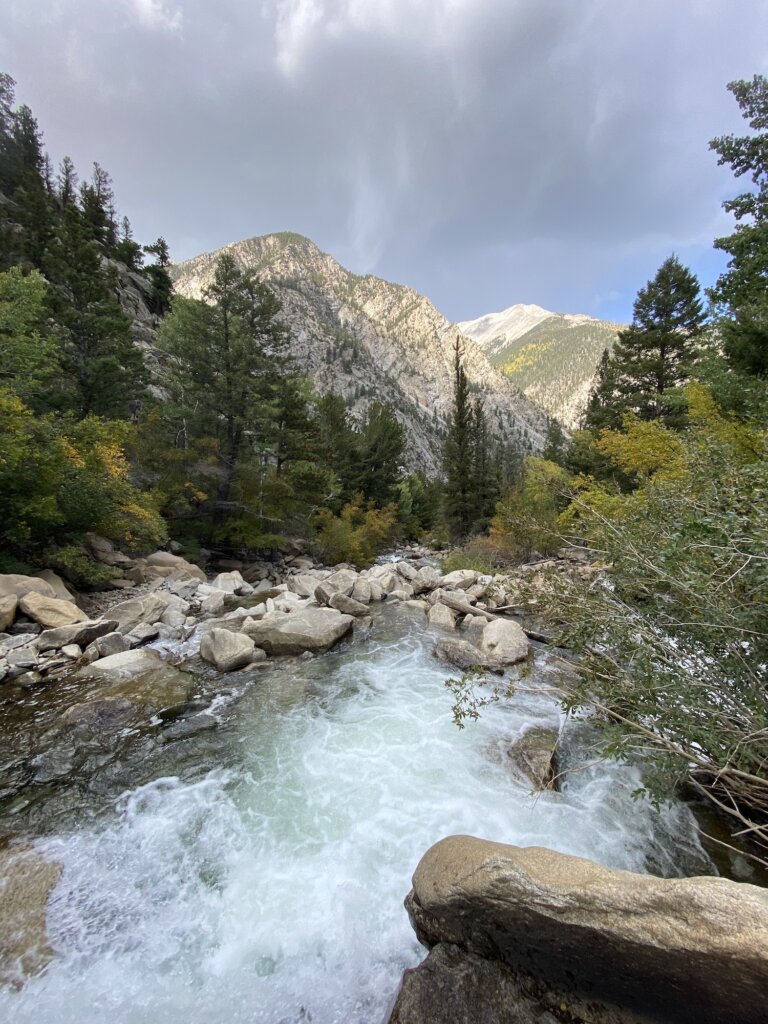
From lunch, we decided to drive up into one of the mountains nearby. From highway 285 we took Chalk Creek Drive, which led us right past the chalk cliffs and past some really pretty views. There is an alpine lake which we did drive past but it is, unfortunately, private property. We enjoyed the views of the lake while driving past but couldn’t get out and walk around the lake as we hoped. 


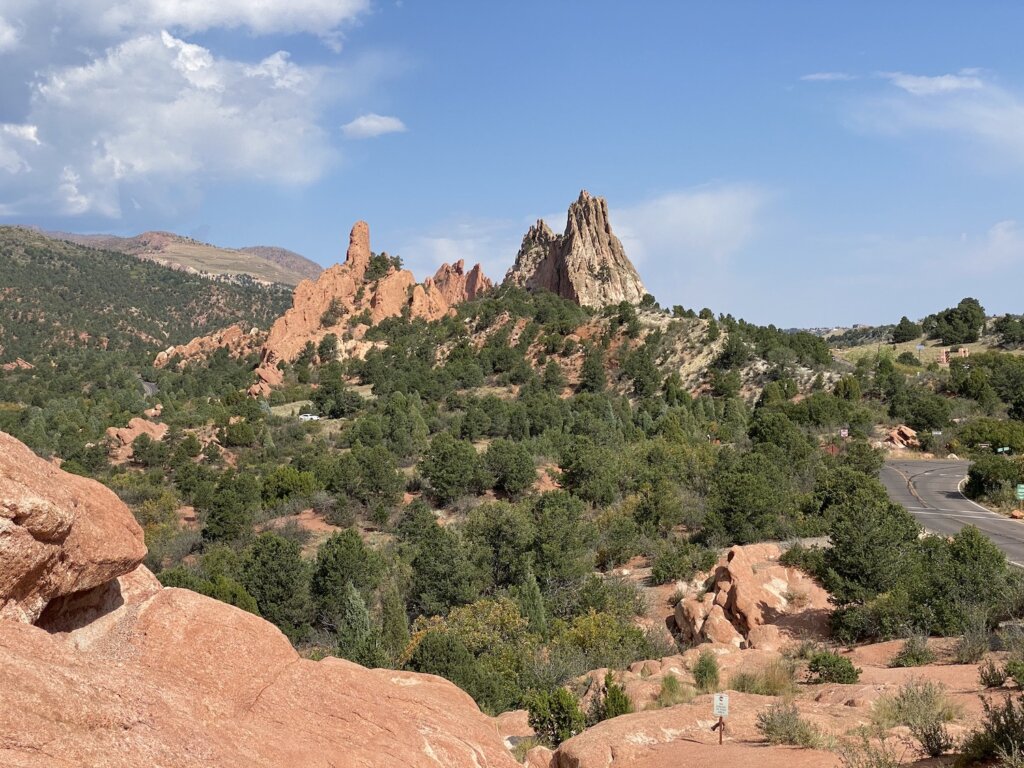
The next morning we began our drive back to Michigan. We did stop at the Garden of the Gods in Colorado Springs and did a little bit of driving/walking around that park before leaving Colorado. We would have loved to spend more time at the Garden of the Gods hiking around the rocks. It is really a beautiful park! 


To find all our free campsites we used the Dyrt app and Gia GPS. We found both to be accurate in regards to the location of the BLM land. The Dyrt also has reviews from users on the camping areas to help you decide which sites you want to stay at. We loved this road trip and can’t wait to get back to Colorado to do some more exploring!

For more on what we learned from our first travels in our DIY teardrop trailer check out our post here: Teardrop Trailer Shakedown trip: What we Learned


Tell us your favorite areas in Colorado! What did we miss and where should we go next time?

Categories
Journal Overlanding

Teardrop trailer shakedown trip: What we learned

We took our first trip with our DIY teardrop recently. We drove up to the upper peninsula of Michigan all the way to Copper Harbor. Quite the shakedown trip, it totaled about 1500 miles. The trailer overall worked well for us but we definitely ran into some issues.  We came home with a new project list of things to fix/adjust before heading out again.

Here is what we learned: 


1. Weight

Adding all your gear and food and water will add more weight than you might realize. This additional weight will affect how the trailer sits and pulls behind your truck or car. Seems obvious, we know! Before our trip, we did a quick trip around the block and then drove the trailer at speeds up to 70 miles per hour, everything went great. But we did this trial without anything in the trailer. Our suggestion- fill your water tank, add all your gear to the trailer then take it on the test drive around the block. You may find you have a suspension issue…
 
2. Overbuild Everything

We bought a suspension that was rated for up to 1,200lbs. The next option up cost approx $200 much more and was rated for us to 2,000 lbs. We didn’t think we needed that option. Maybe we didn’t and it was just a fluke but we ended up blowing out the right side of our suspension before we even left the driveway. Must have happened when we loaded everything into the trailer, adding a bunch of weight. The other side didn’t fail the whole trip, which was good, so maybe it was a product issue. Either way, the tire was rubbing the fender so we had to remove the fender early in the trip.


3. Check for water leaks before you leave 

Again obvious we know! We sealed everything very well and we were fairly confident it would be sufficient. We also checked the weather forecast which looked dry – no rain forecasted when we left. We had intended to put the trailer in the driveway and shower it with the hose before leaving to check that it was watertight but life got busy and we ran out of time. It ended up raining alot during our trip and we found several small leaks. Small leaks are enough to make your stuff very wet if it is raining hard. We were able to stop and buy some silicone and repair some of our leaks along the way. Our suggestion- Actually do what we planned to do, shower/hose everything down and really check that it is water tight before you leave 🙂

4. Water use was about what we expected

We have a 20-gallon water tank (we dumped some of it at the beginning of the trip to reduce weight). It still lasted us 5 days, being very conservative with our water use. We used the water for dishes, showers, and drinking every day. We did stay at some campgrounds that had showers this trip with more rustic/dispersed camping sites mixed in. When showers were available we used them. In total, we used our water tank for three very short showers. Everyone’s rate of water consumption will be a little different but this will at least give a general idea of how long water will last you. 


5. Solar power is awesome

We have one solar panel on the top of our trailer. This was plenty of power to support our water pump, rooftop fan (turned on most nights), small bedside LED lights, and charging our phones. That is really all we used our power for. 


6. Propane for cooking

Originally we planned to hook our 5 lb propane tank we have for our shower water heater and use that for cooking as well. We changed our mind and used the small green 1lb canisters which ended up being much easier. Using those allowed us to move our camp stove and grill to wherever was most convenient around our campsite and the small propane canisters are very easy to store away when you are not using them. Also they can be purchased at a variety of stores so if you run out you can easily purchase another one during a longer trip as needed. 


7. Have a plan for rain

This was always in our minds as something we needed to do but we didn’t have a plan in place when we left for this trip. We intend to buy some type of rain shield/cover that we can put up so that if it is raining we can still cook in our kitchen and sit outside to eat without getting wet. 


8. Showers 

We have a propane water heater mounted to the side of our trailer, a 20-gallon water tank and a pop-up shower “room”. This set up did work well for quick showers during our trip. We would recommend getting some type of bath mat or grate to stand on since the pop up “room” doesn’t have a floor. If it has been rainy at all you could be standing on muddy ground as you shower (bring flip flops). 


9. Bring tools/spare pairs you think you might need

Save yourself some stress and bring some simple things you may need if you have to fix something. Even with the best-built equipment stuff happens on the road that you might not expect. 

10. Throw your trash out every night

This was a lesson we learned on our second trip in the teardrop. We were running low on trash bags so we had a very full bag in our back kitchen area. Well a clever little mouse got into our trailer somehow. We woke up to mouse droppings throughout our kitchen and multiple holes chewed threw our trash bag. Try to get rid of your trash each night and keep no food items in the trailer.

11. Take time to Relax

You have a teardrop and part of the allure of that, at least for us, is that you don’t have to pack up a tent before you leave in the morning. You can wake up, make breakfast, and drive away. That makes road-tripping all over and staying in new places each day very easy. We are always trying to get in as much as we can during our trips since we are still working full time and have limited time off. But we would recommend at least for part of any trip, stay in one location/camp spot for more than one-two nights and take some time to just relax and enjoy the location! We are working to be better at this ourselves. 

What tips/suggestions for overland travel do you have? Anything we missed? Leave us a comment below!